Ventilated Skylight Systems
Installation Guide
Step by step information detailing the start to finish product.
Rough Opening Requirements:
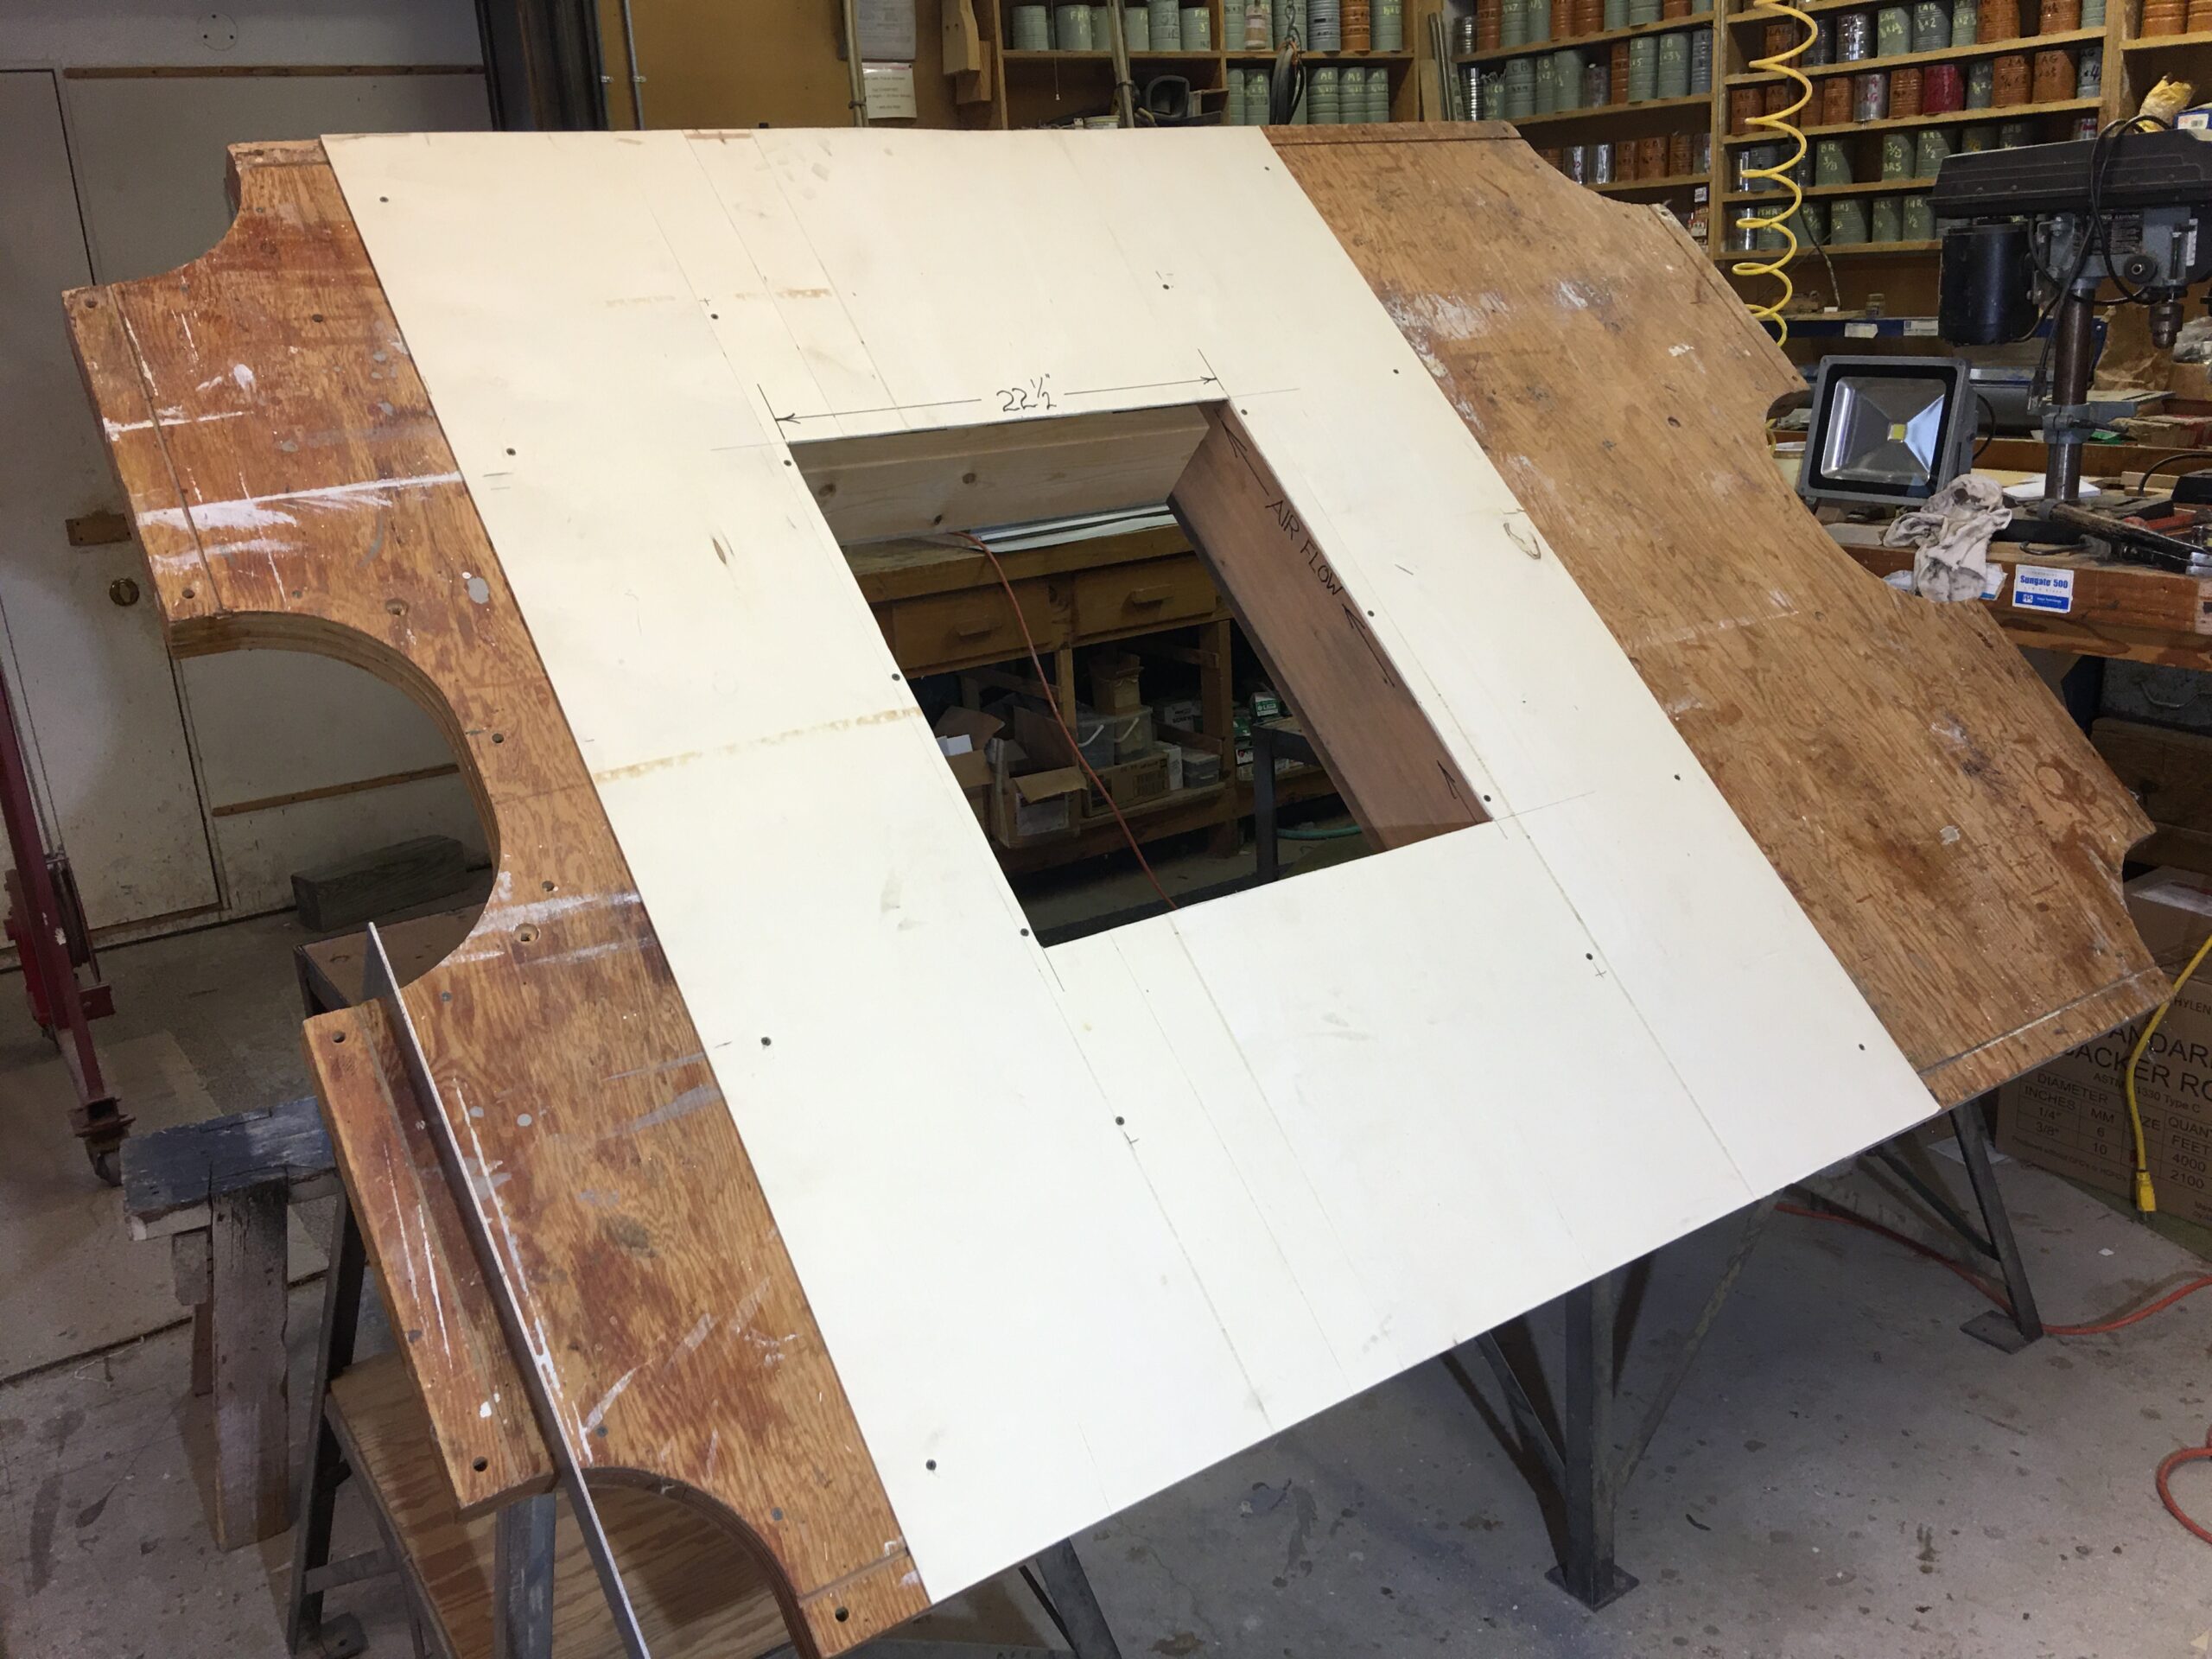
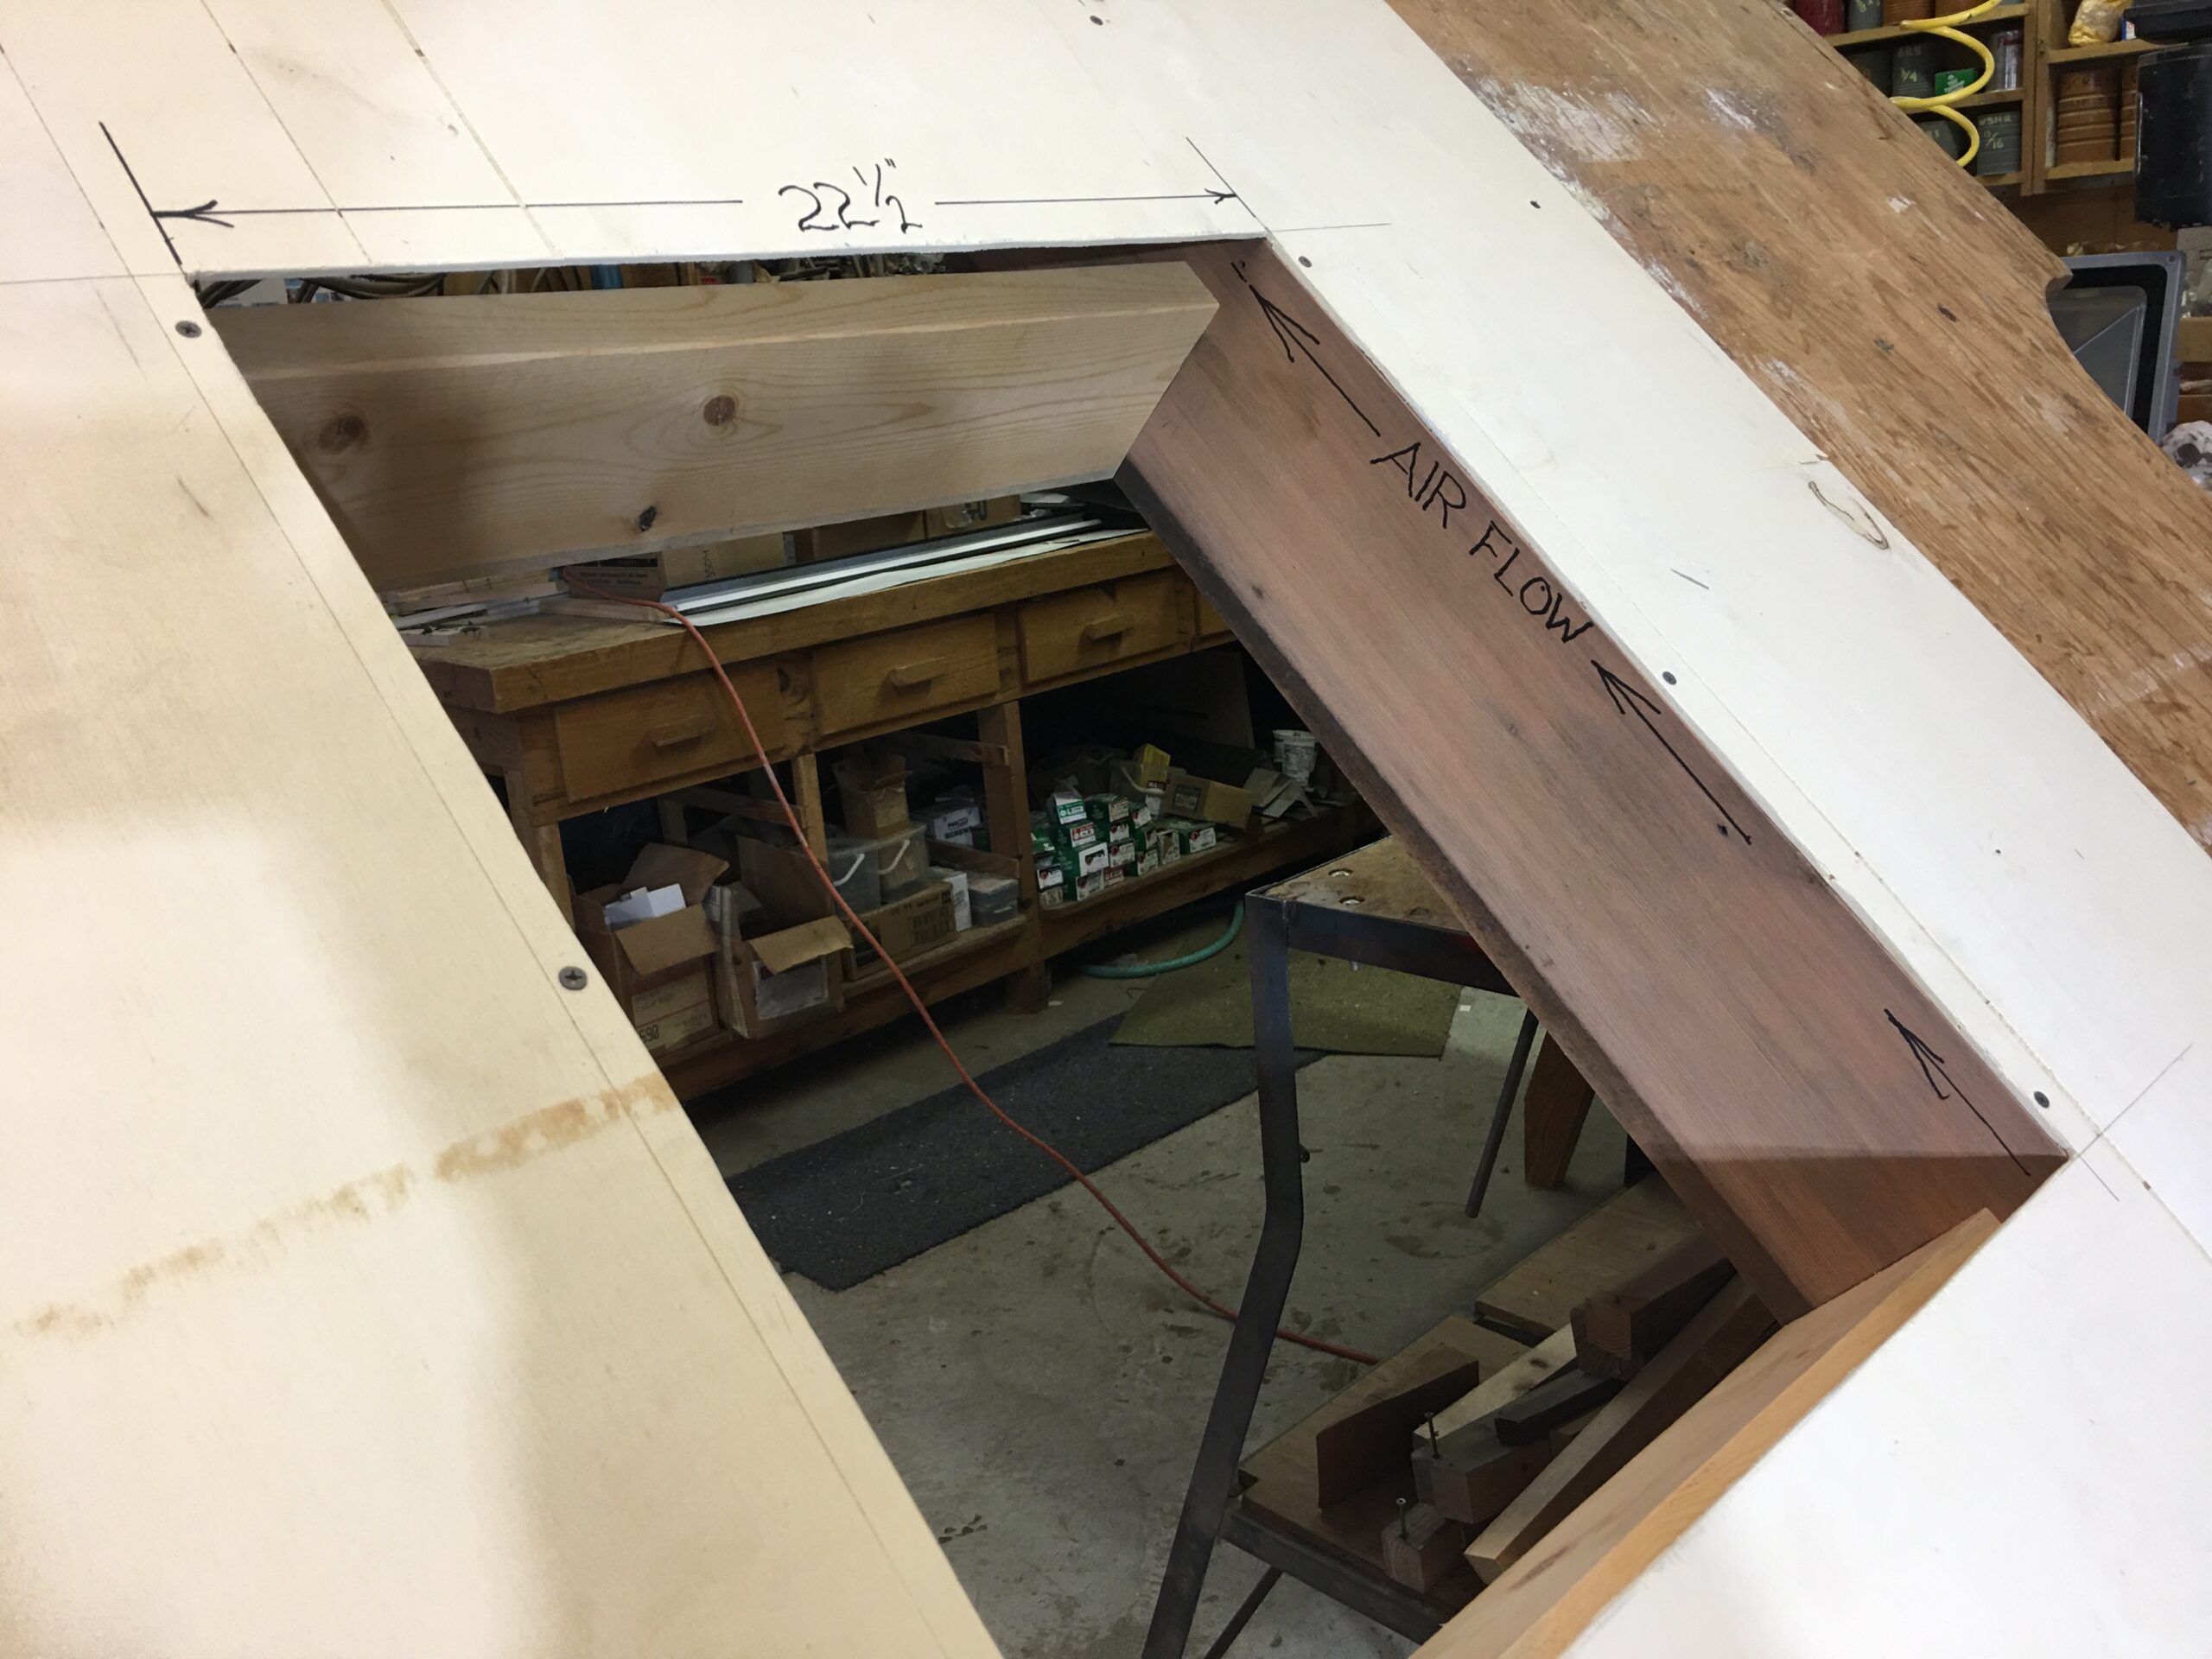
For this install we are using a standard 24″ OC (on center) rafter system and have framed a 22 1/2″ RO (rough opening) width.
Notice the top and bottom headers are held 2 inches below the roof deck allowing roof ventilation to pass.
The basic profile of a 2224 Ceeflow skylight. 22 indicates 2′ OC rafters while 24 is the height of the RO.
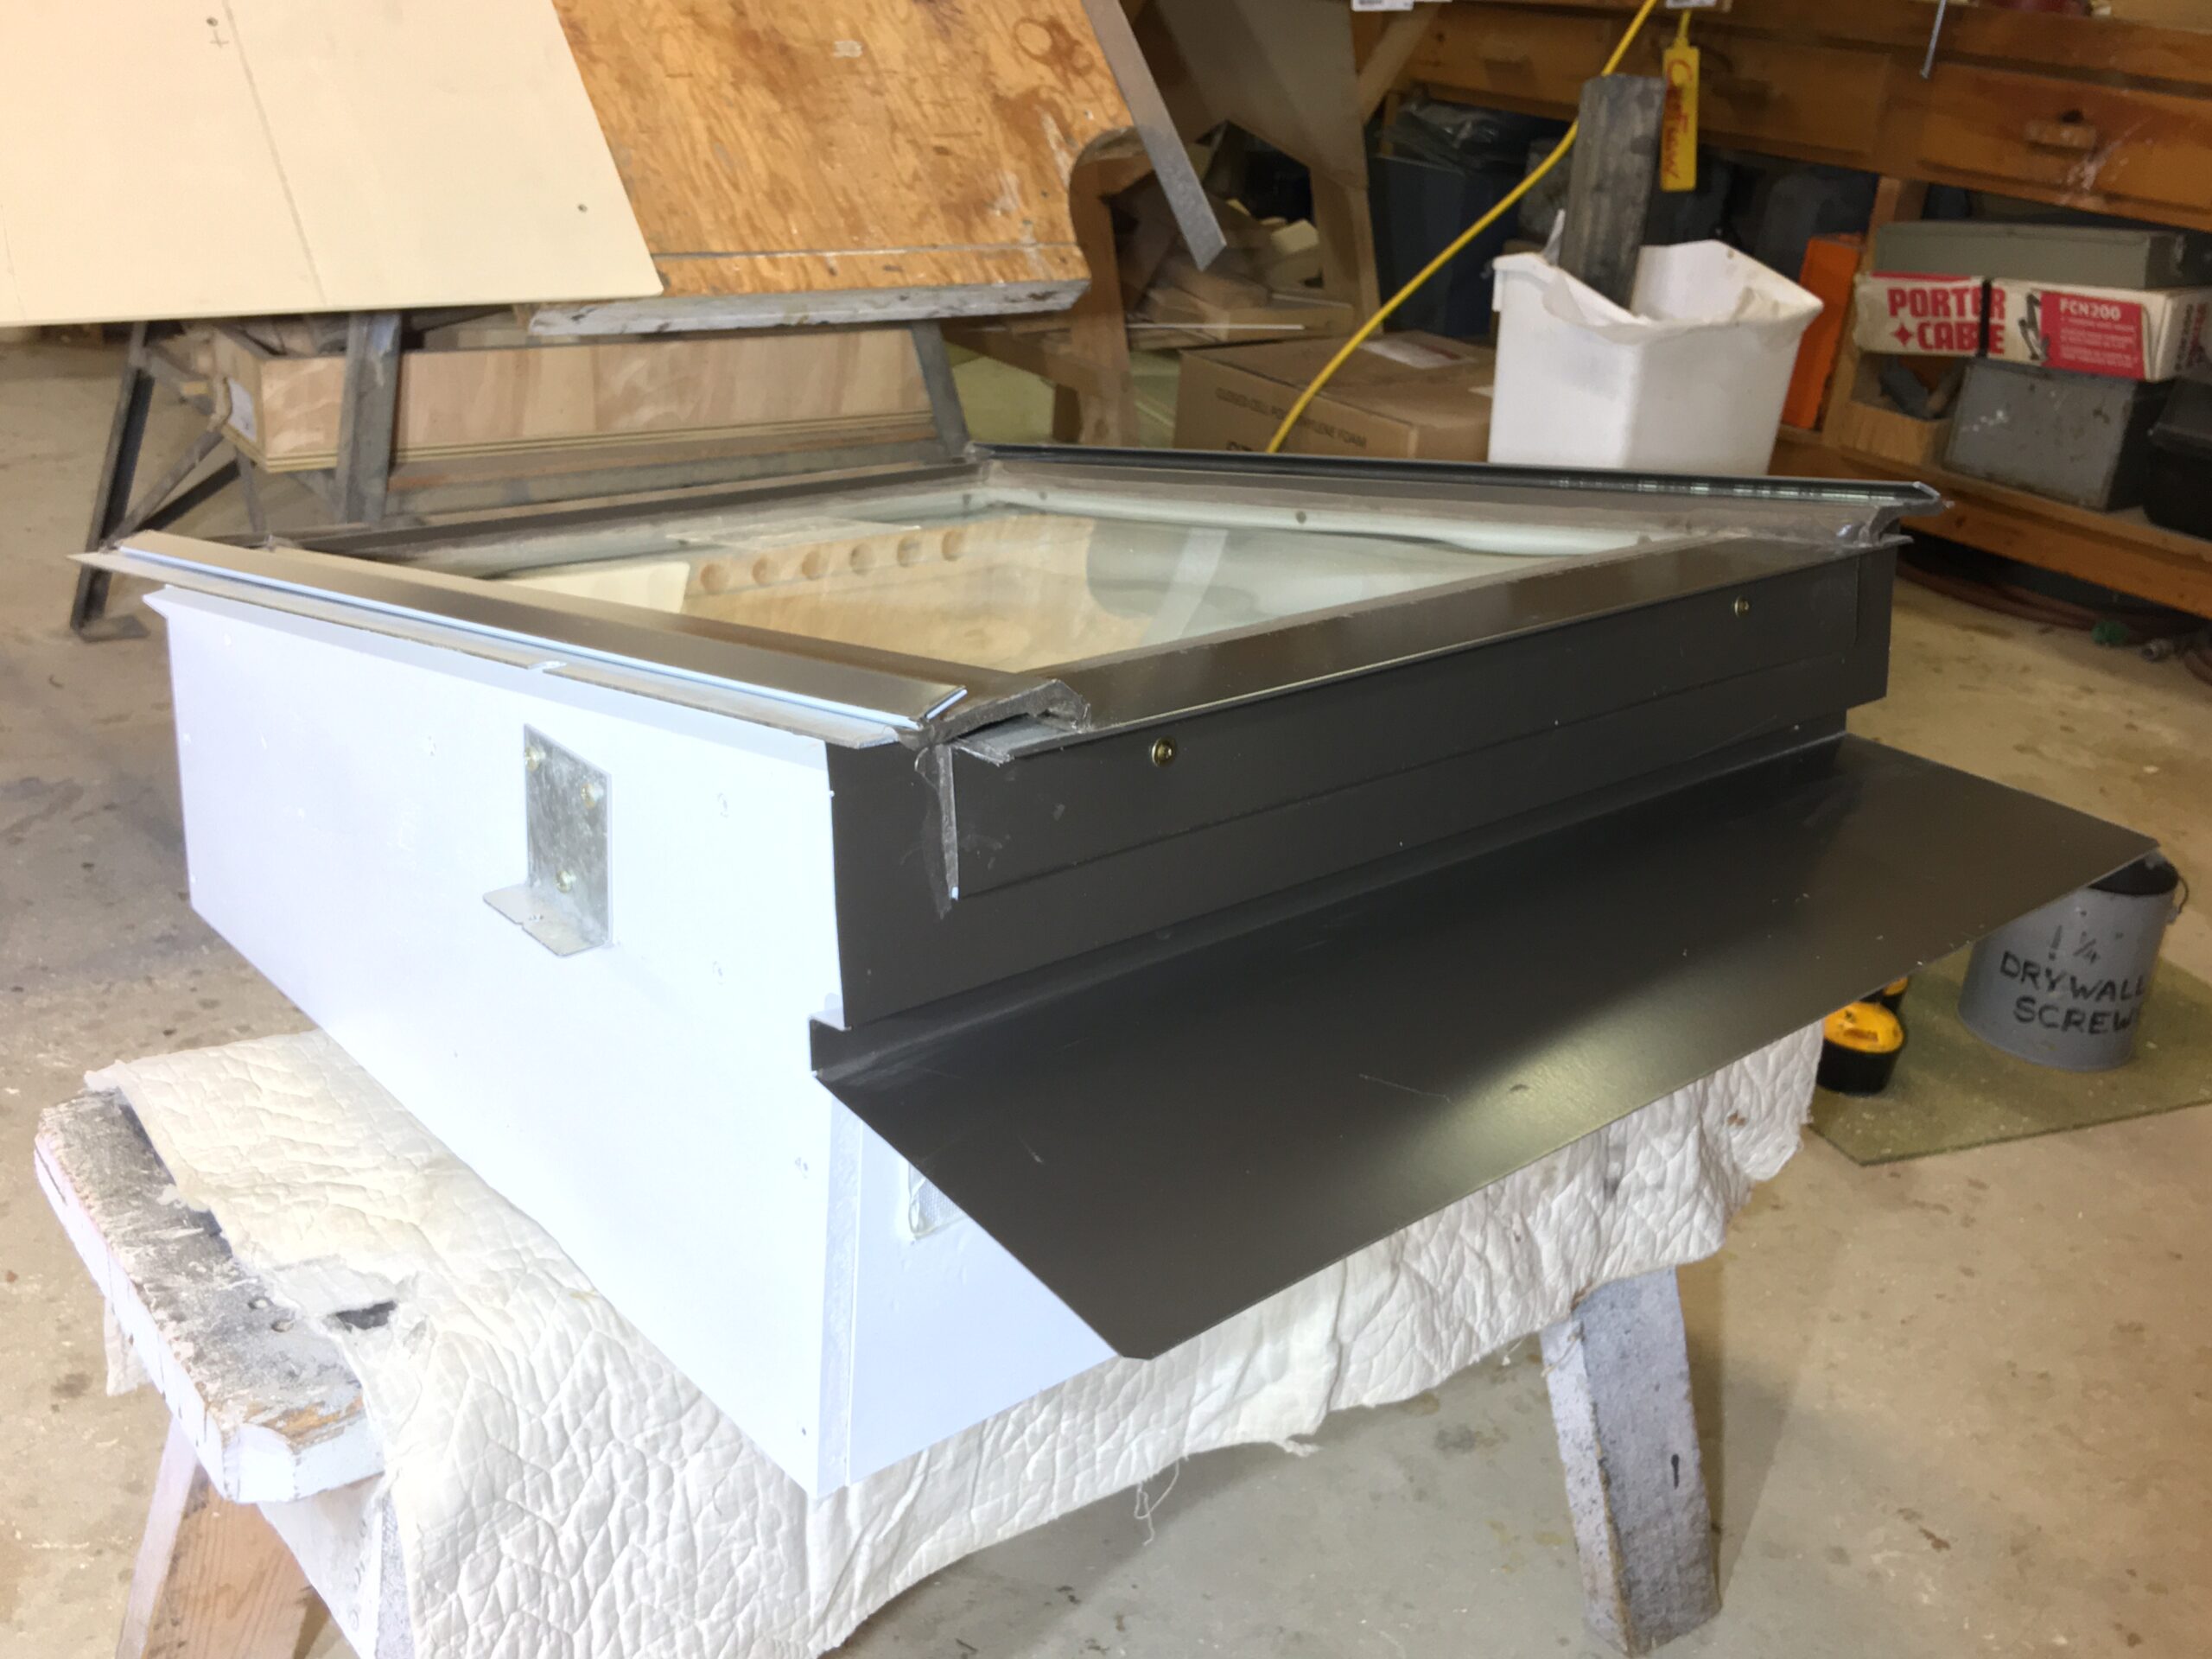
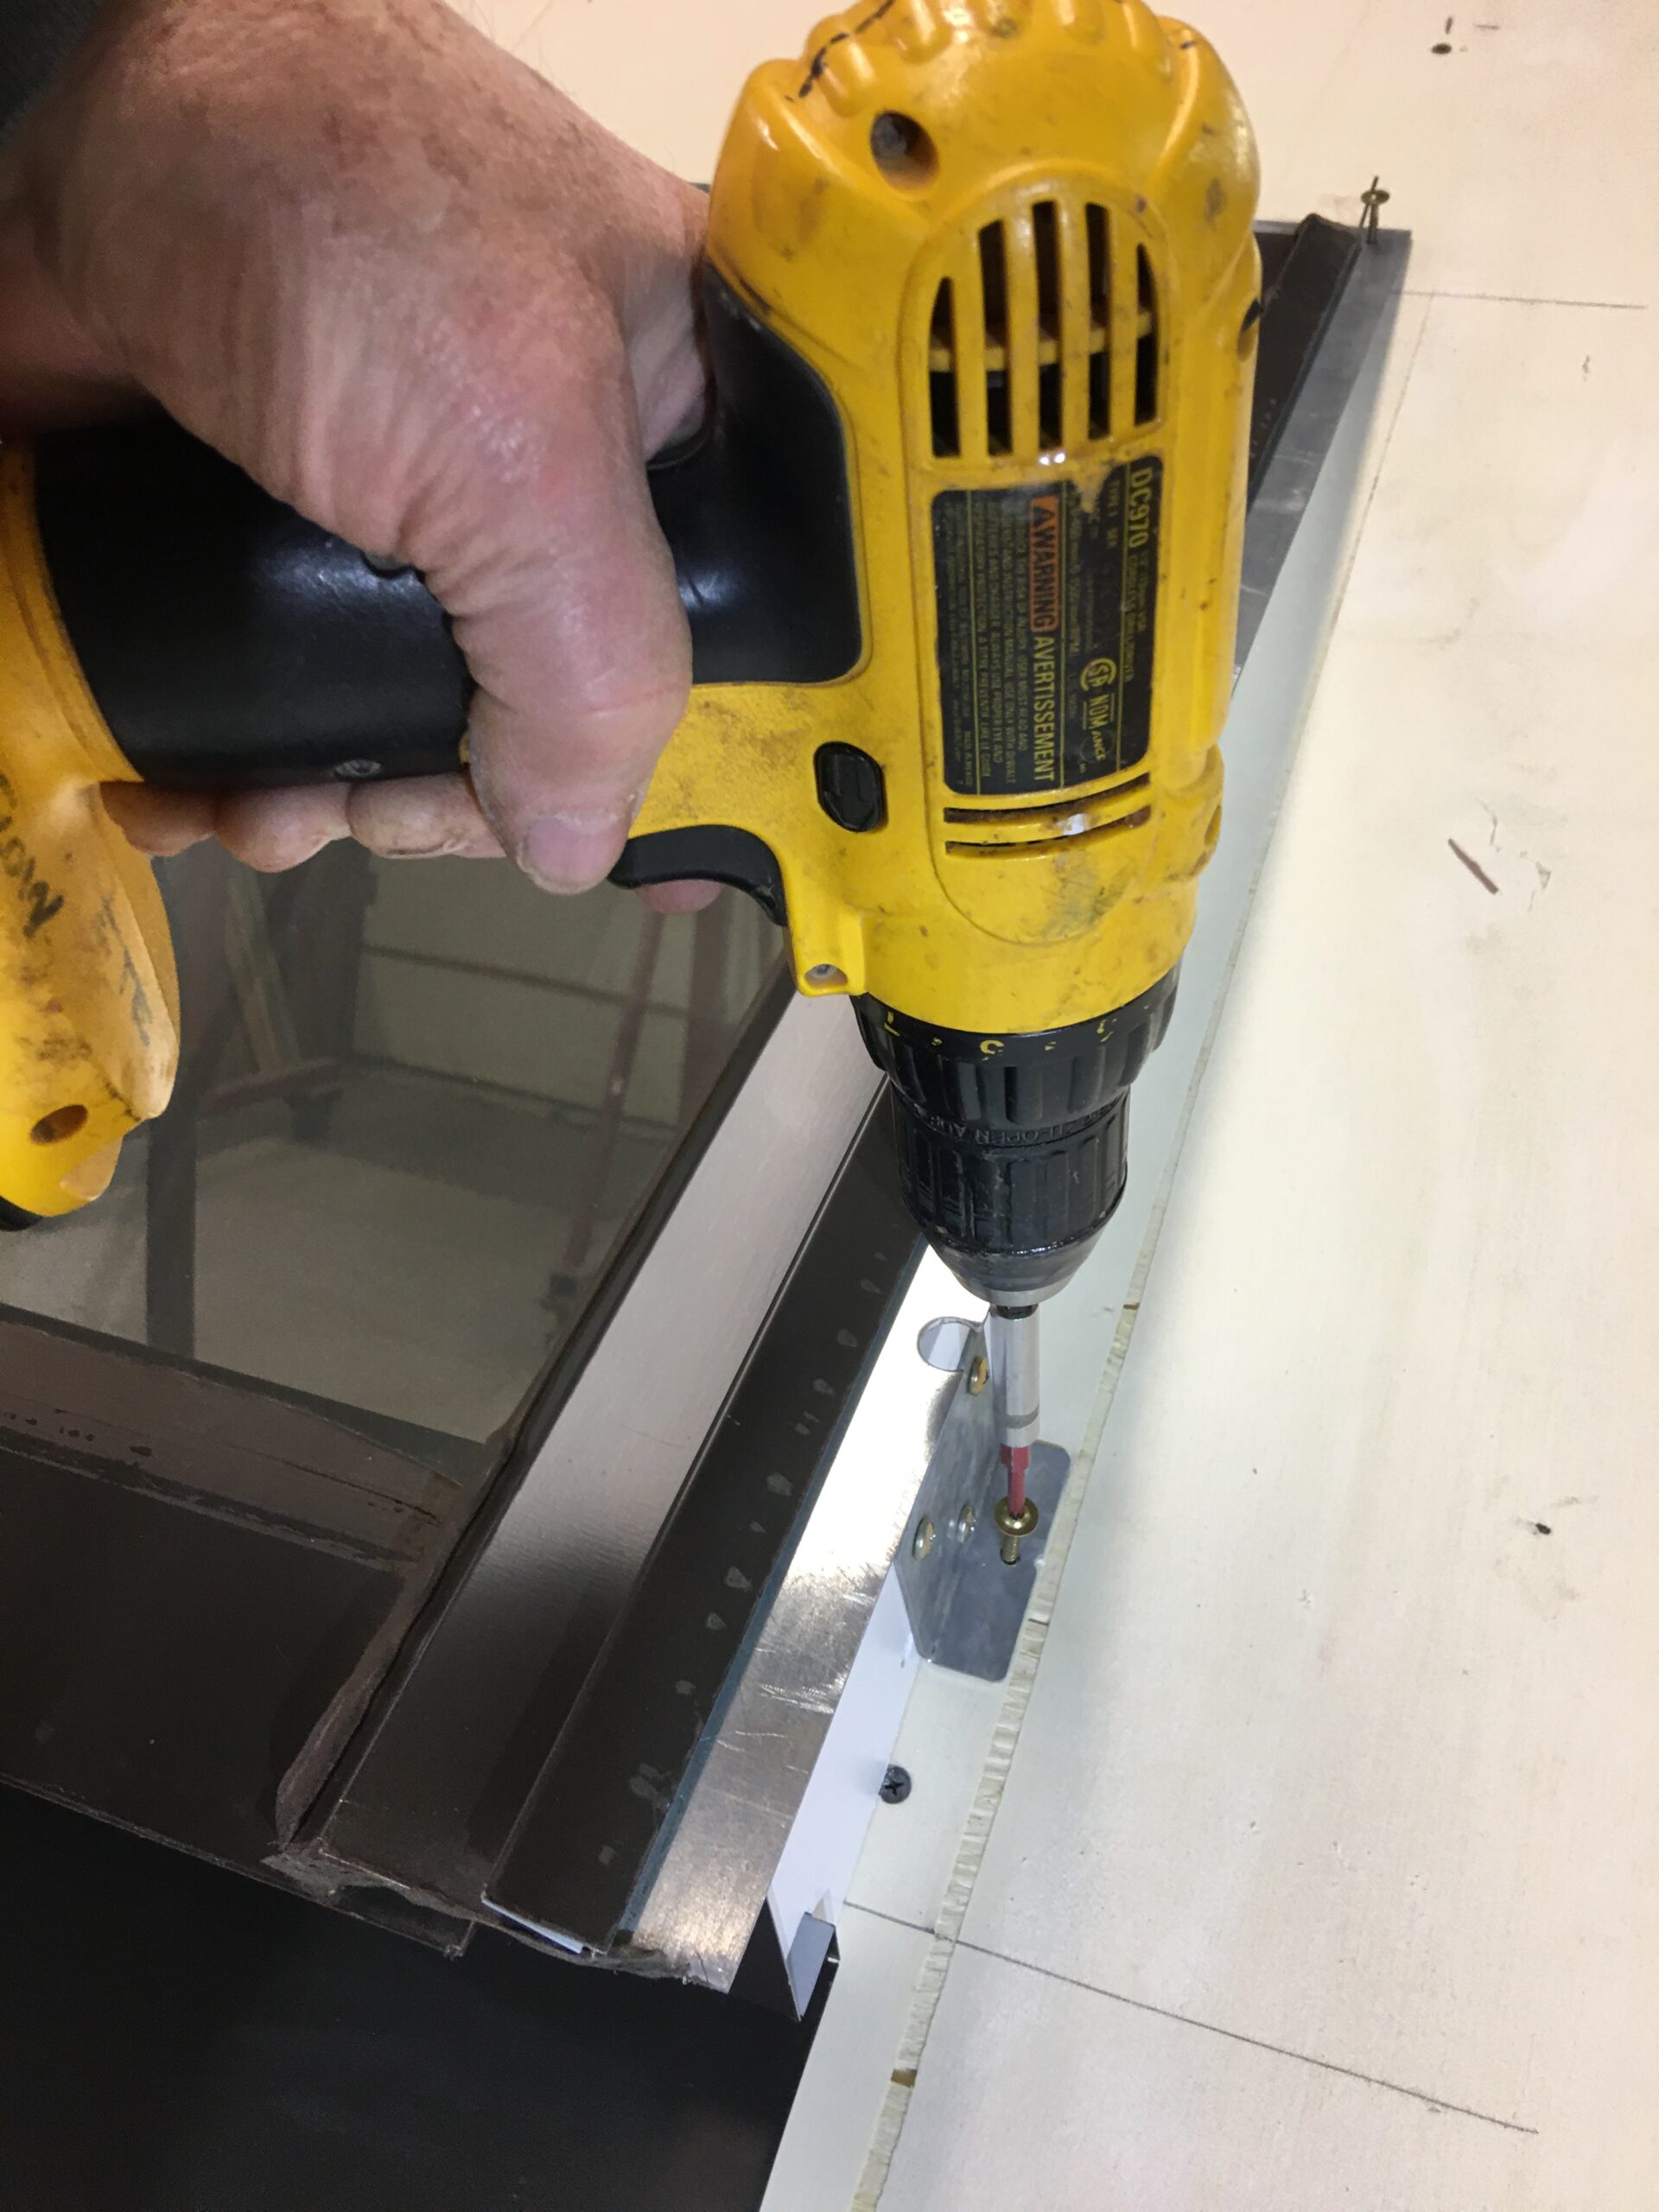
Center skylight unit in RO and screw top of steel flange into rafters.
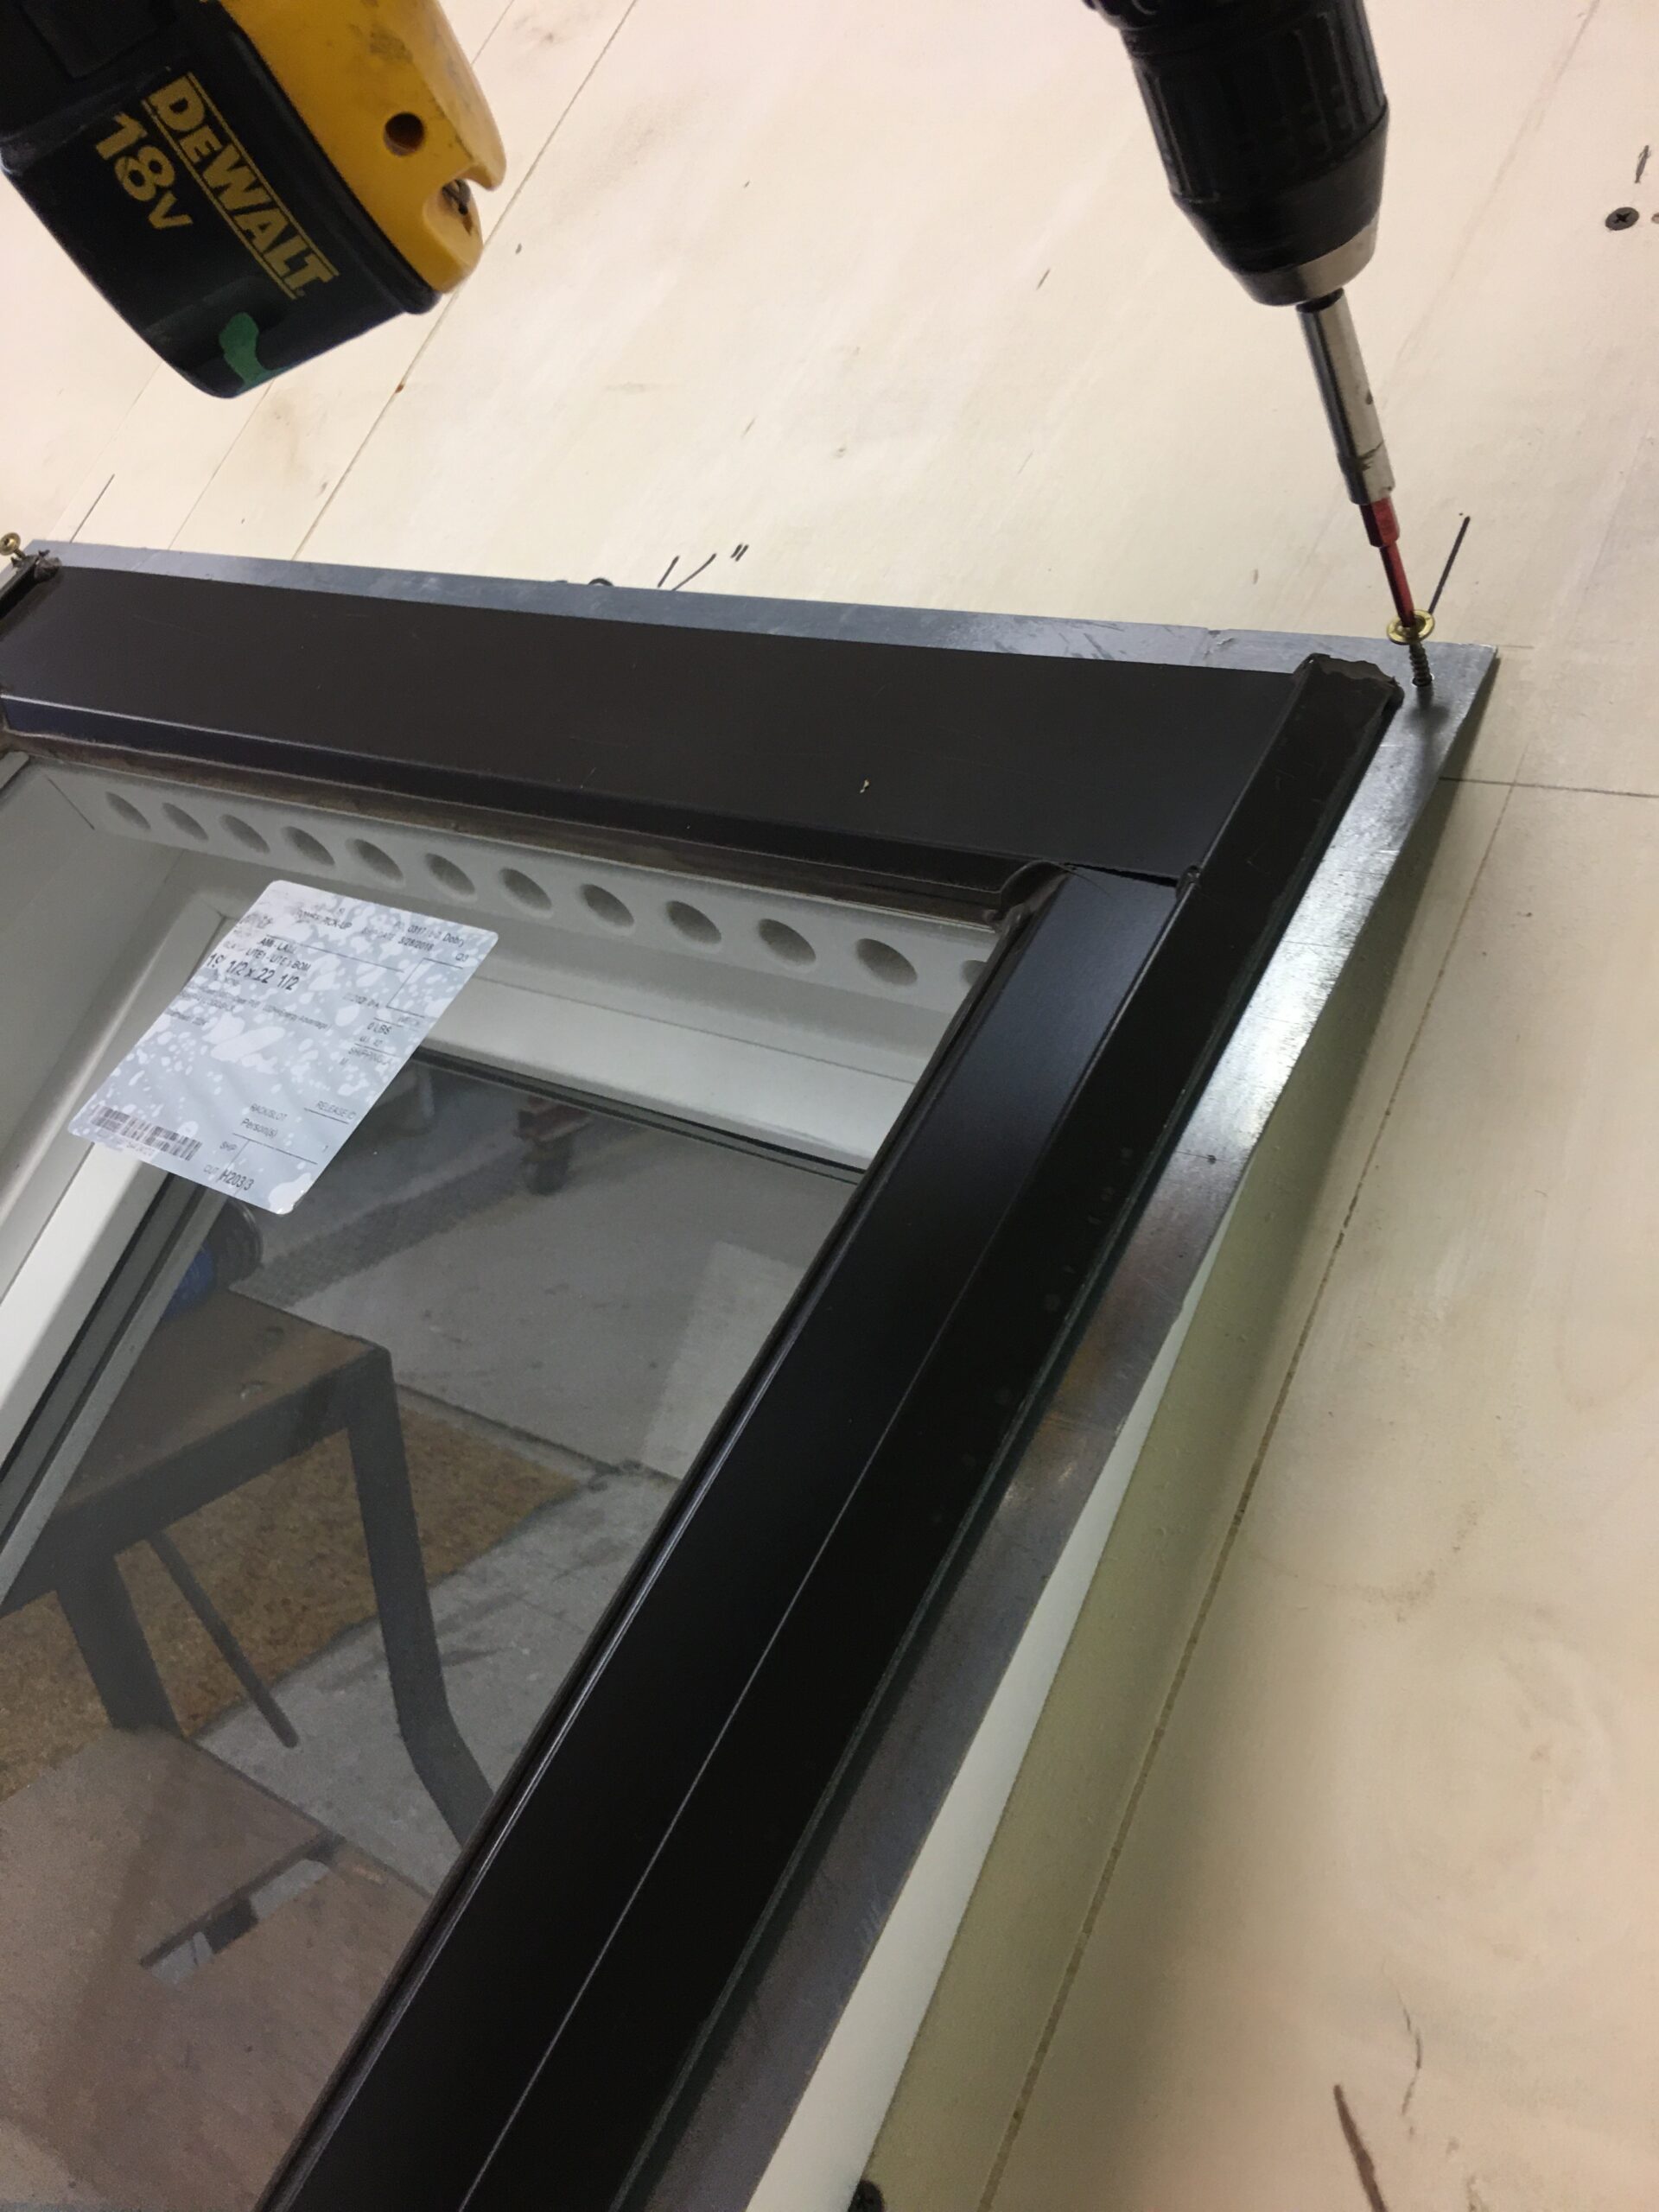
Side mount attachment flange secures lower end of the unit
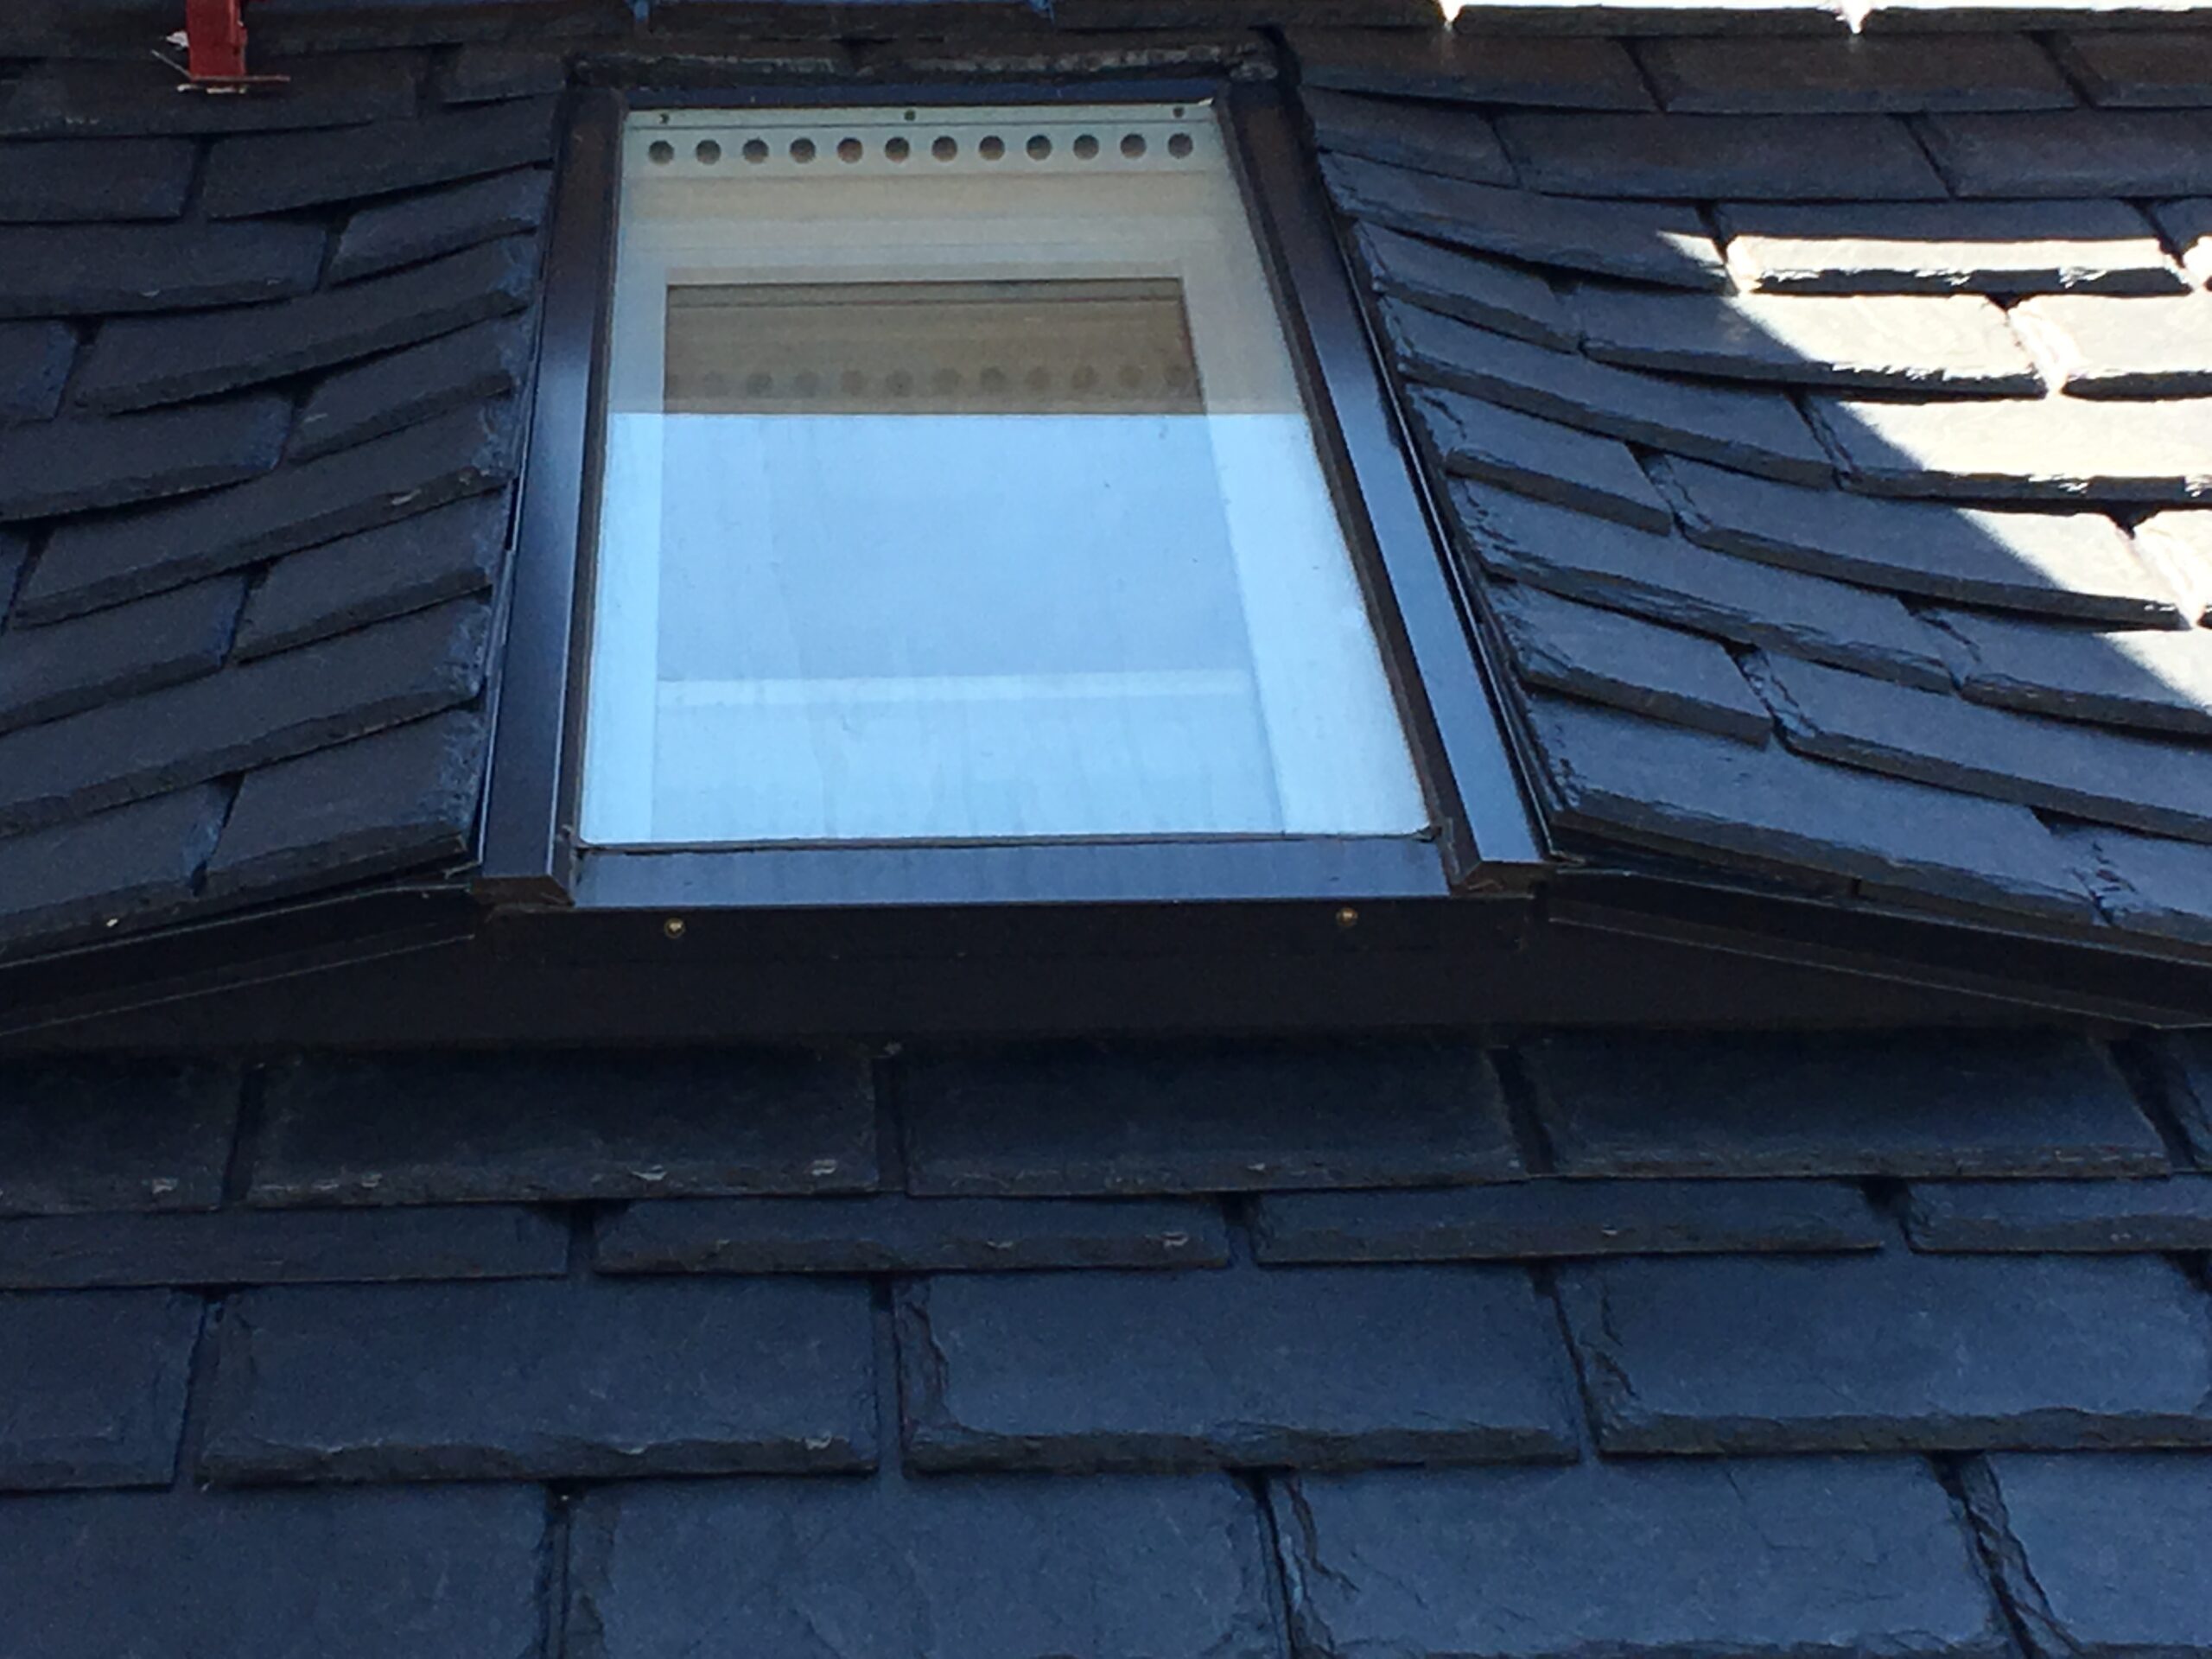
Ceeflow skylights, unless ordered with only 1 window, feature flow-thru ventilation using a fixed outer window and substantially below that, an operating inner insulating window. This causes the skylight to more resemble its adjacent roof system
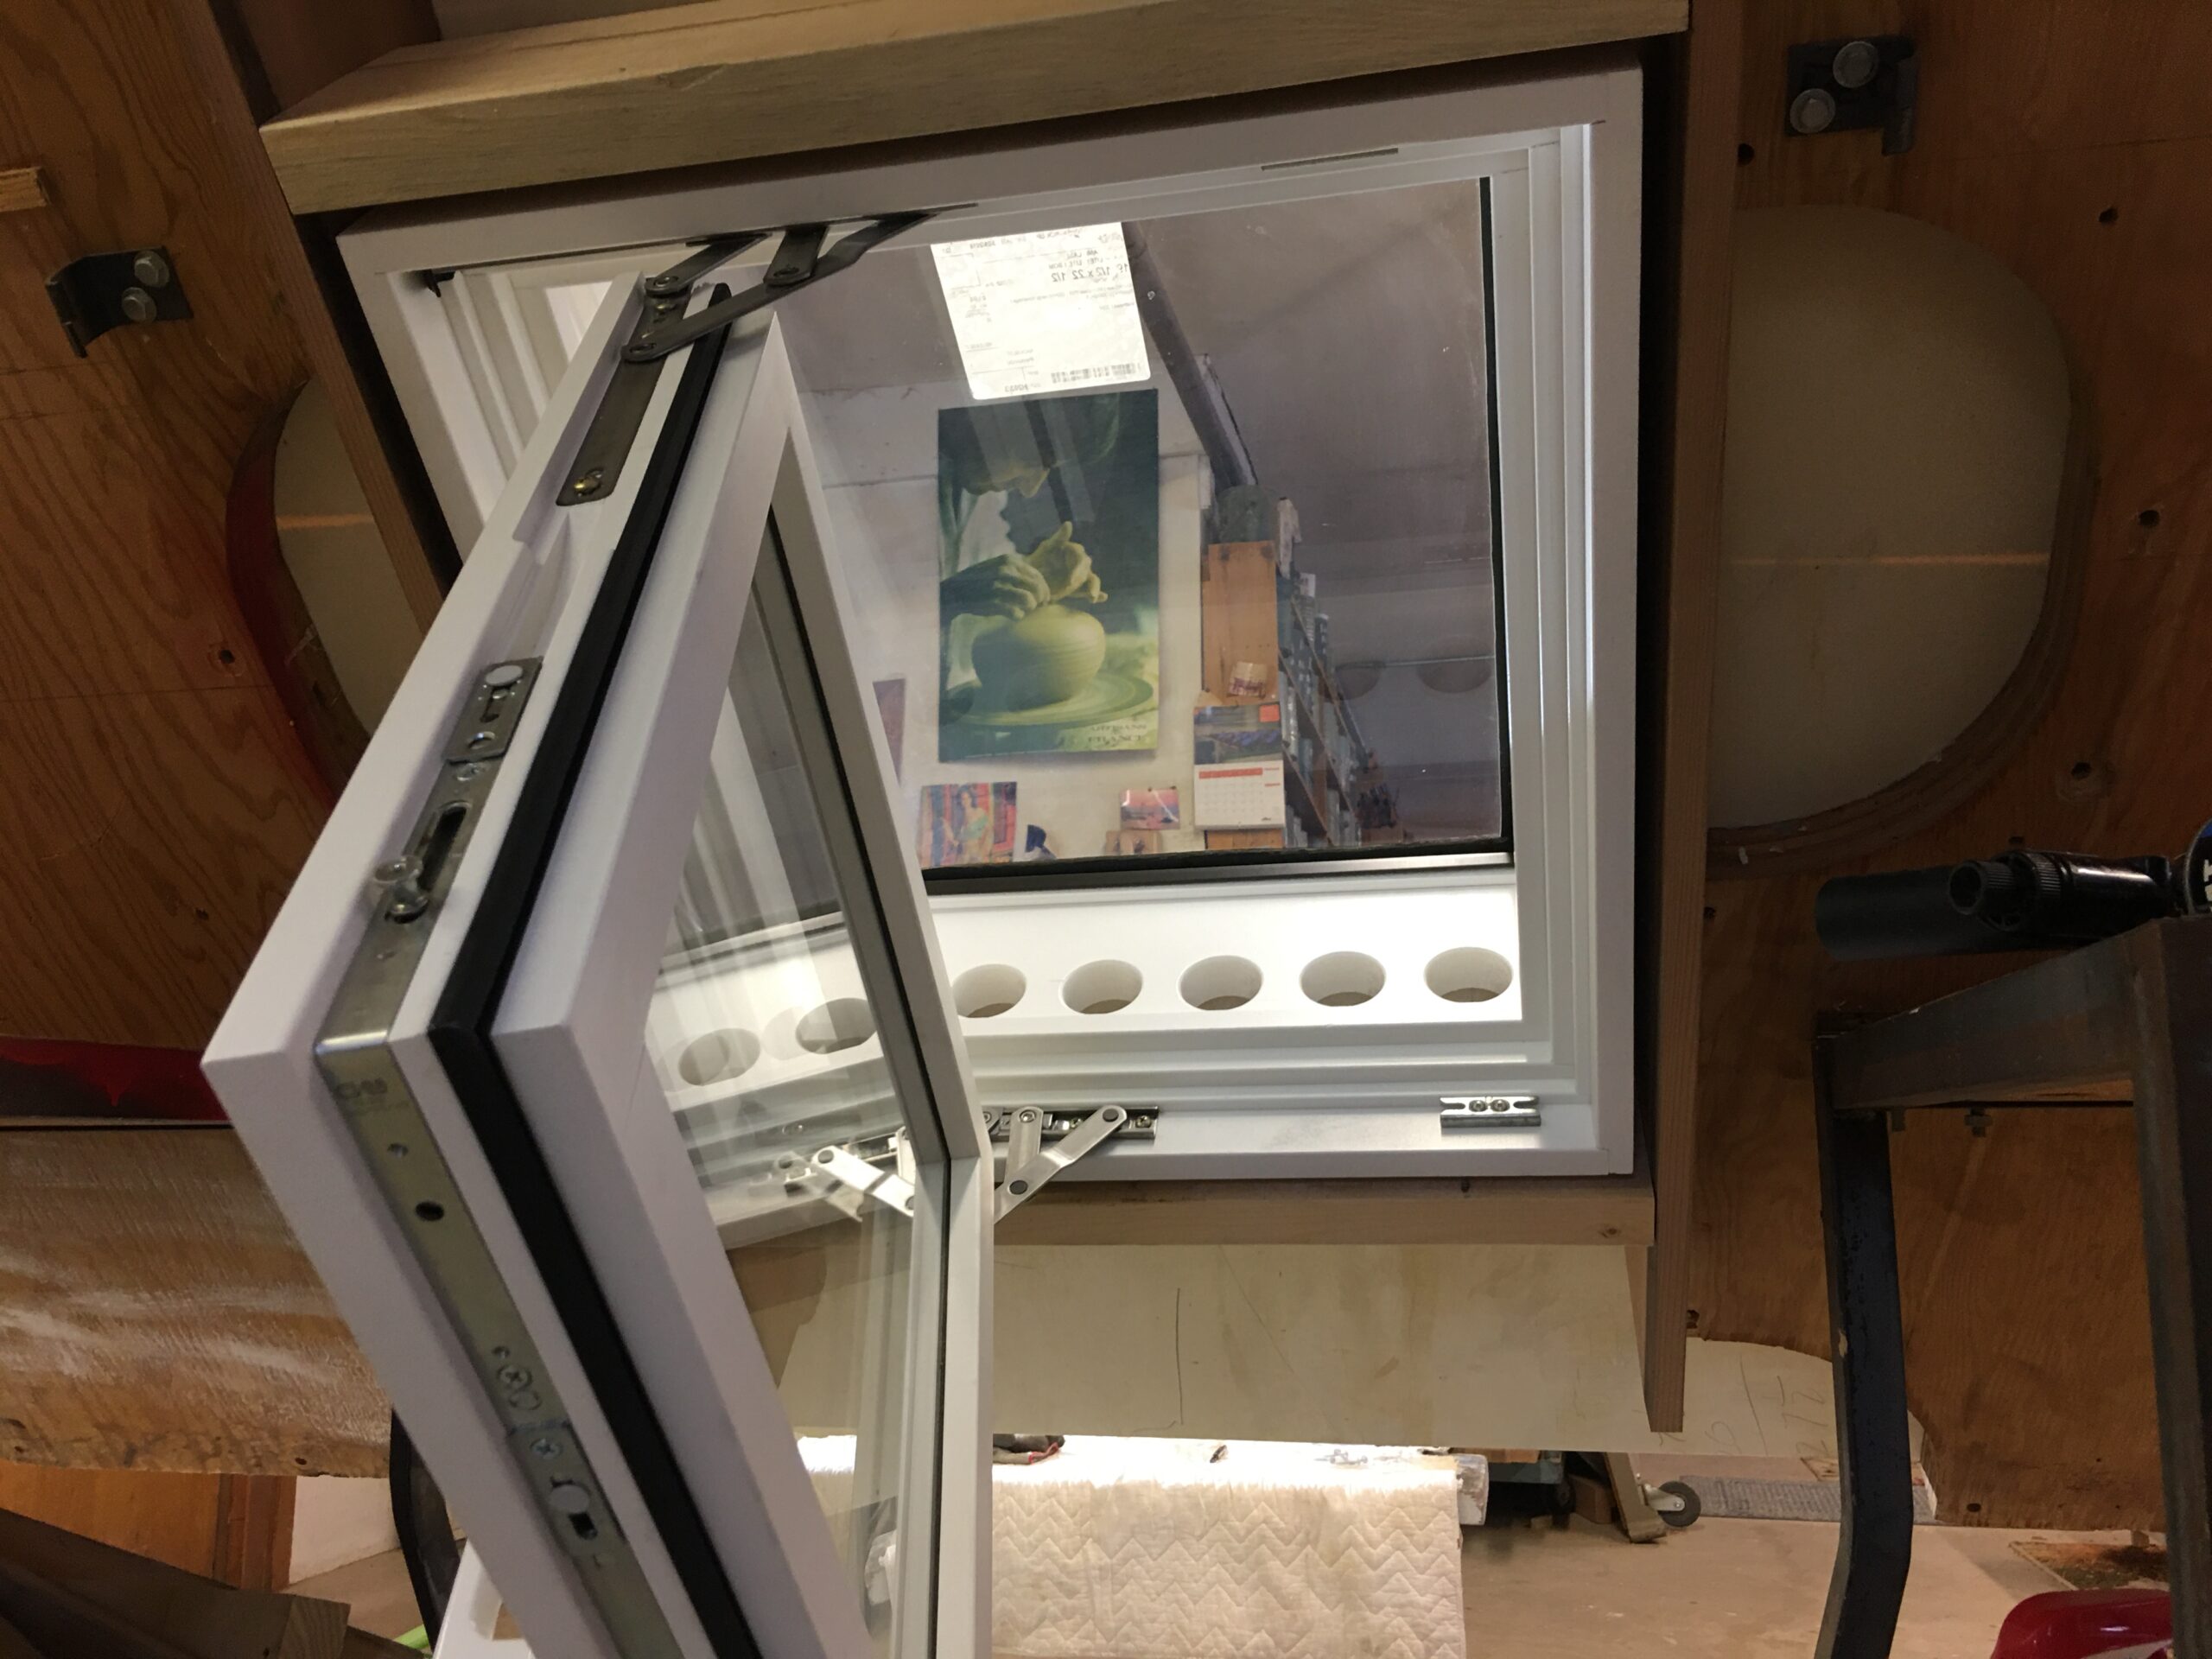
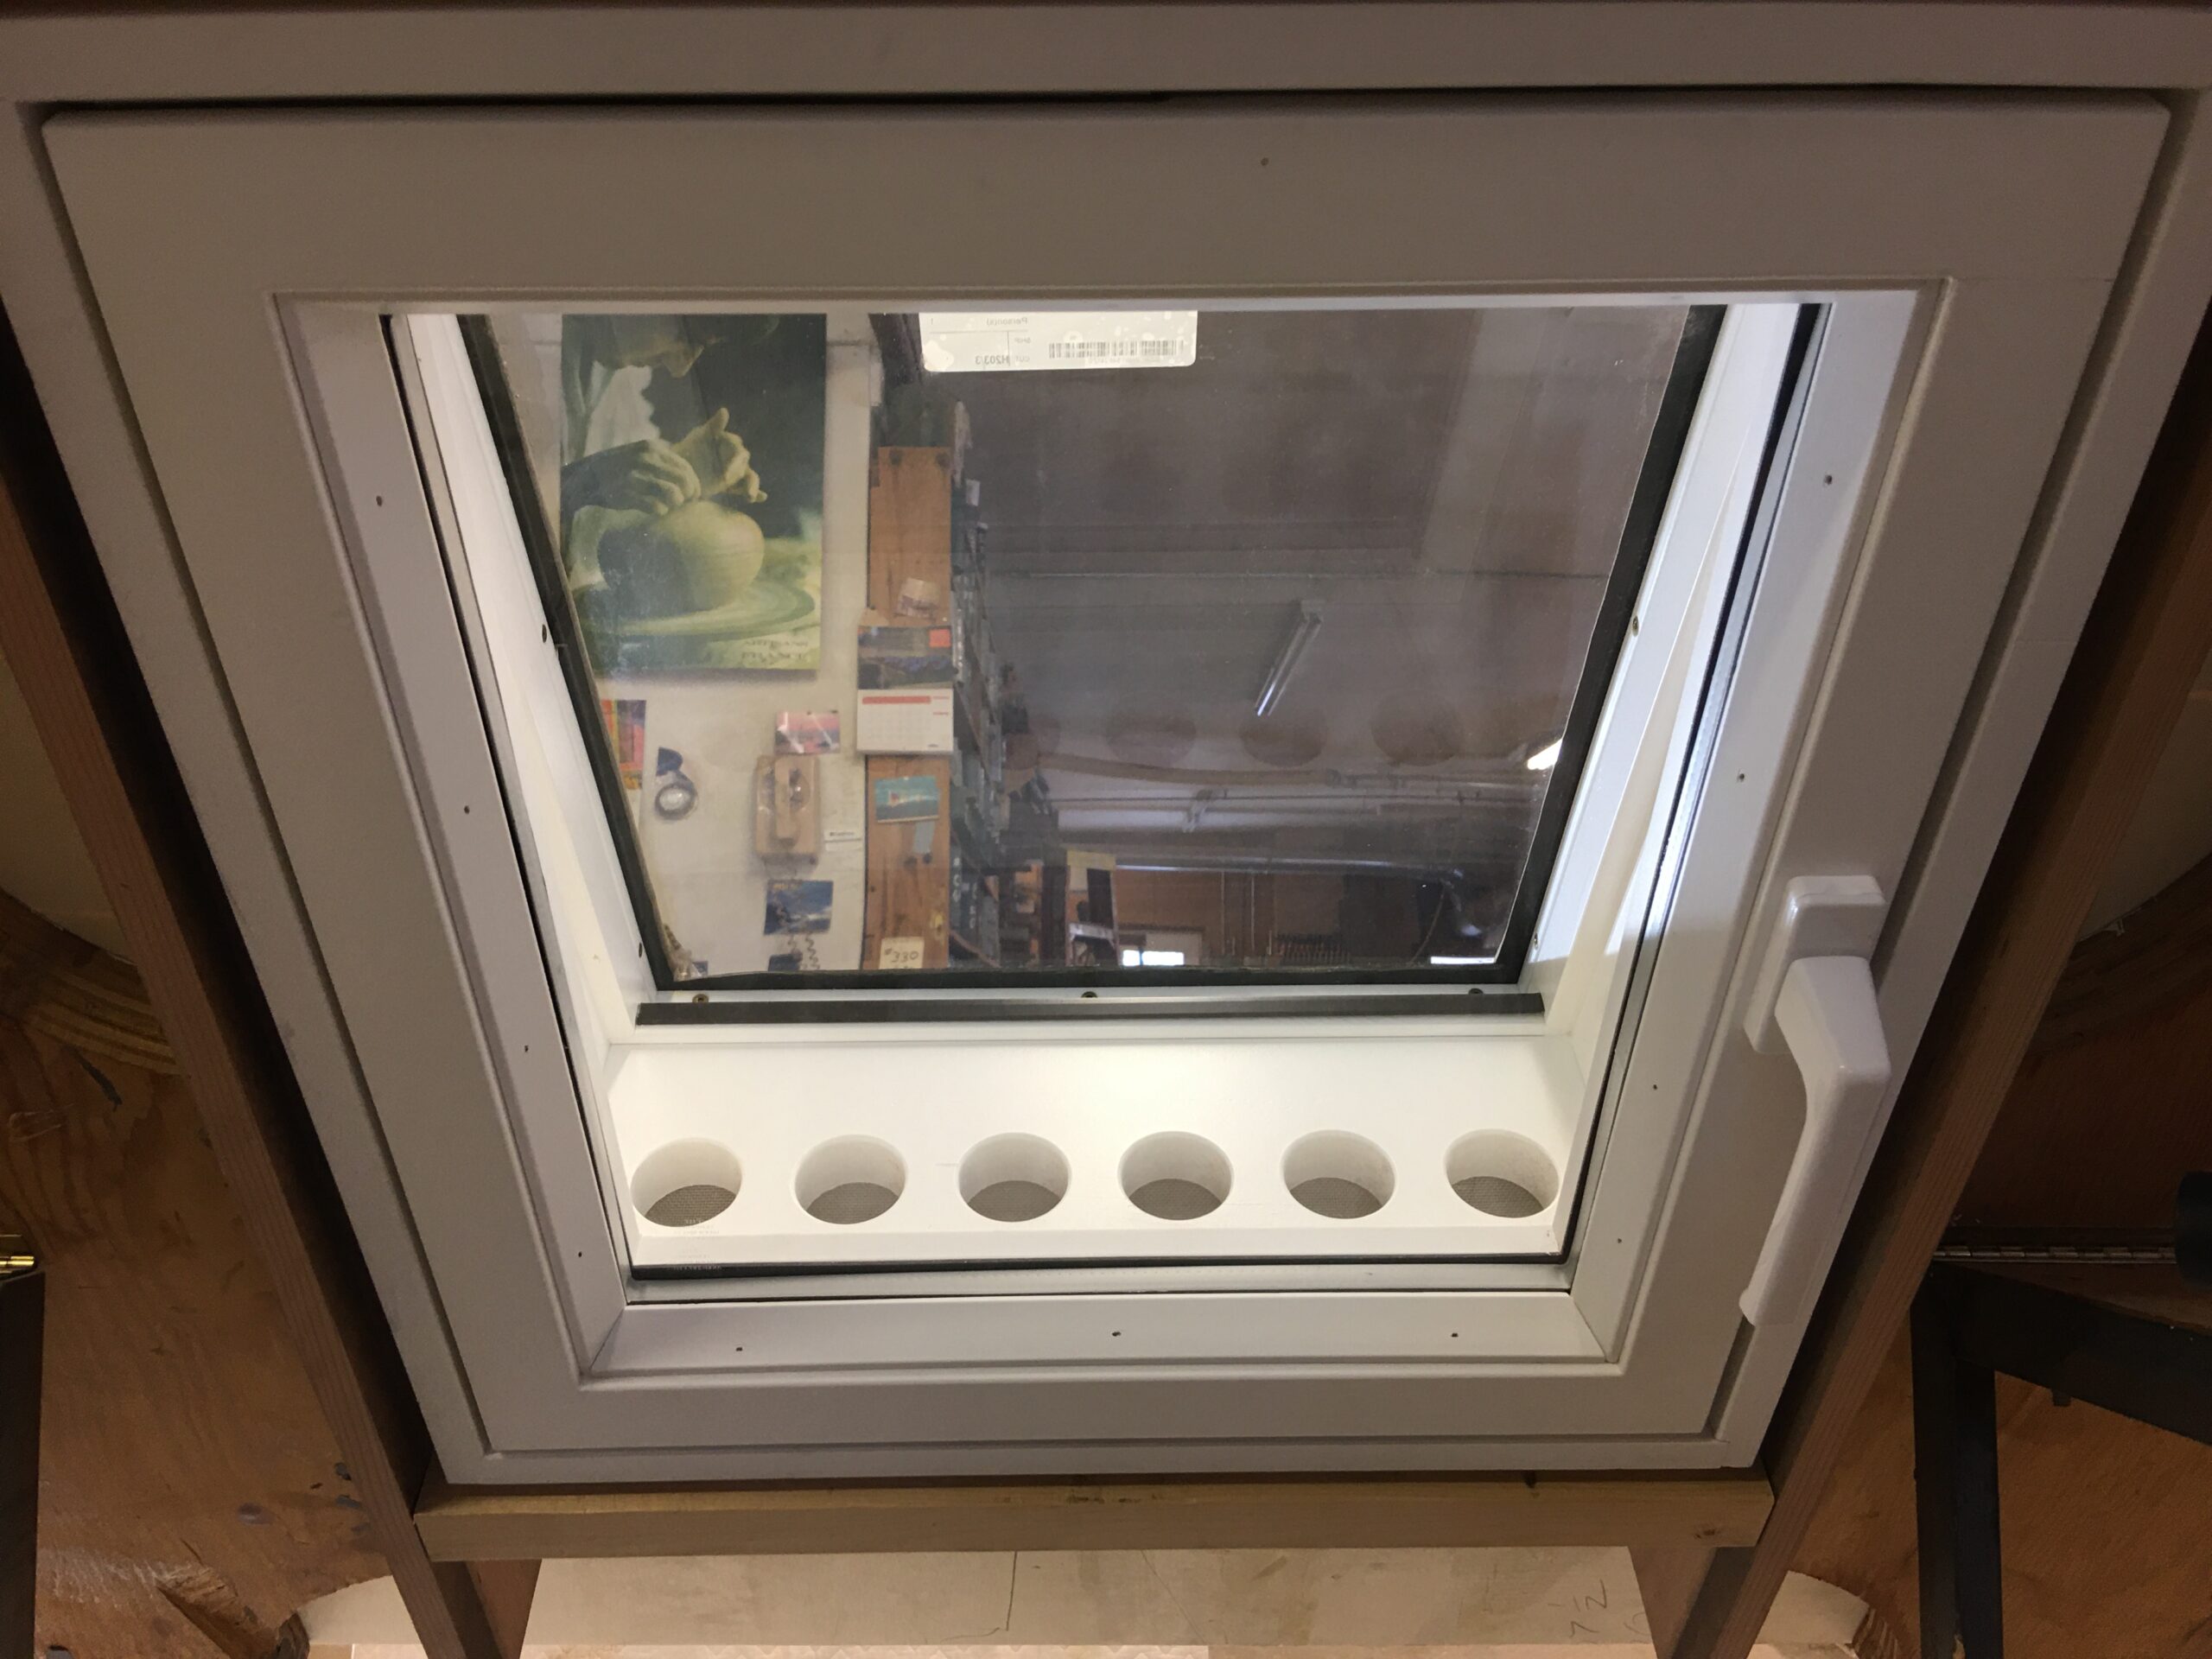
Notice the inner window’s single handle operation and substantial screened ventilation holes.
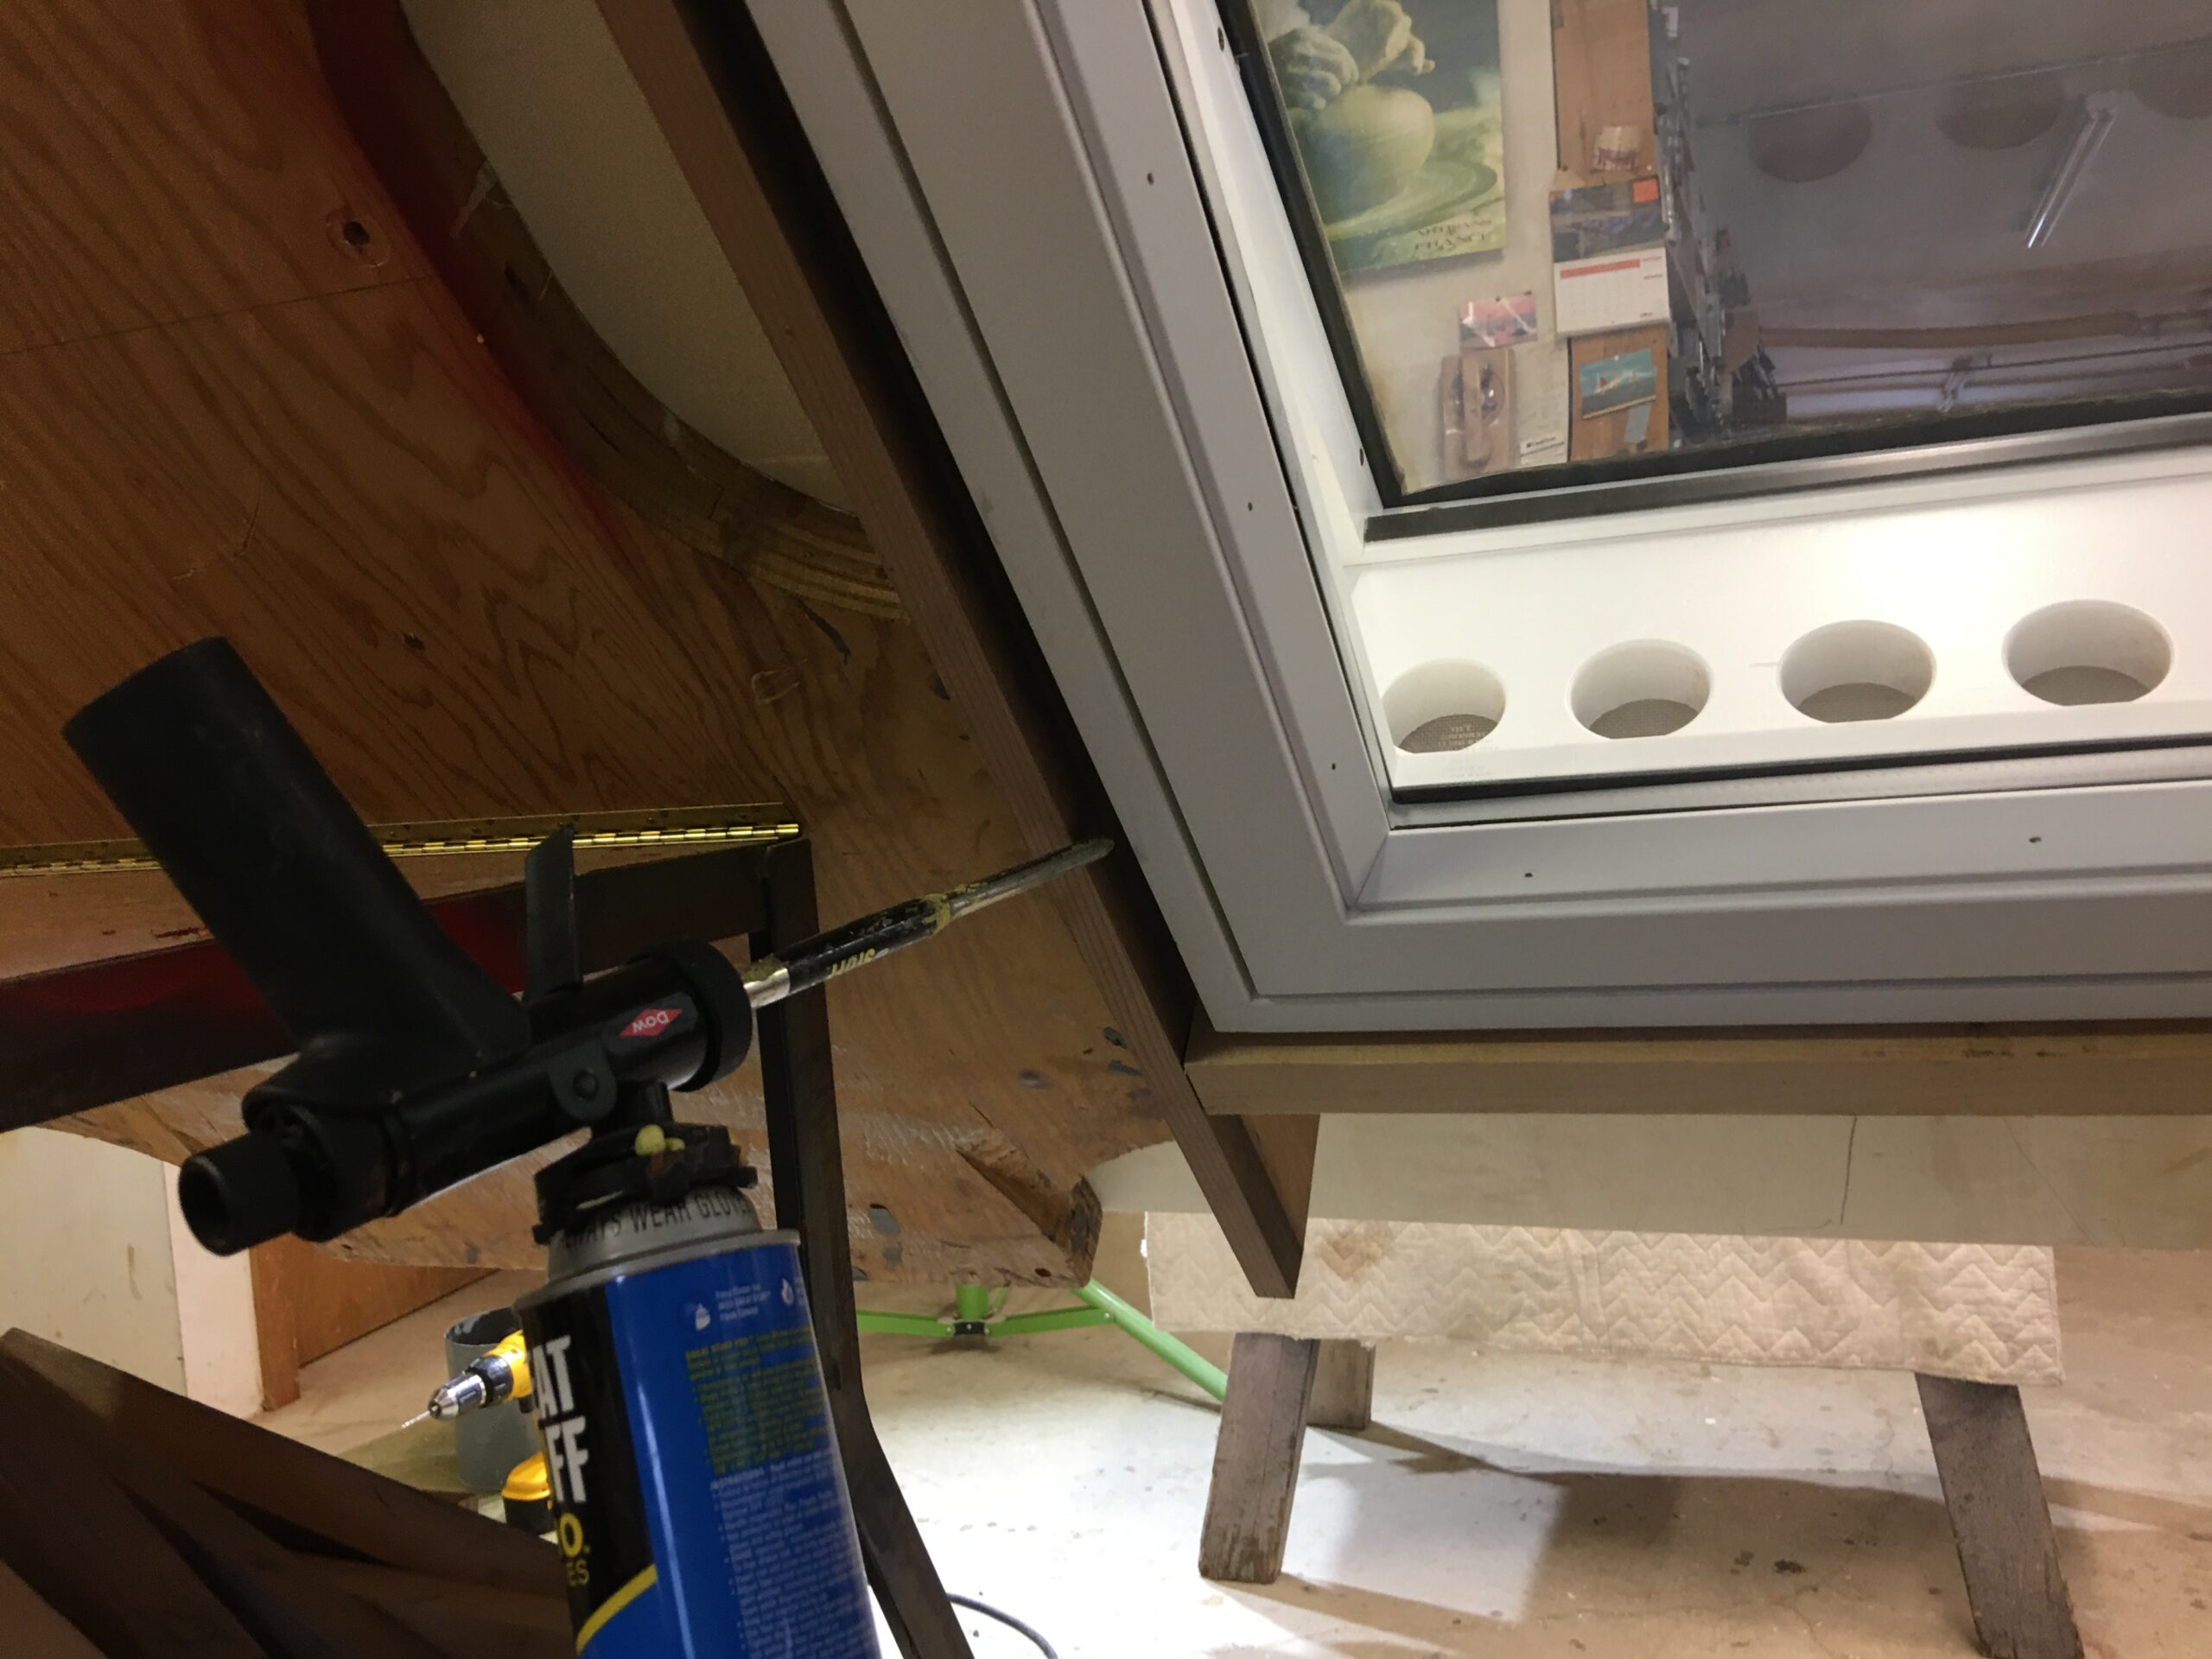
The Ceeflow skylight case penetrates 7 1/8″ into the roof system and is sized to provide a 1/2″ space between it and the framing. This space should be carefully insulated with spray foam. Warm, humidified interior climate conditions must not be allowed to reach roof-side colder, drier environments. In colder climates, this situation plagues conventional curbed skylights, not to mention ventilation blockage above and below.
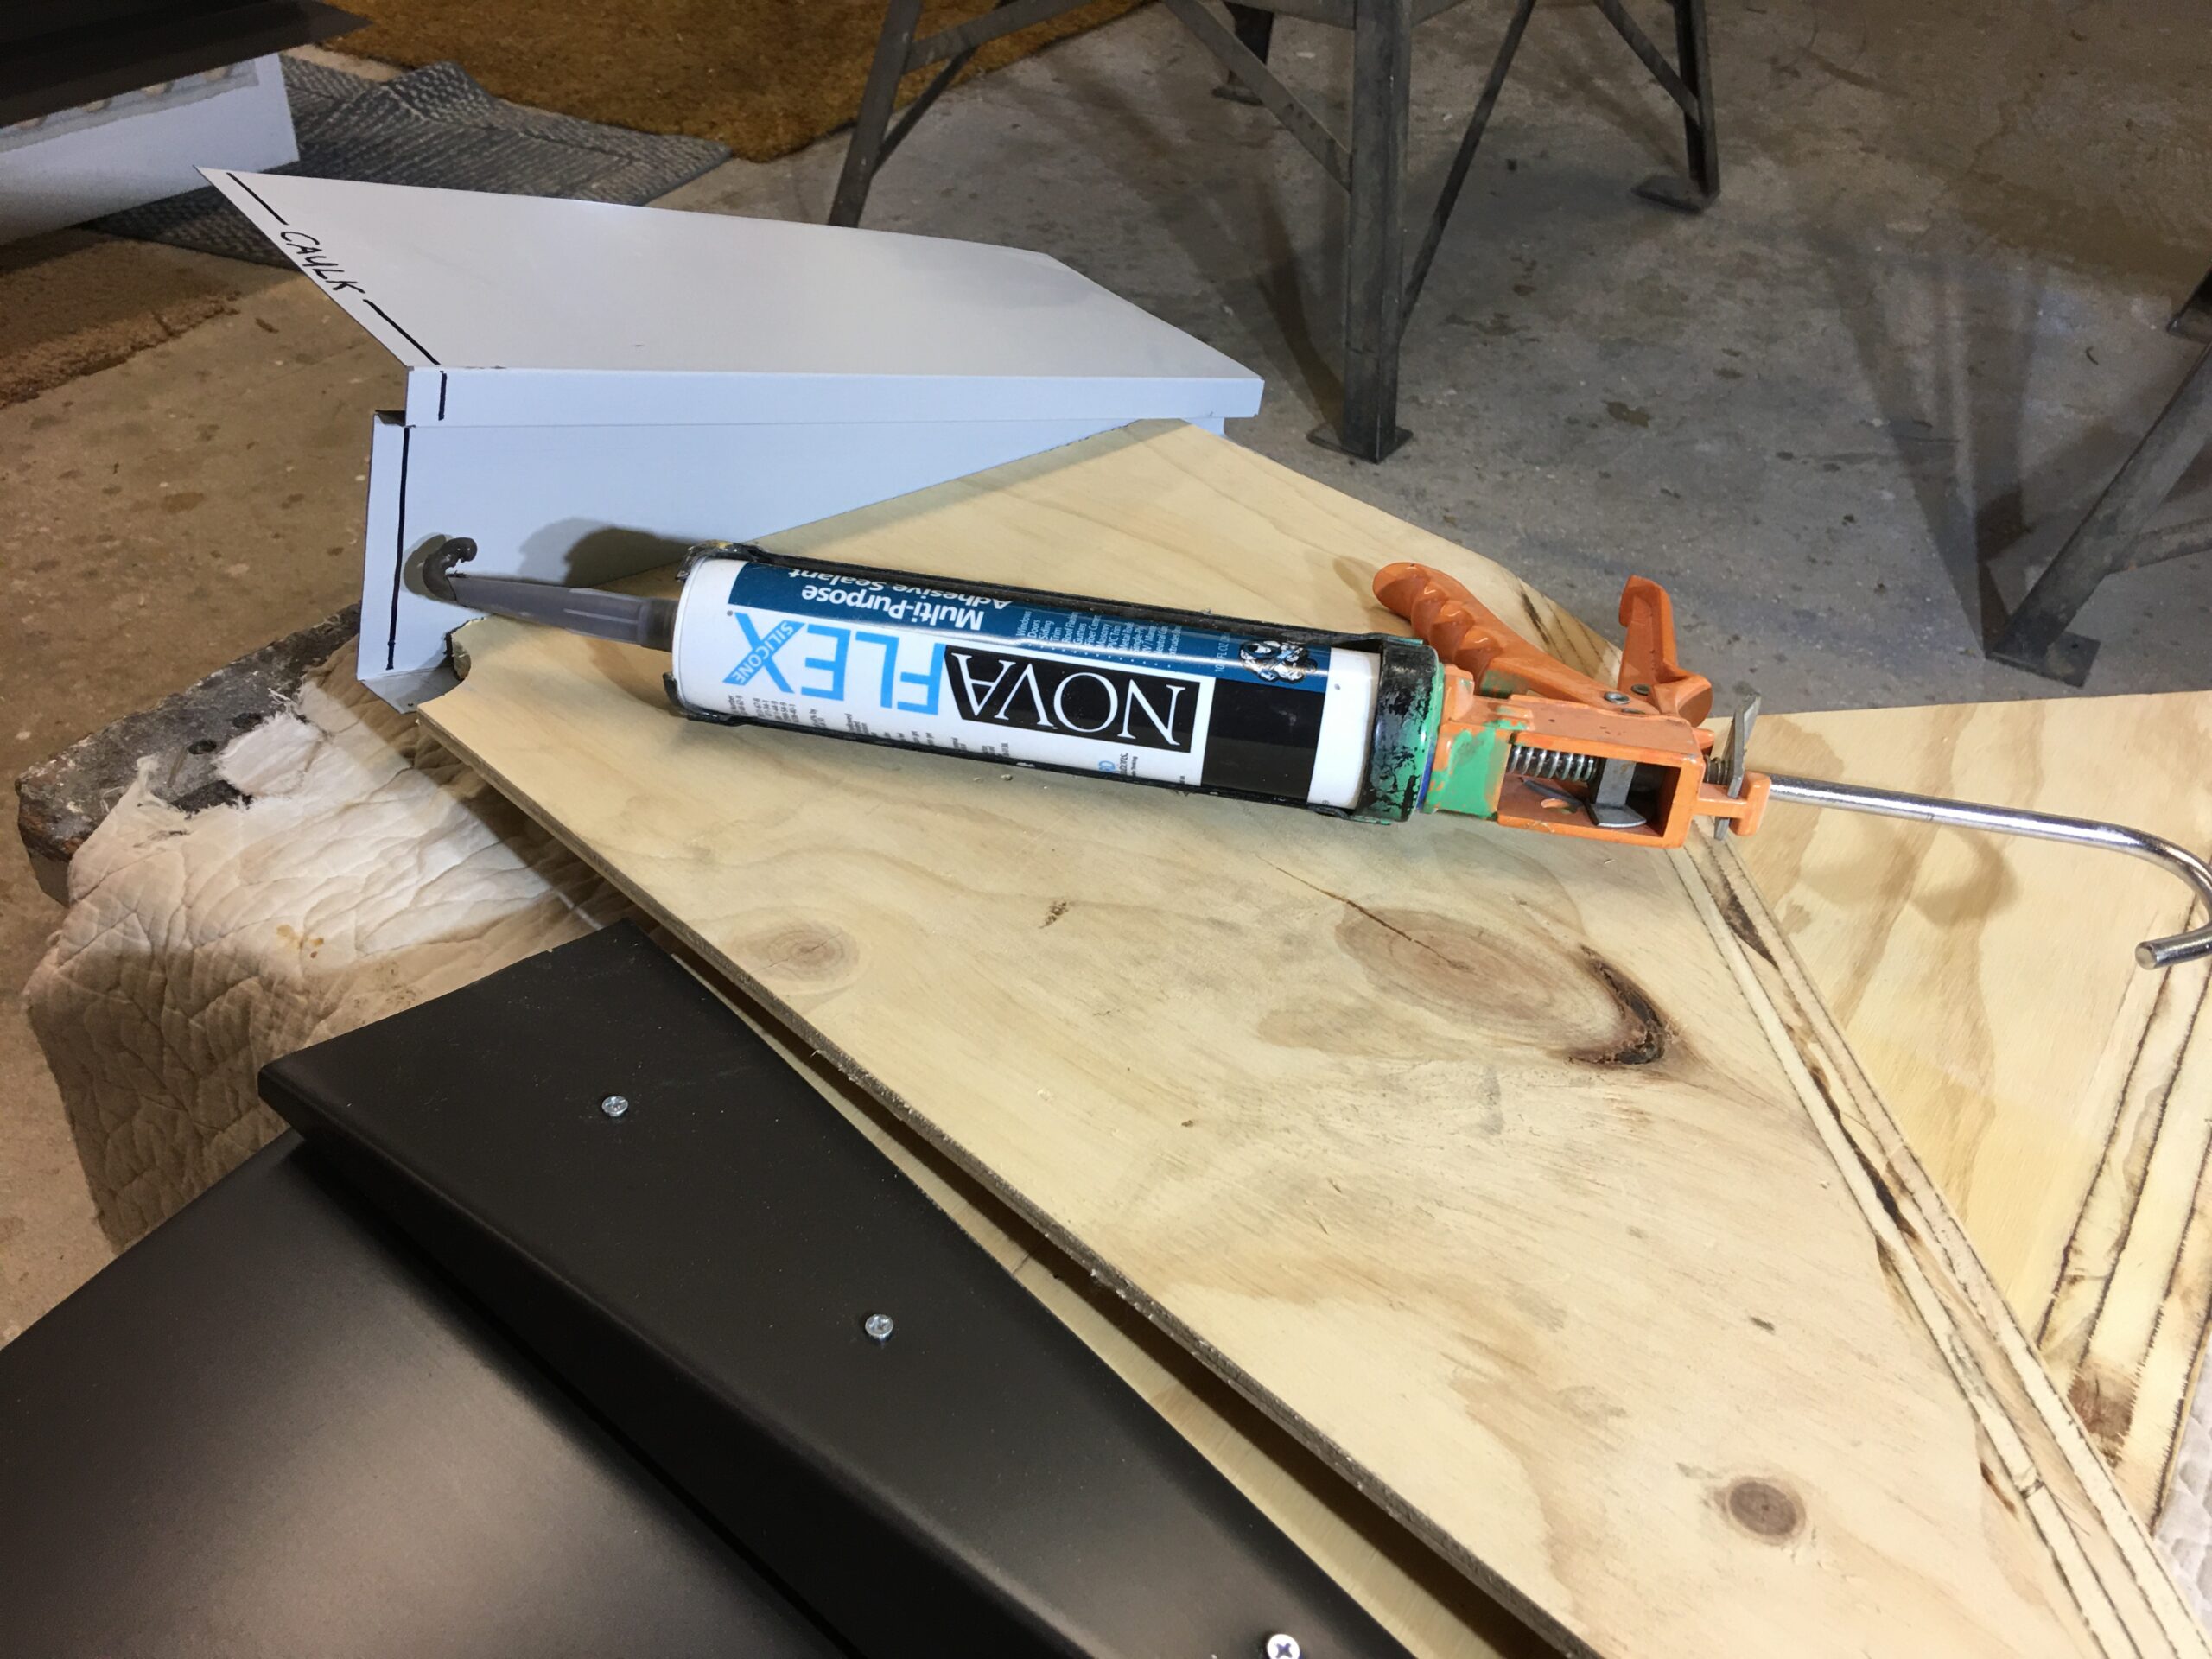
Both sides of a Ceeflow Skylight or at the ends of a Ceeflow gang are provided with single flaring wings providing significant airspace and a graceful transition of singles to the edges of the skylights outer window as it rises from flush top to elevated bottom. This eliminates the damming effects of conventional curbs and is more aesthetically pleasing. The metal apron of the wing needs to be caulked with silicone prior to installing it.
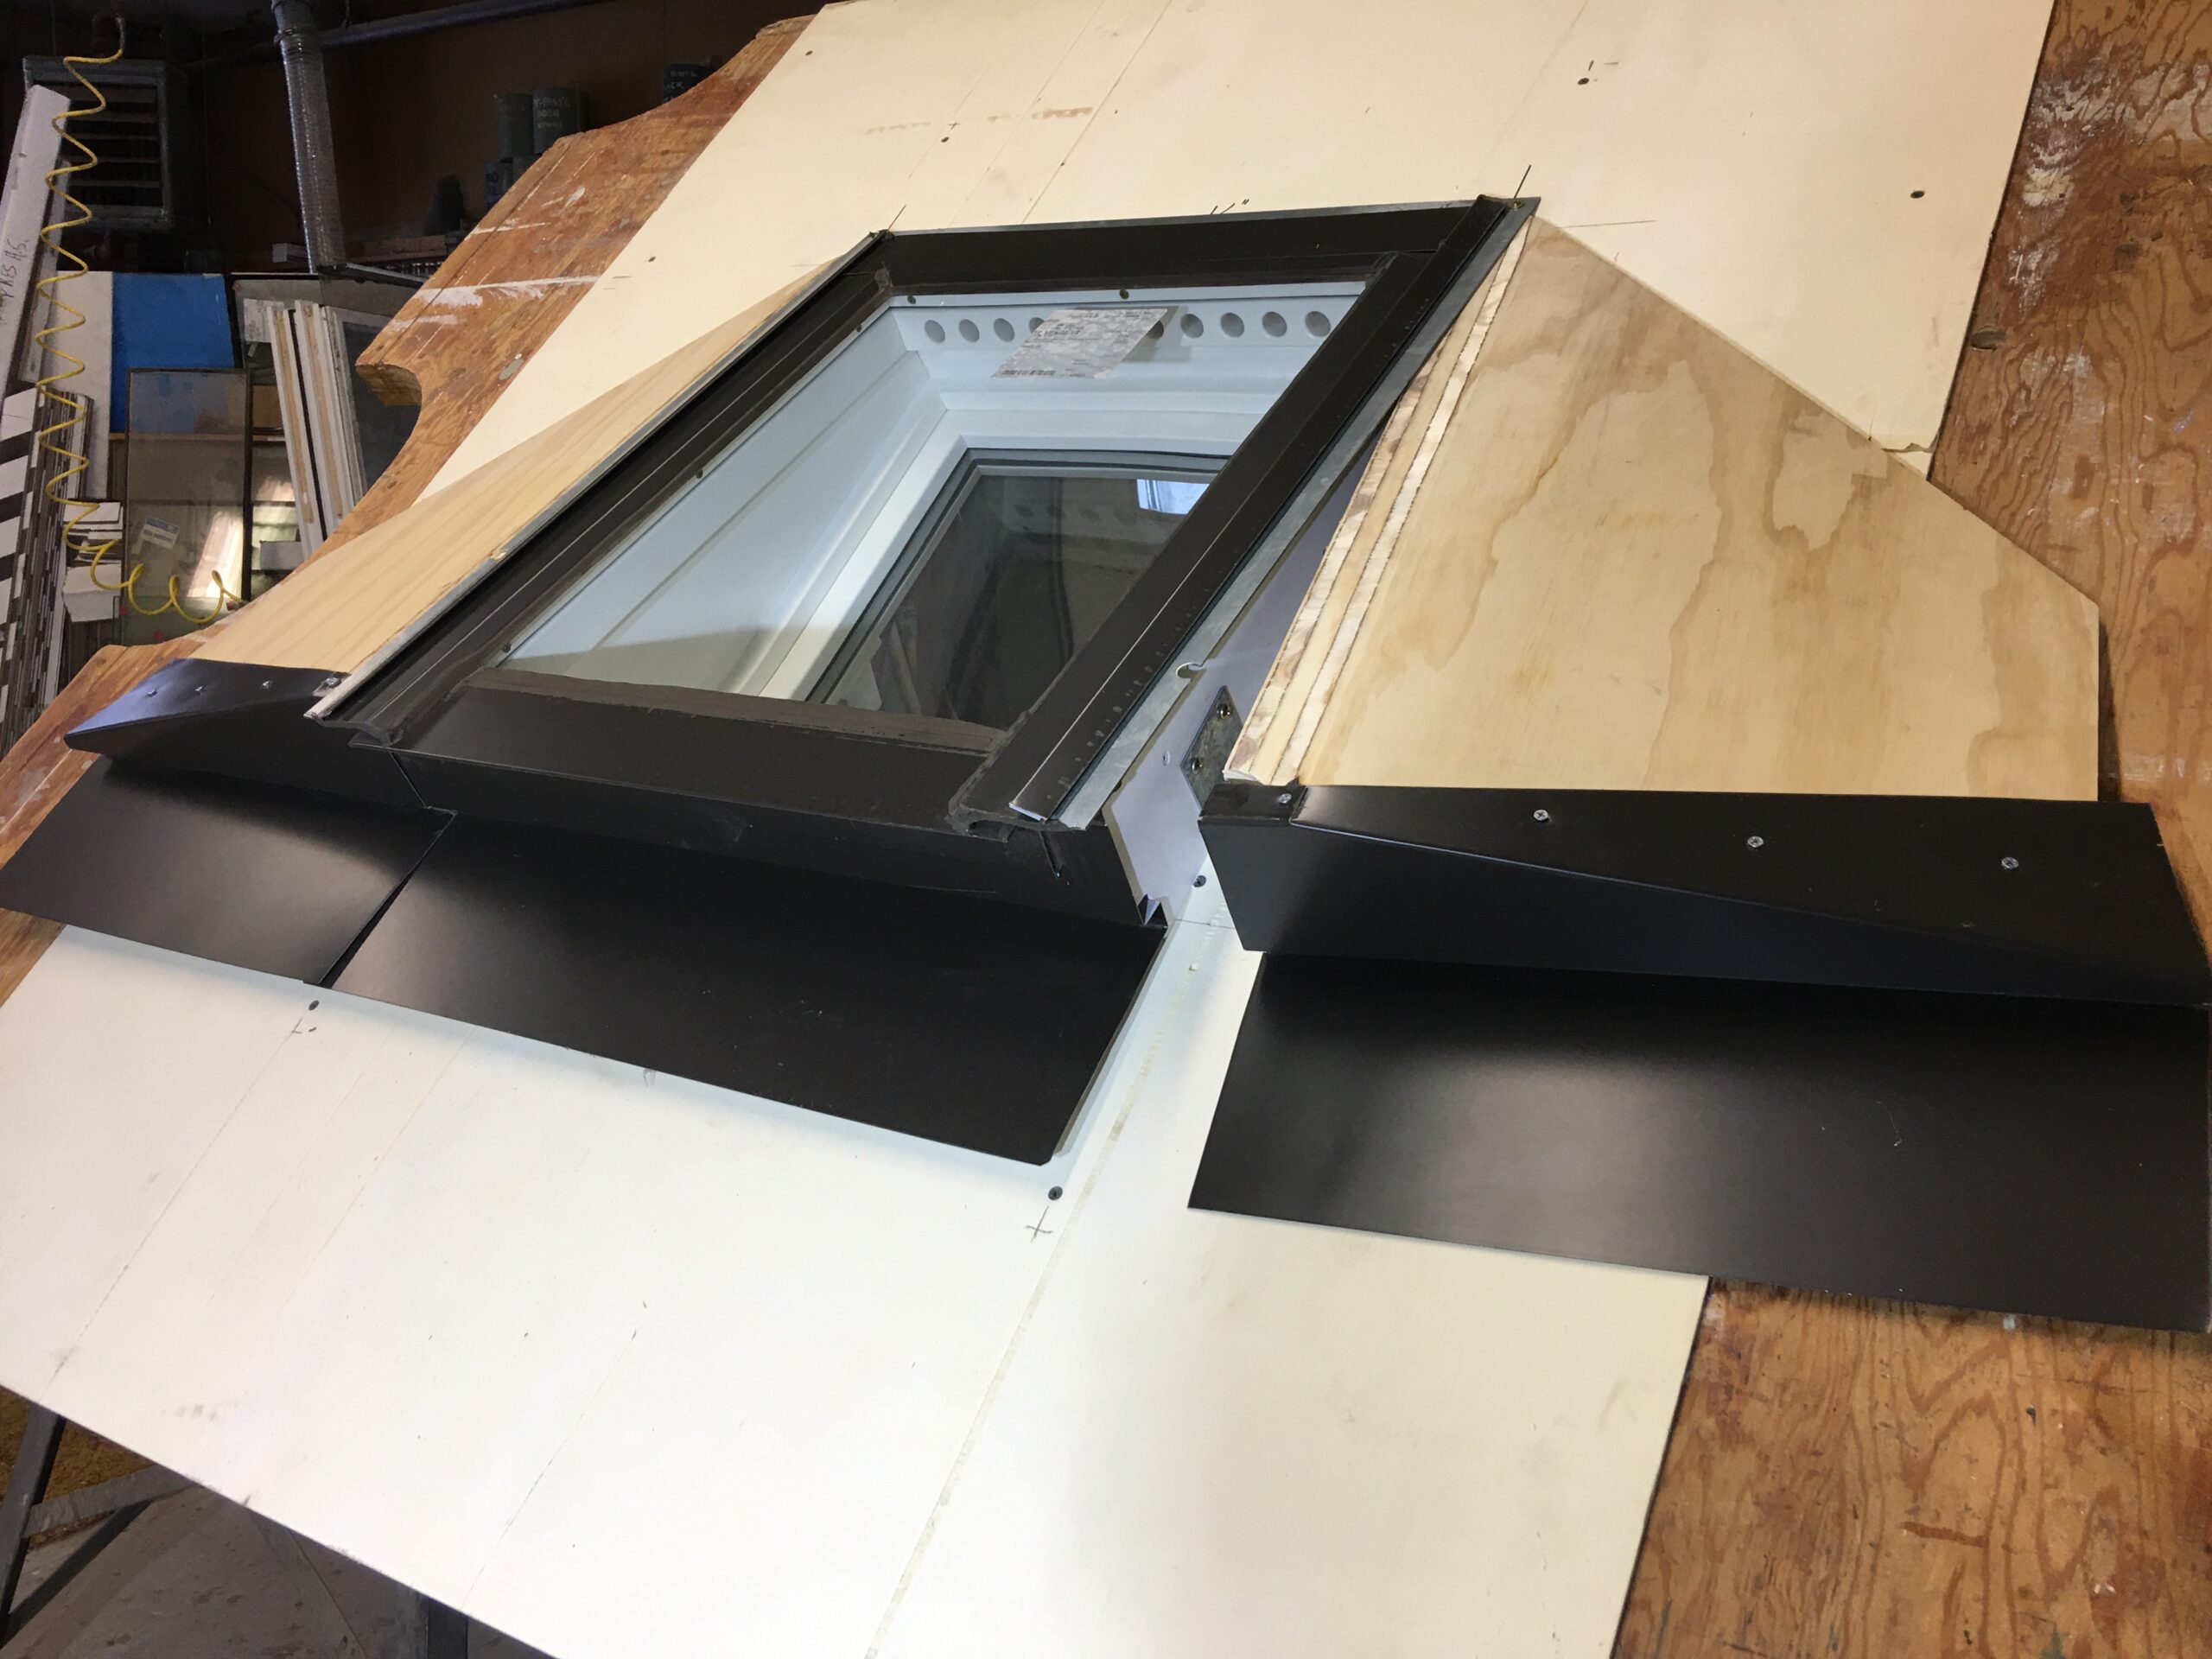
The Ceeflow Skylight wing with attached lower apron flange extension are provided with a receiving slot on the skylight side and must overlap the apron on the skylight body, directly adjacent to it.
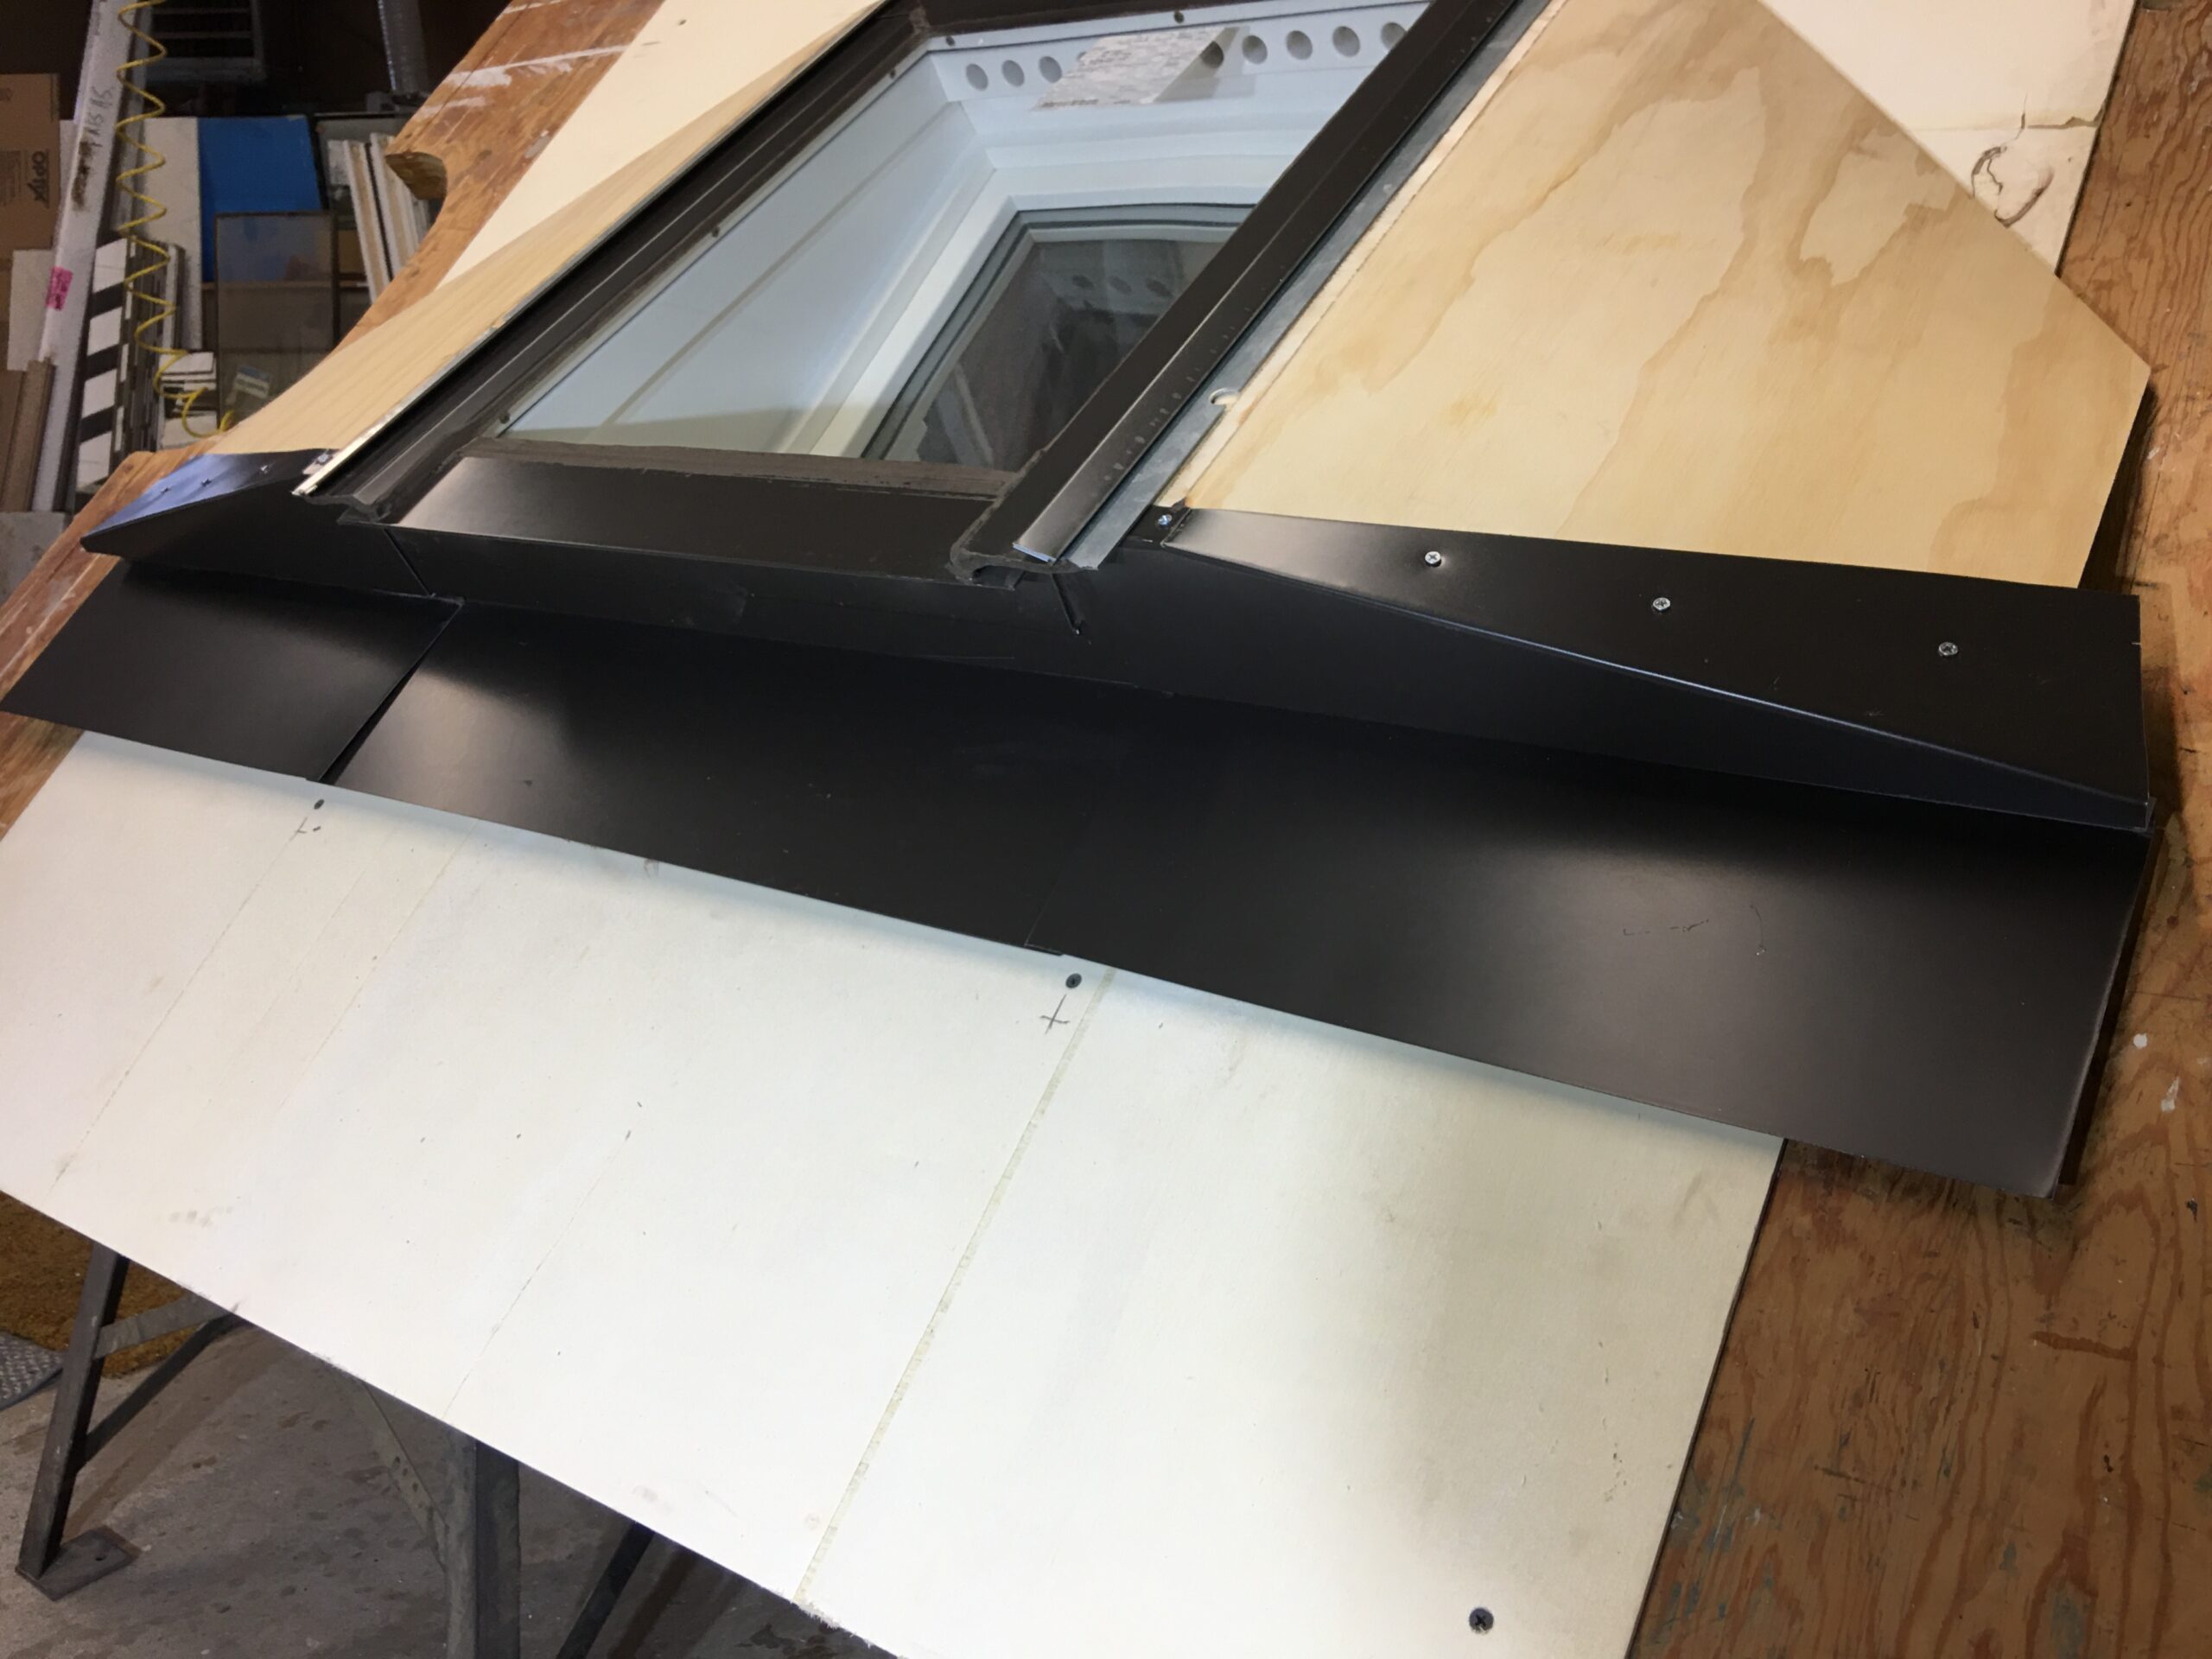
Installed wing in its correct position.
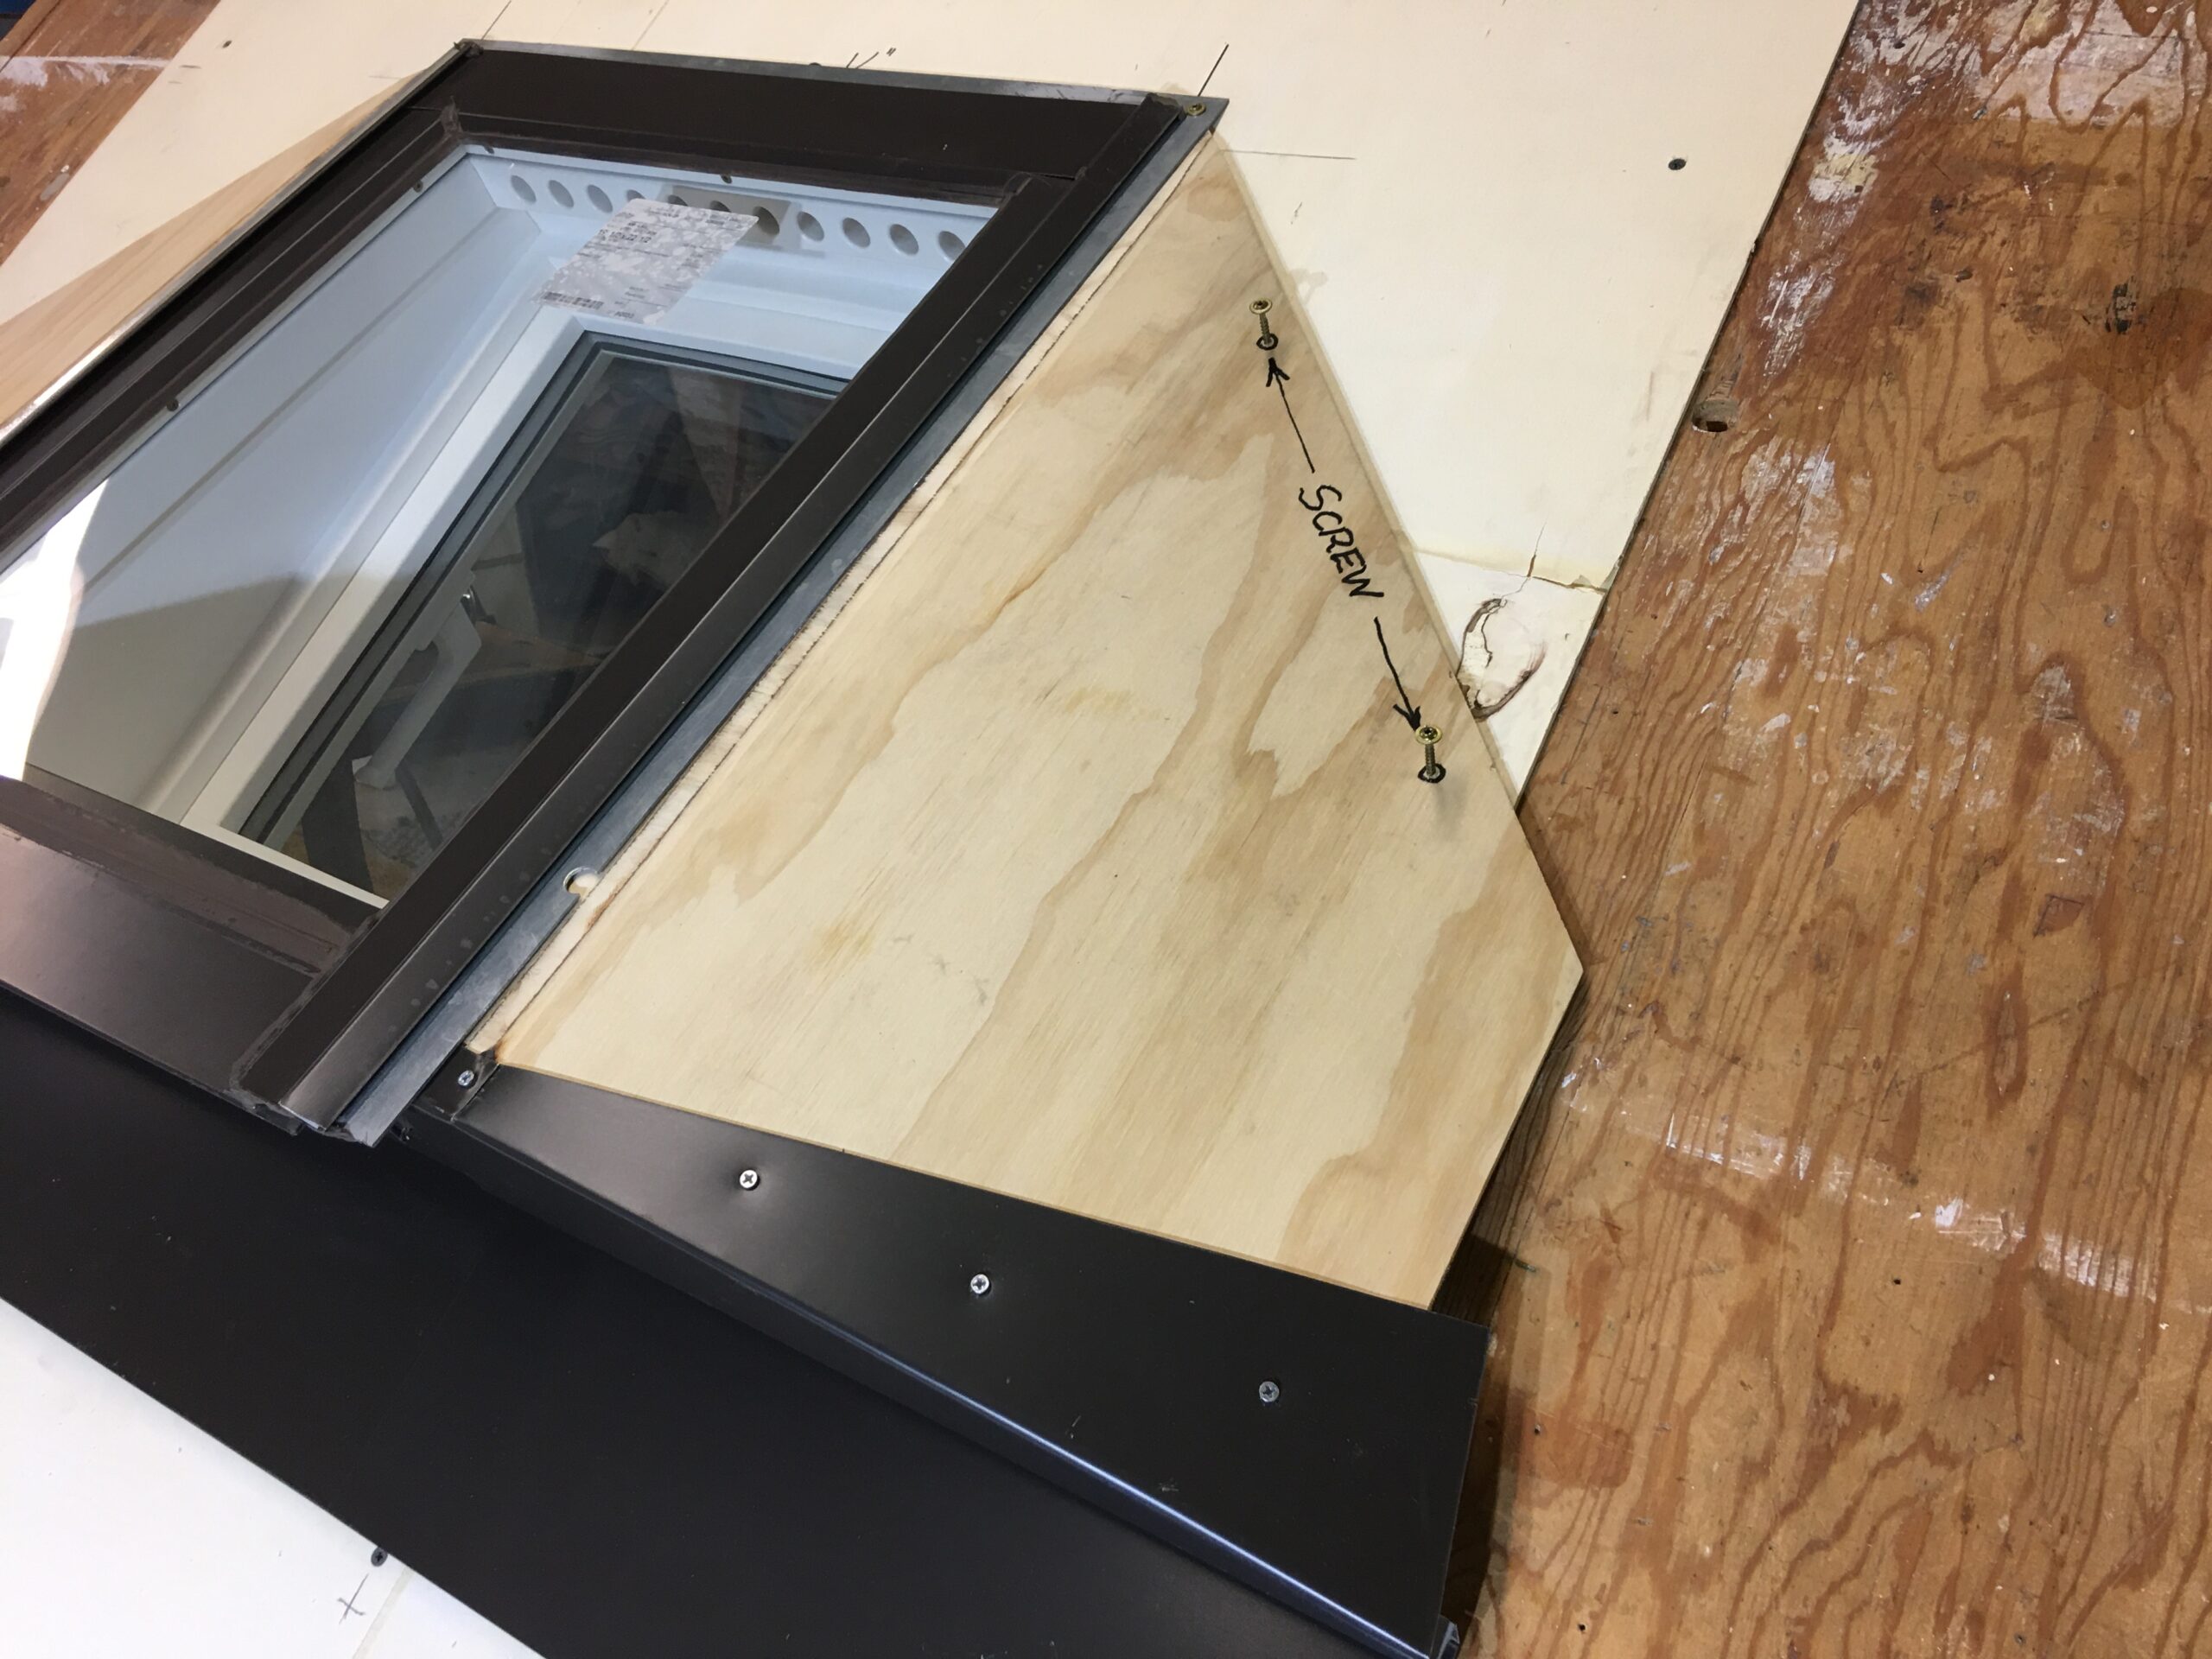
The plywood wing should be screwed to deck as shown
Ice and water membrane should be applied bottom to top, overlapping as shown and carefully stuck to heavy galvanized perimeter flange on the sides.
Notice the overlapping of the membrane on the bottom right by the one above. Space is provided under the lower aprons to slide both membranes and shingles underneath.

A special eve drip slides between the caulked outer glazing cap and the heavy galvanized steel perimeter flange. It covers the ice and water membrane, which will still drain positively and finishes the edge to bring singles over. It is also cut short of meeting the deck to allow shingles to be pushed up under it.
(Tight roofing is about good overlaps)
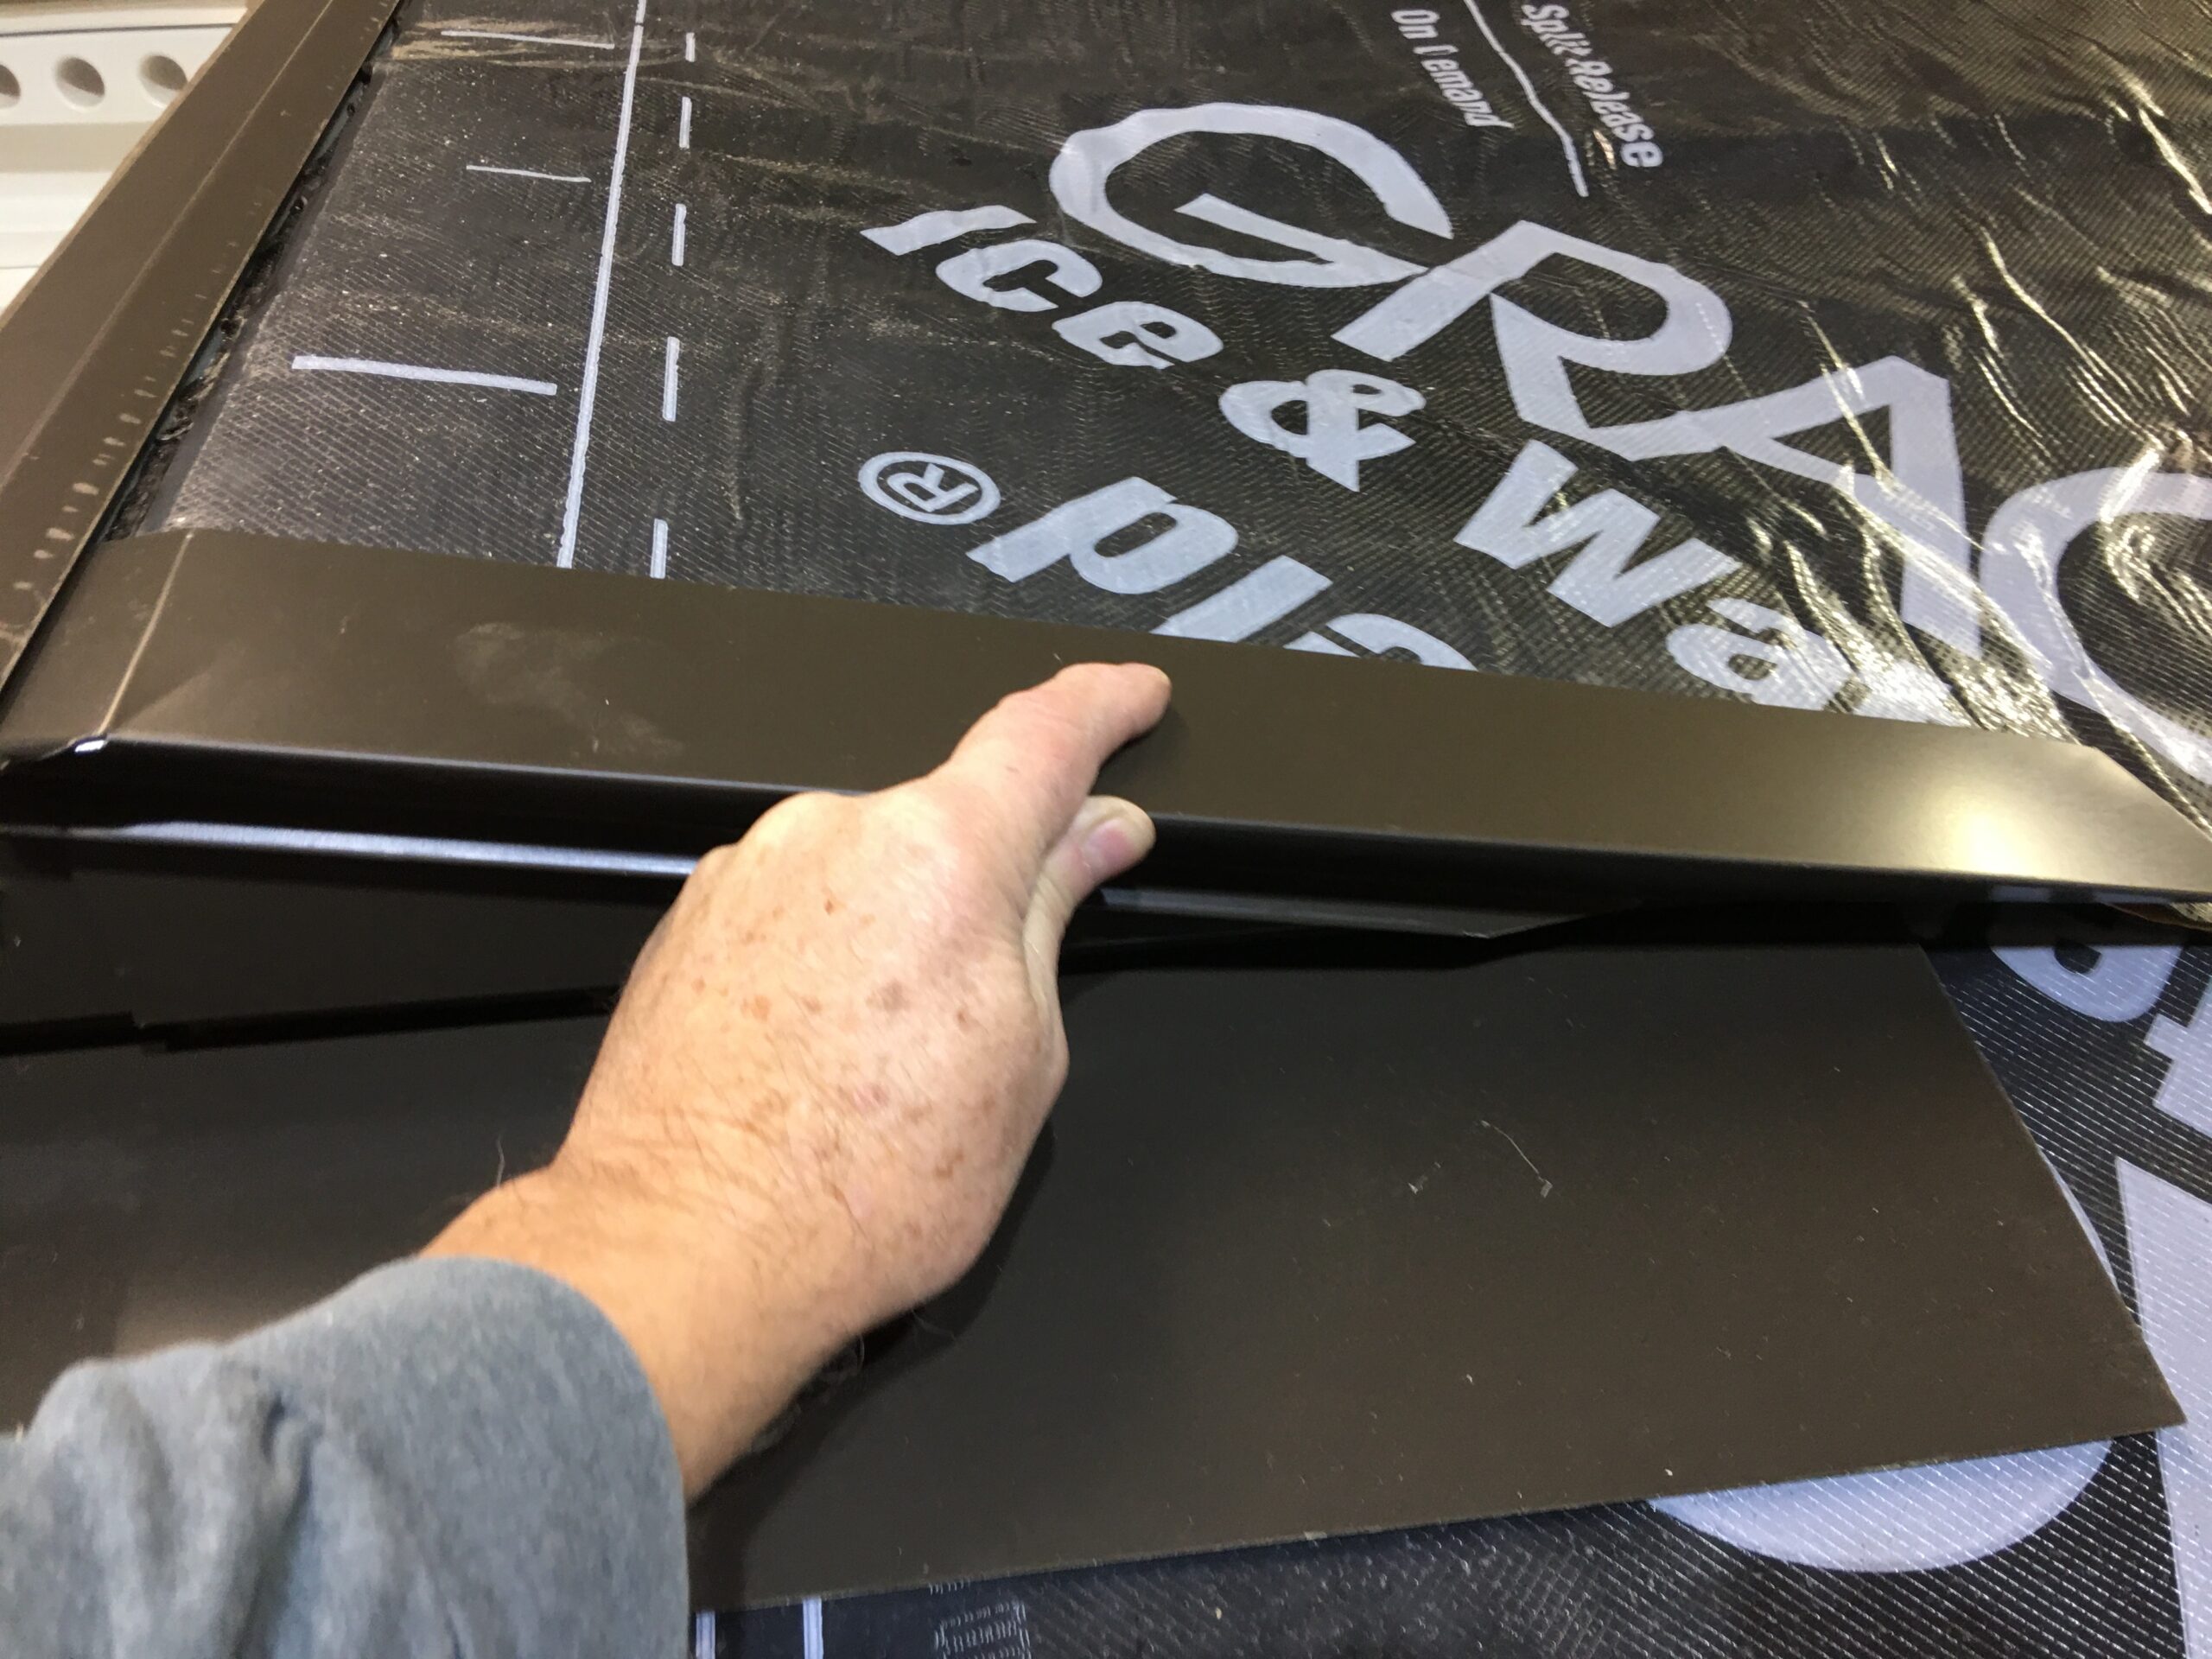
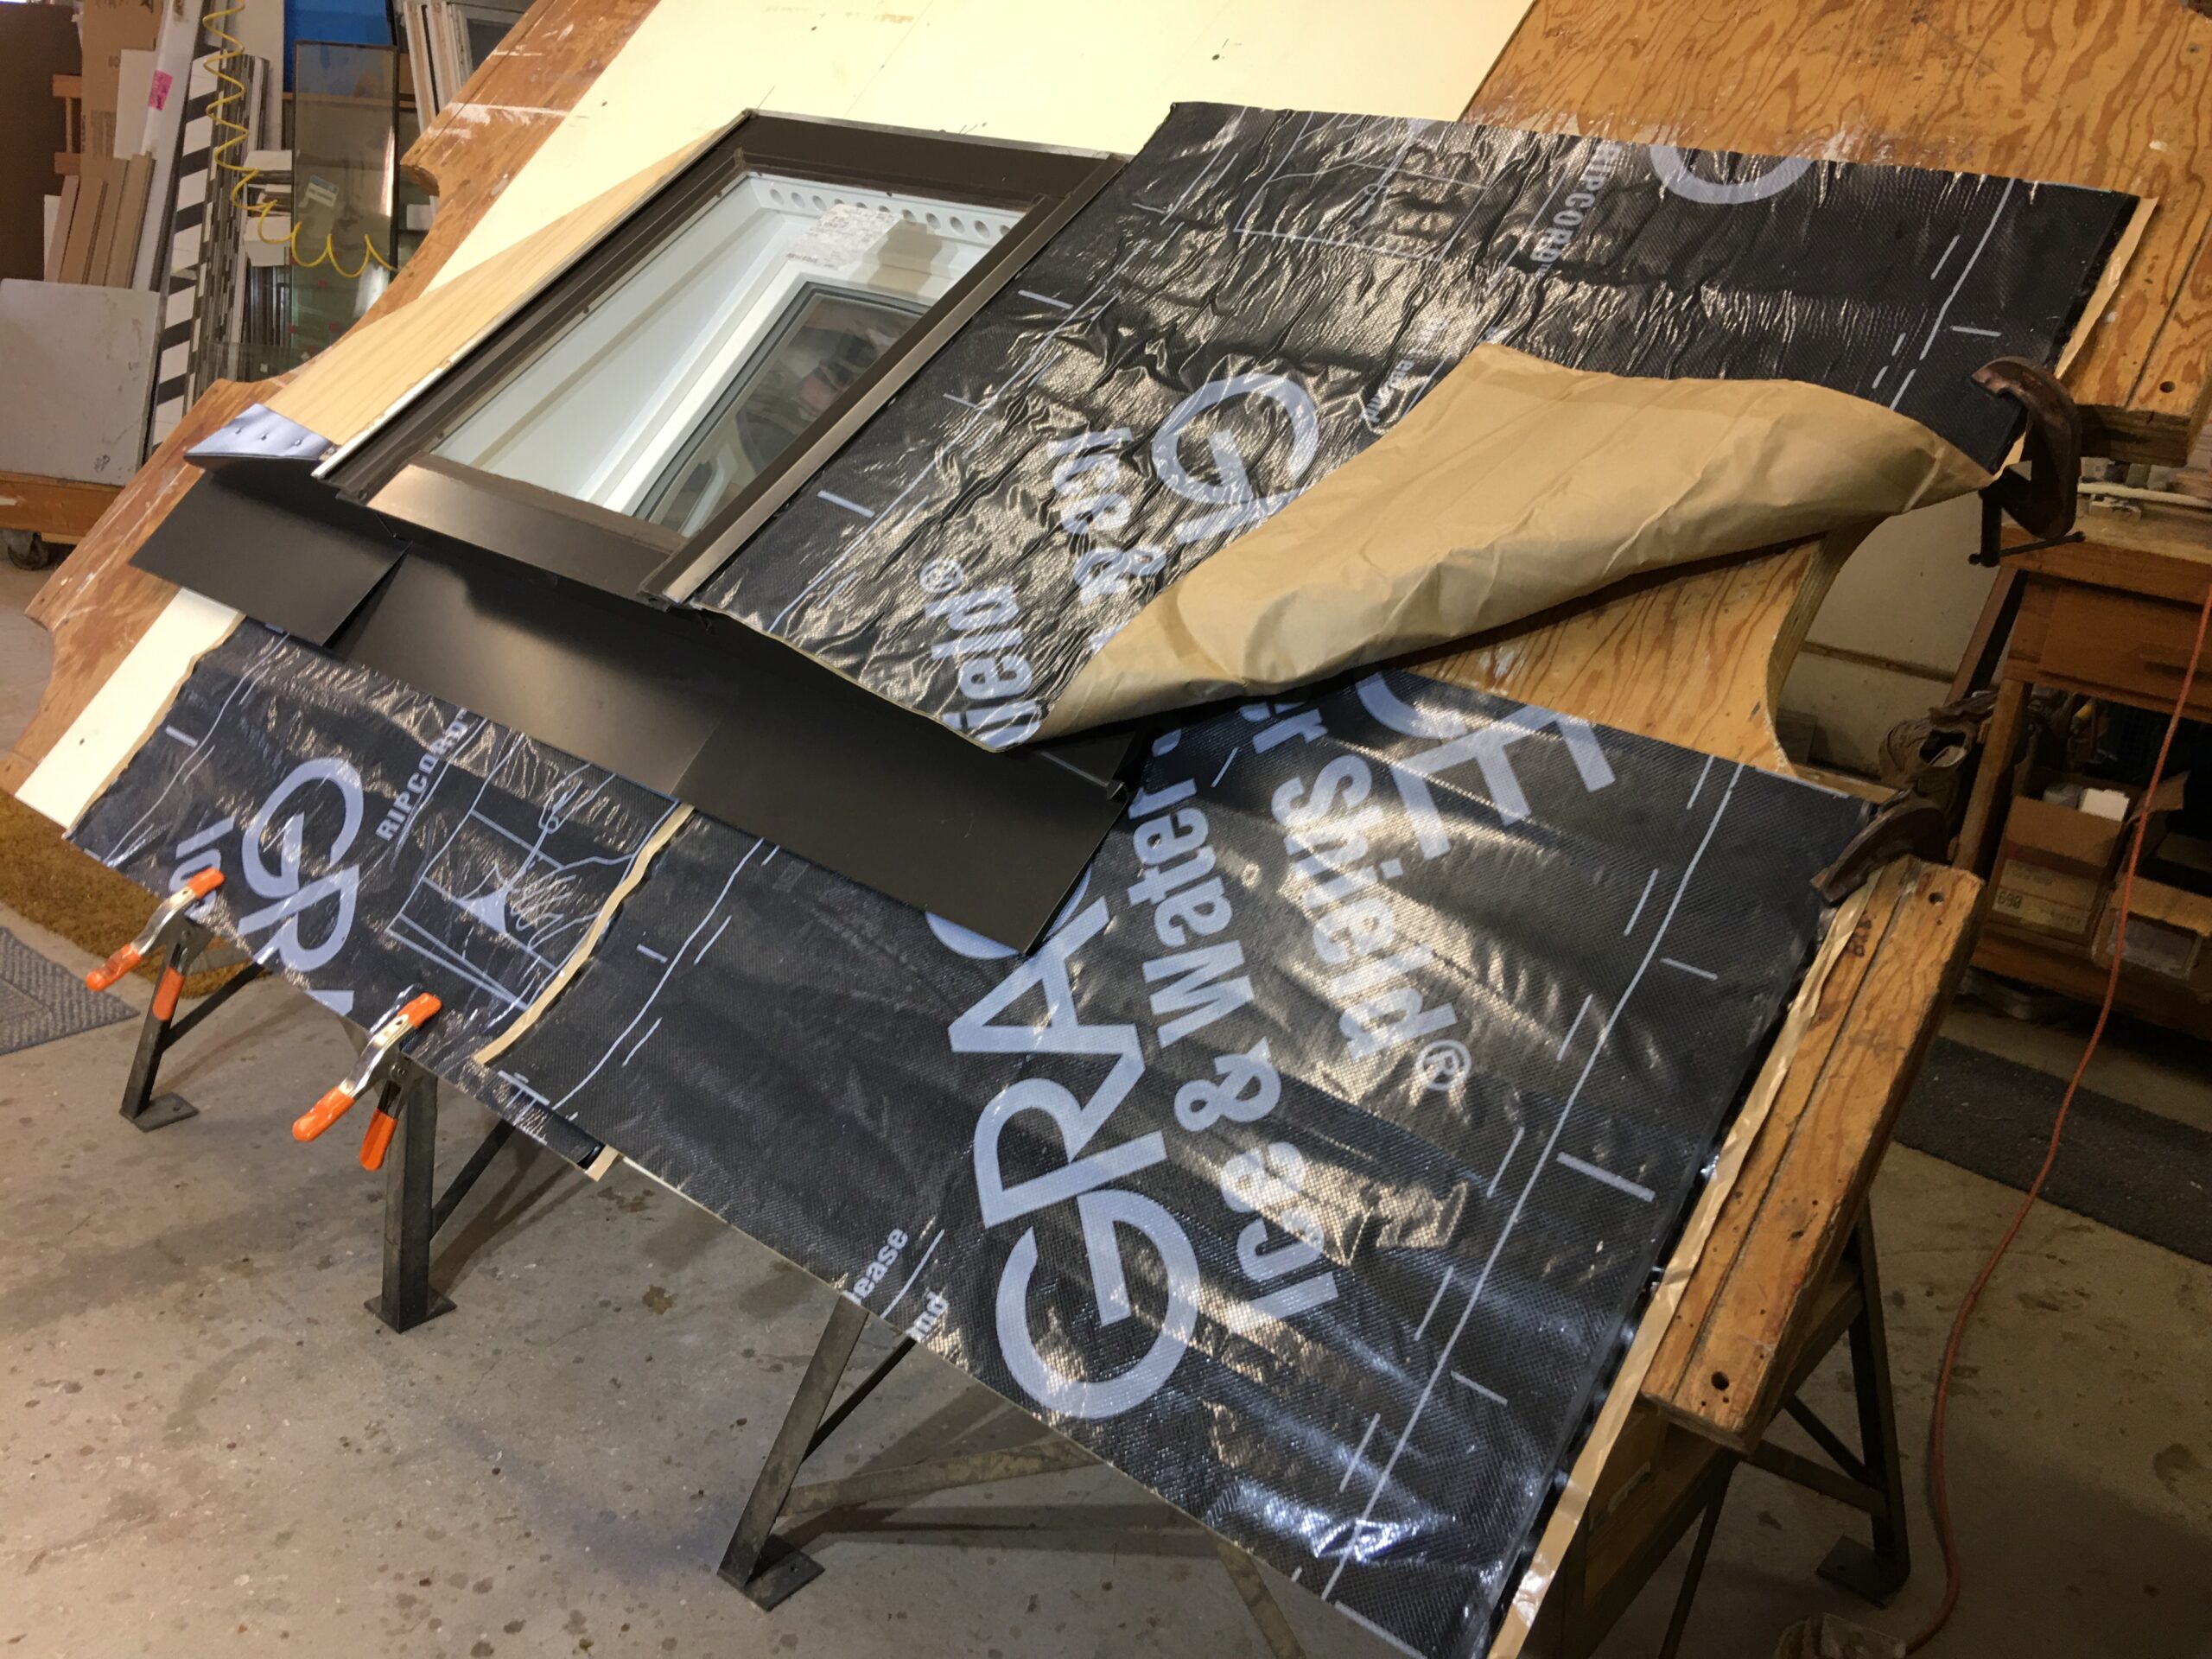
An ice and water shield counter flange slips into a channel provided in the outer glazing cap.
Counter flange in its correct position.
Note: when ganging
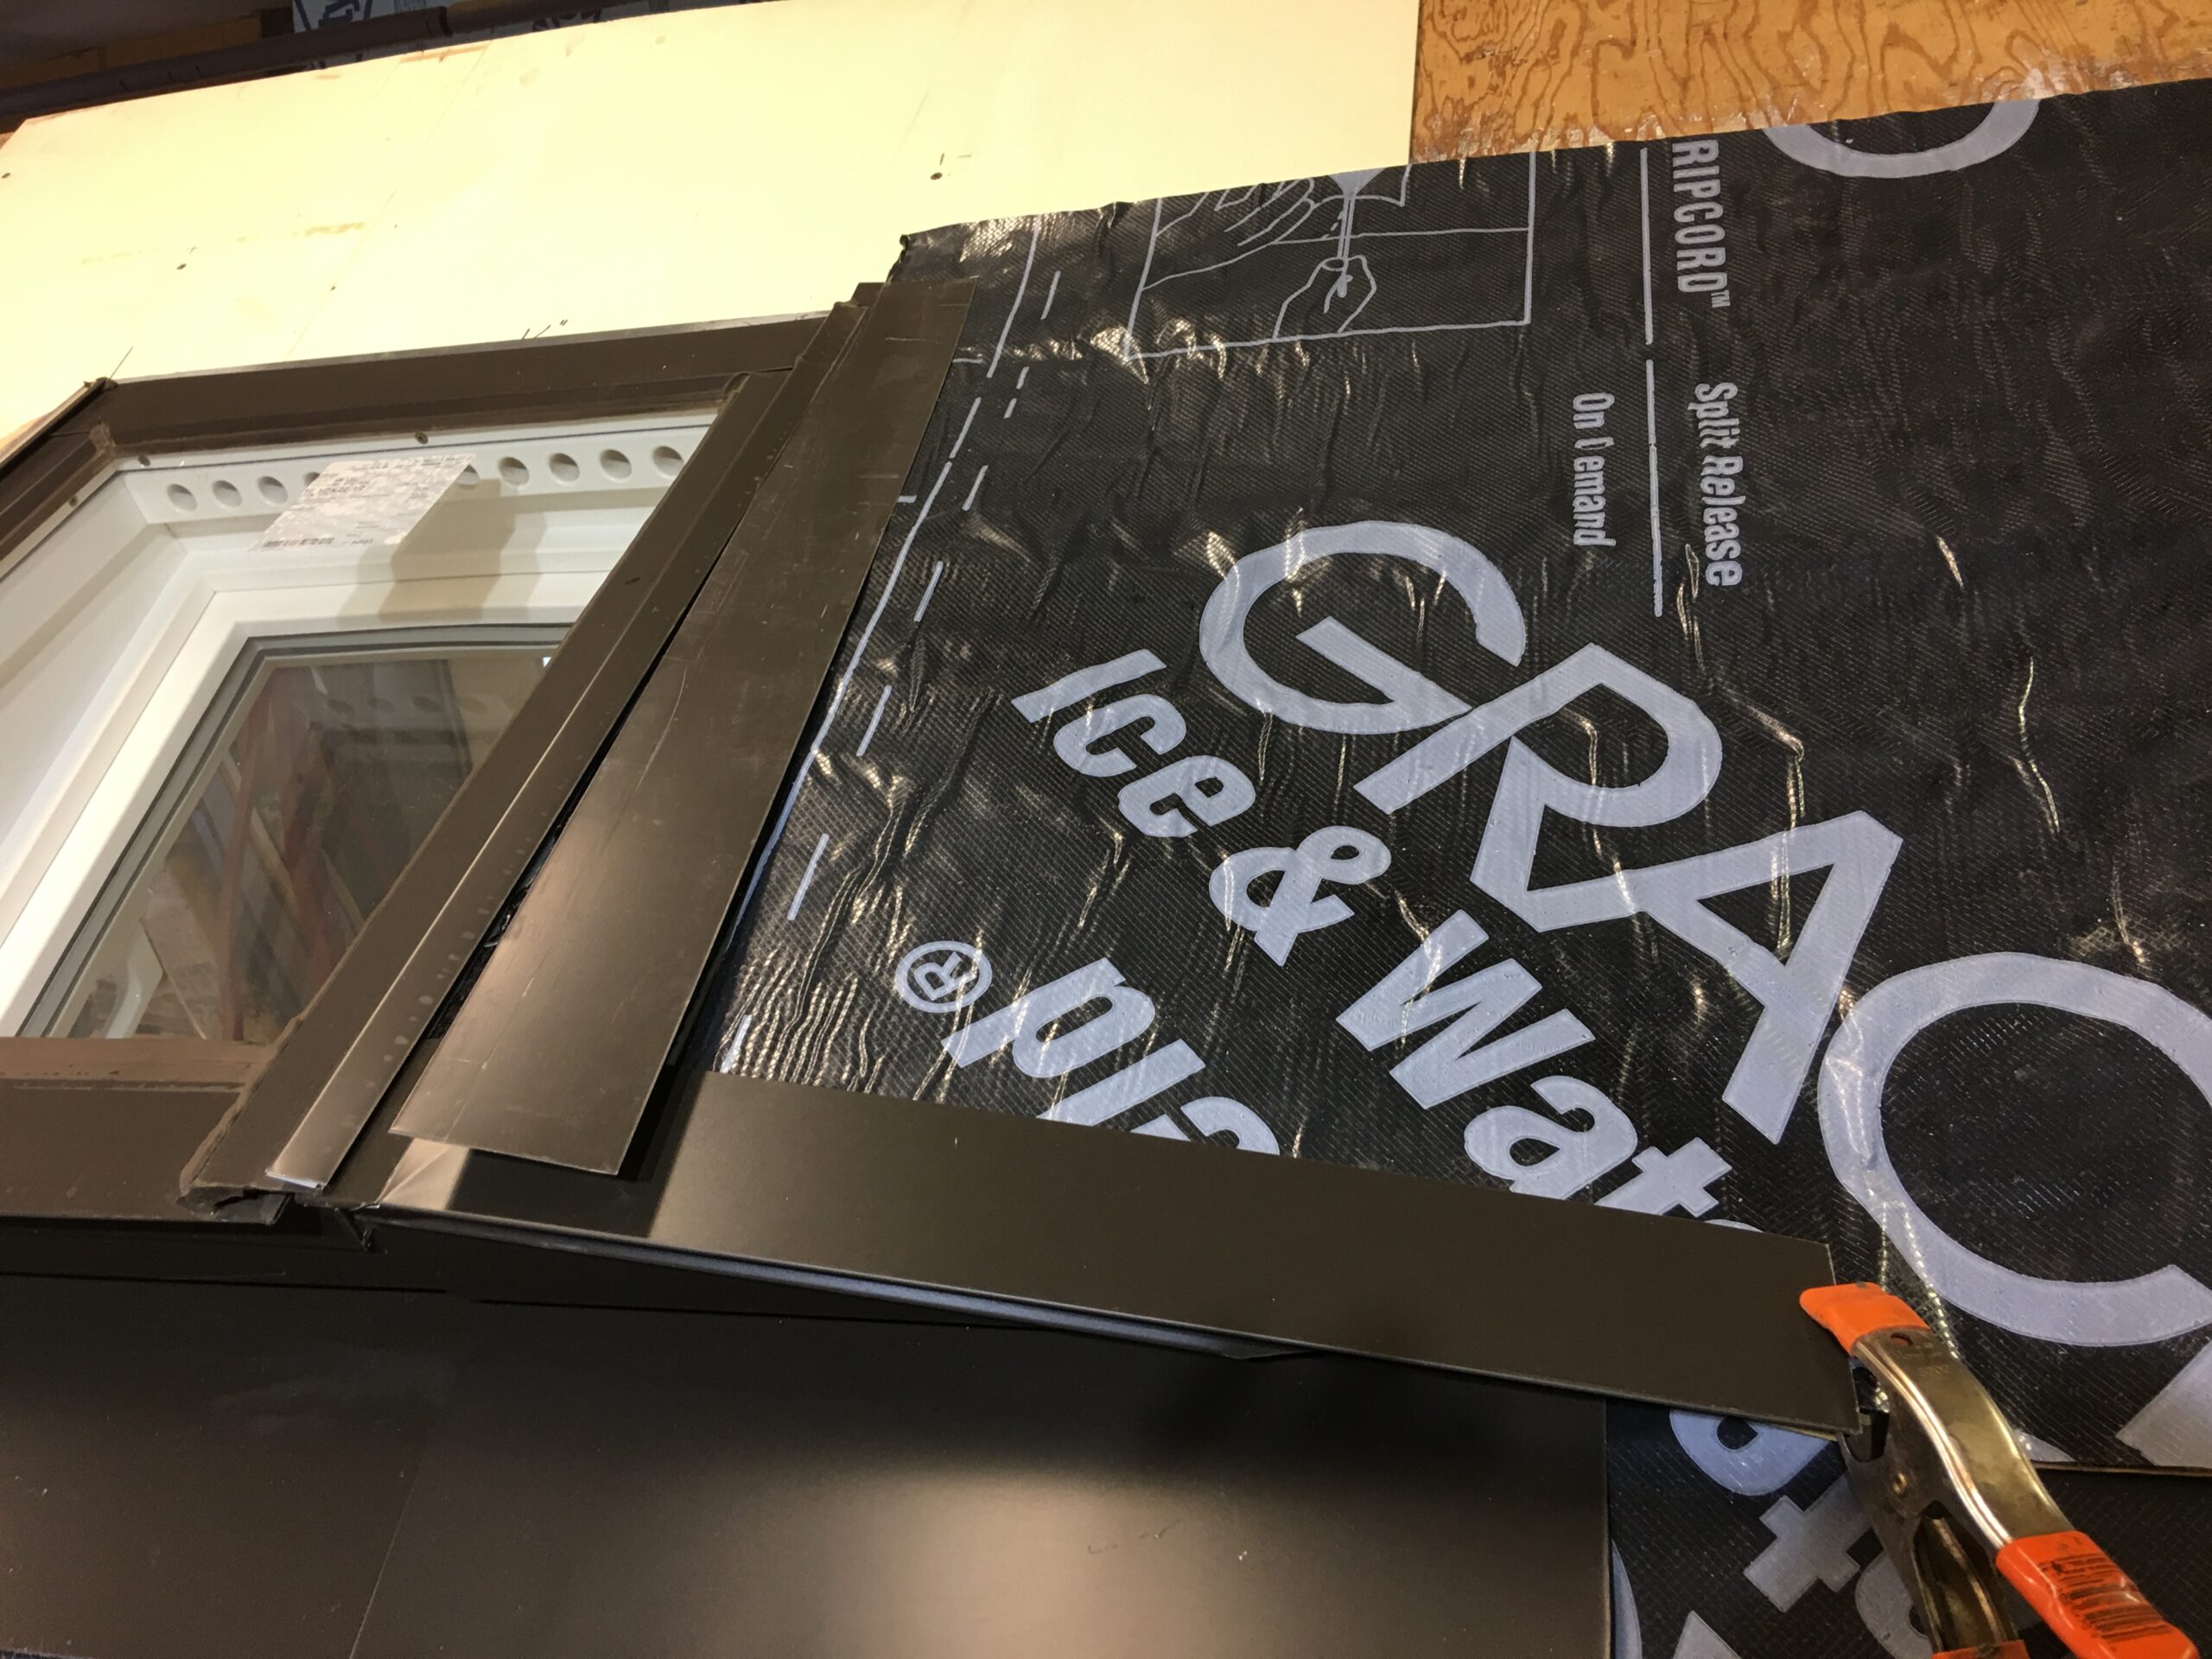
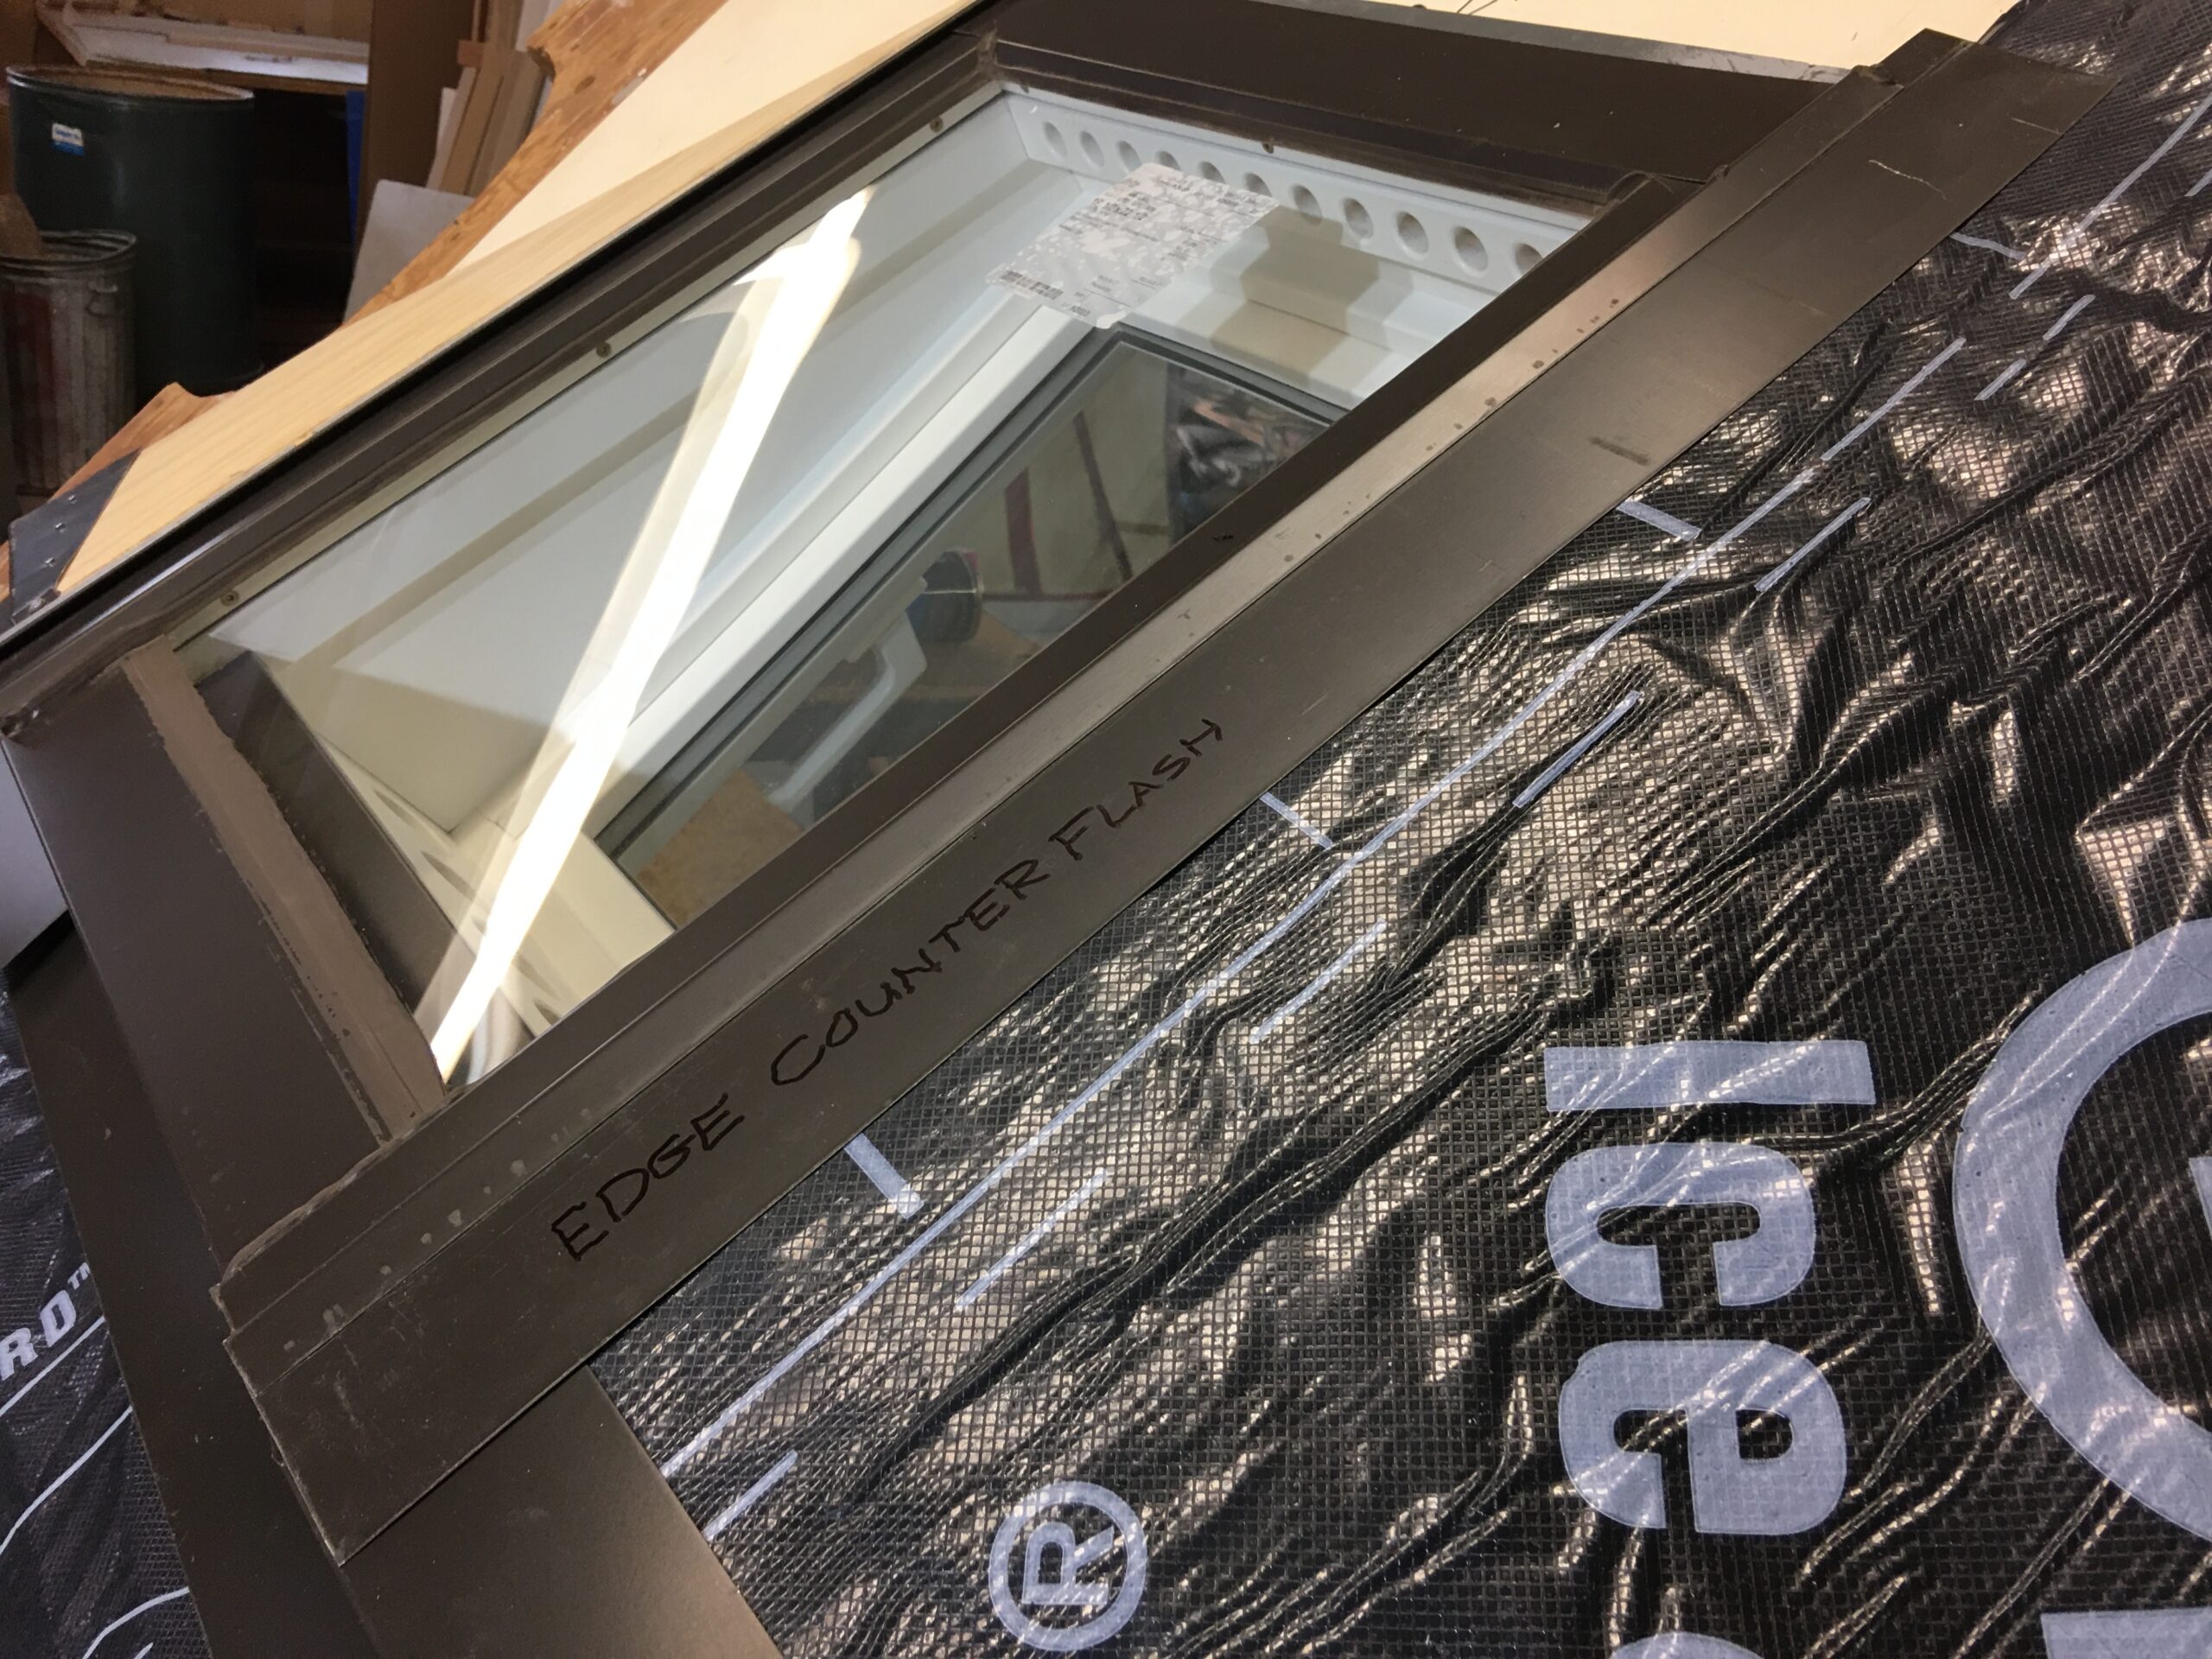
Ceeflows in consecutive rafter bays, a shallow V-shaped metal strip replaces the regular flat strip of membrane counter flashing and is left exposed. Also, an overlapping short apron flange caulked like the lower wing apron connections is provided.
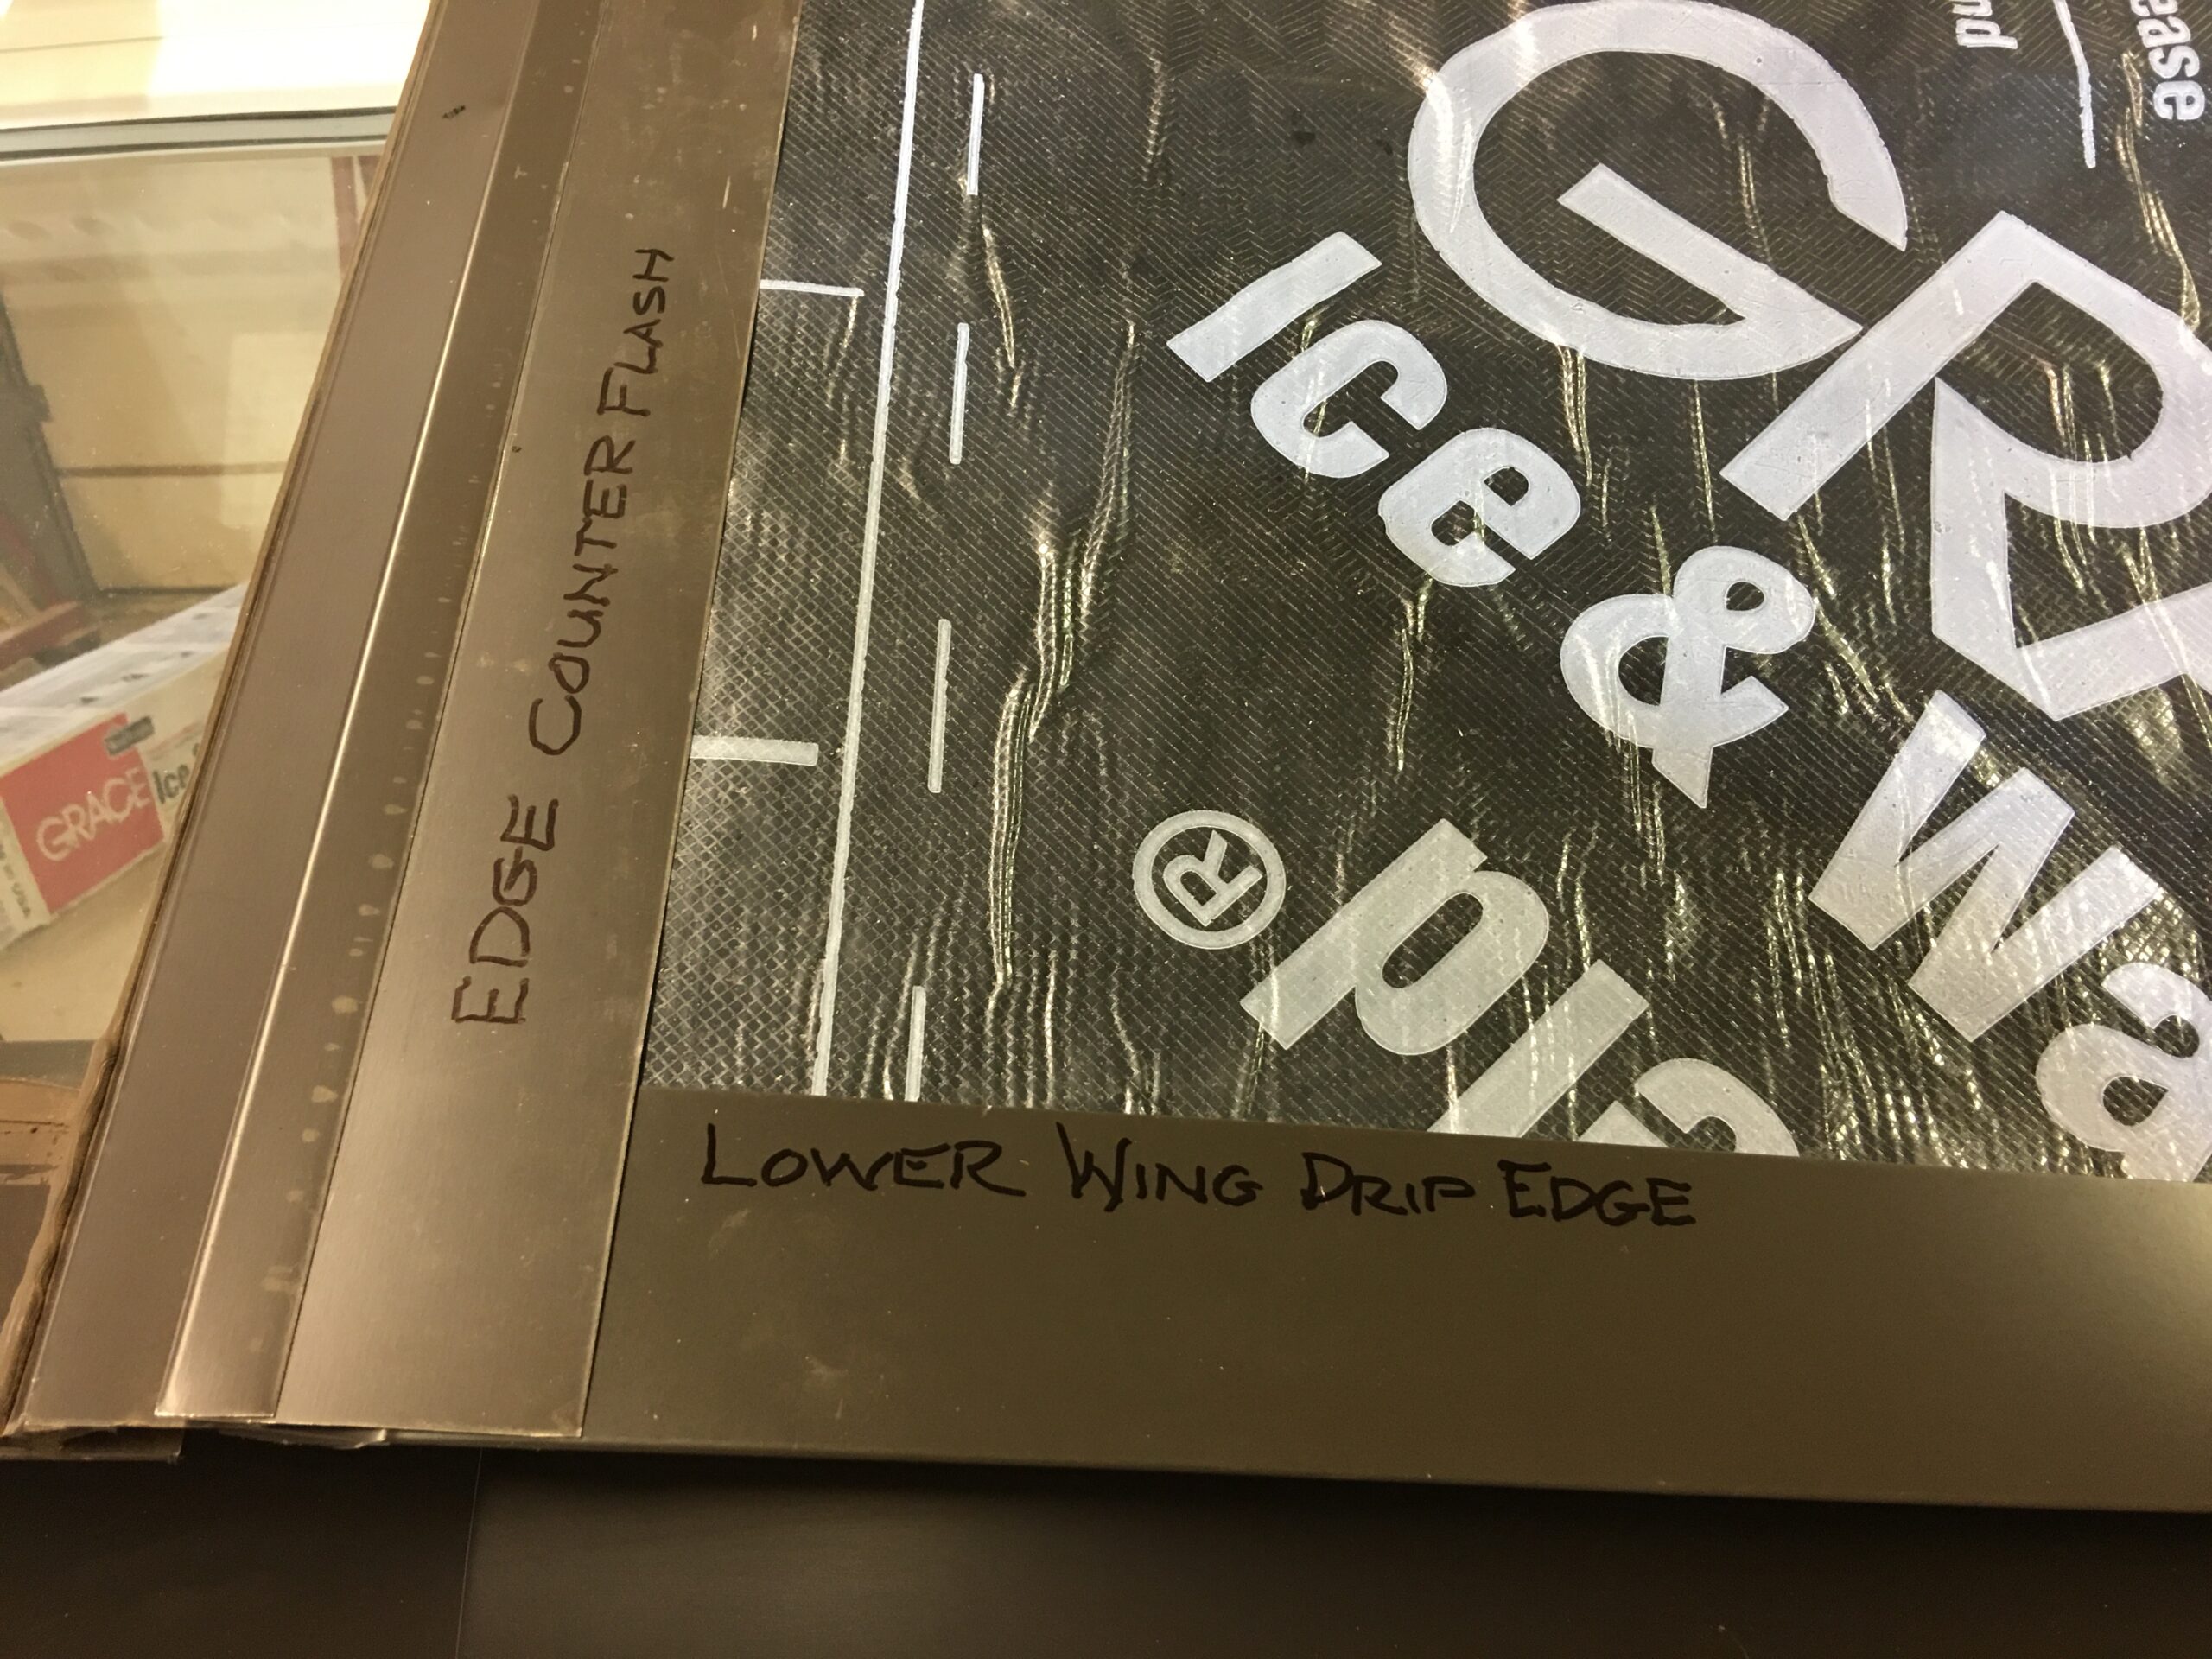
Another angle on counter flange and drip edge positioning. The drip edge should be nailed somewhere above the word “lower” and left of the word “edge.”
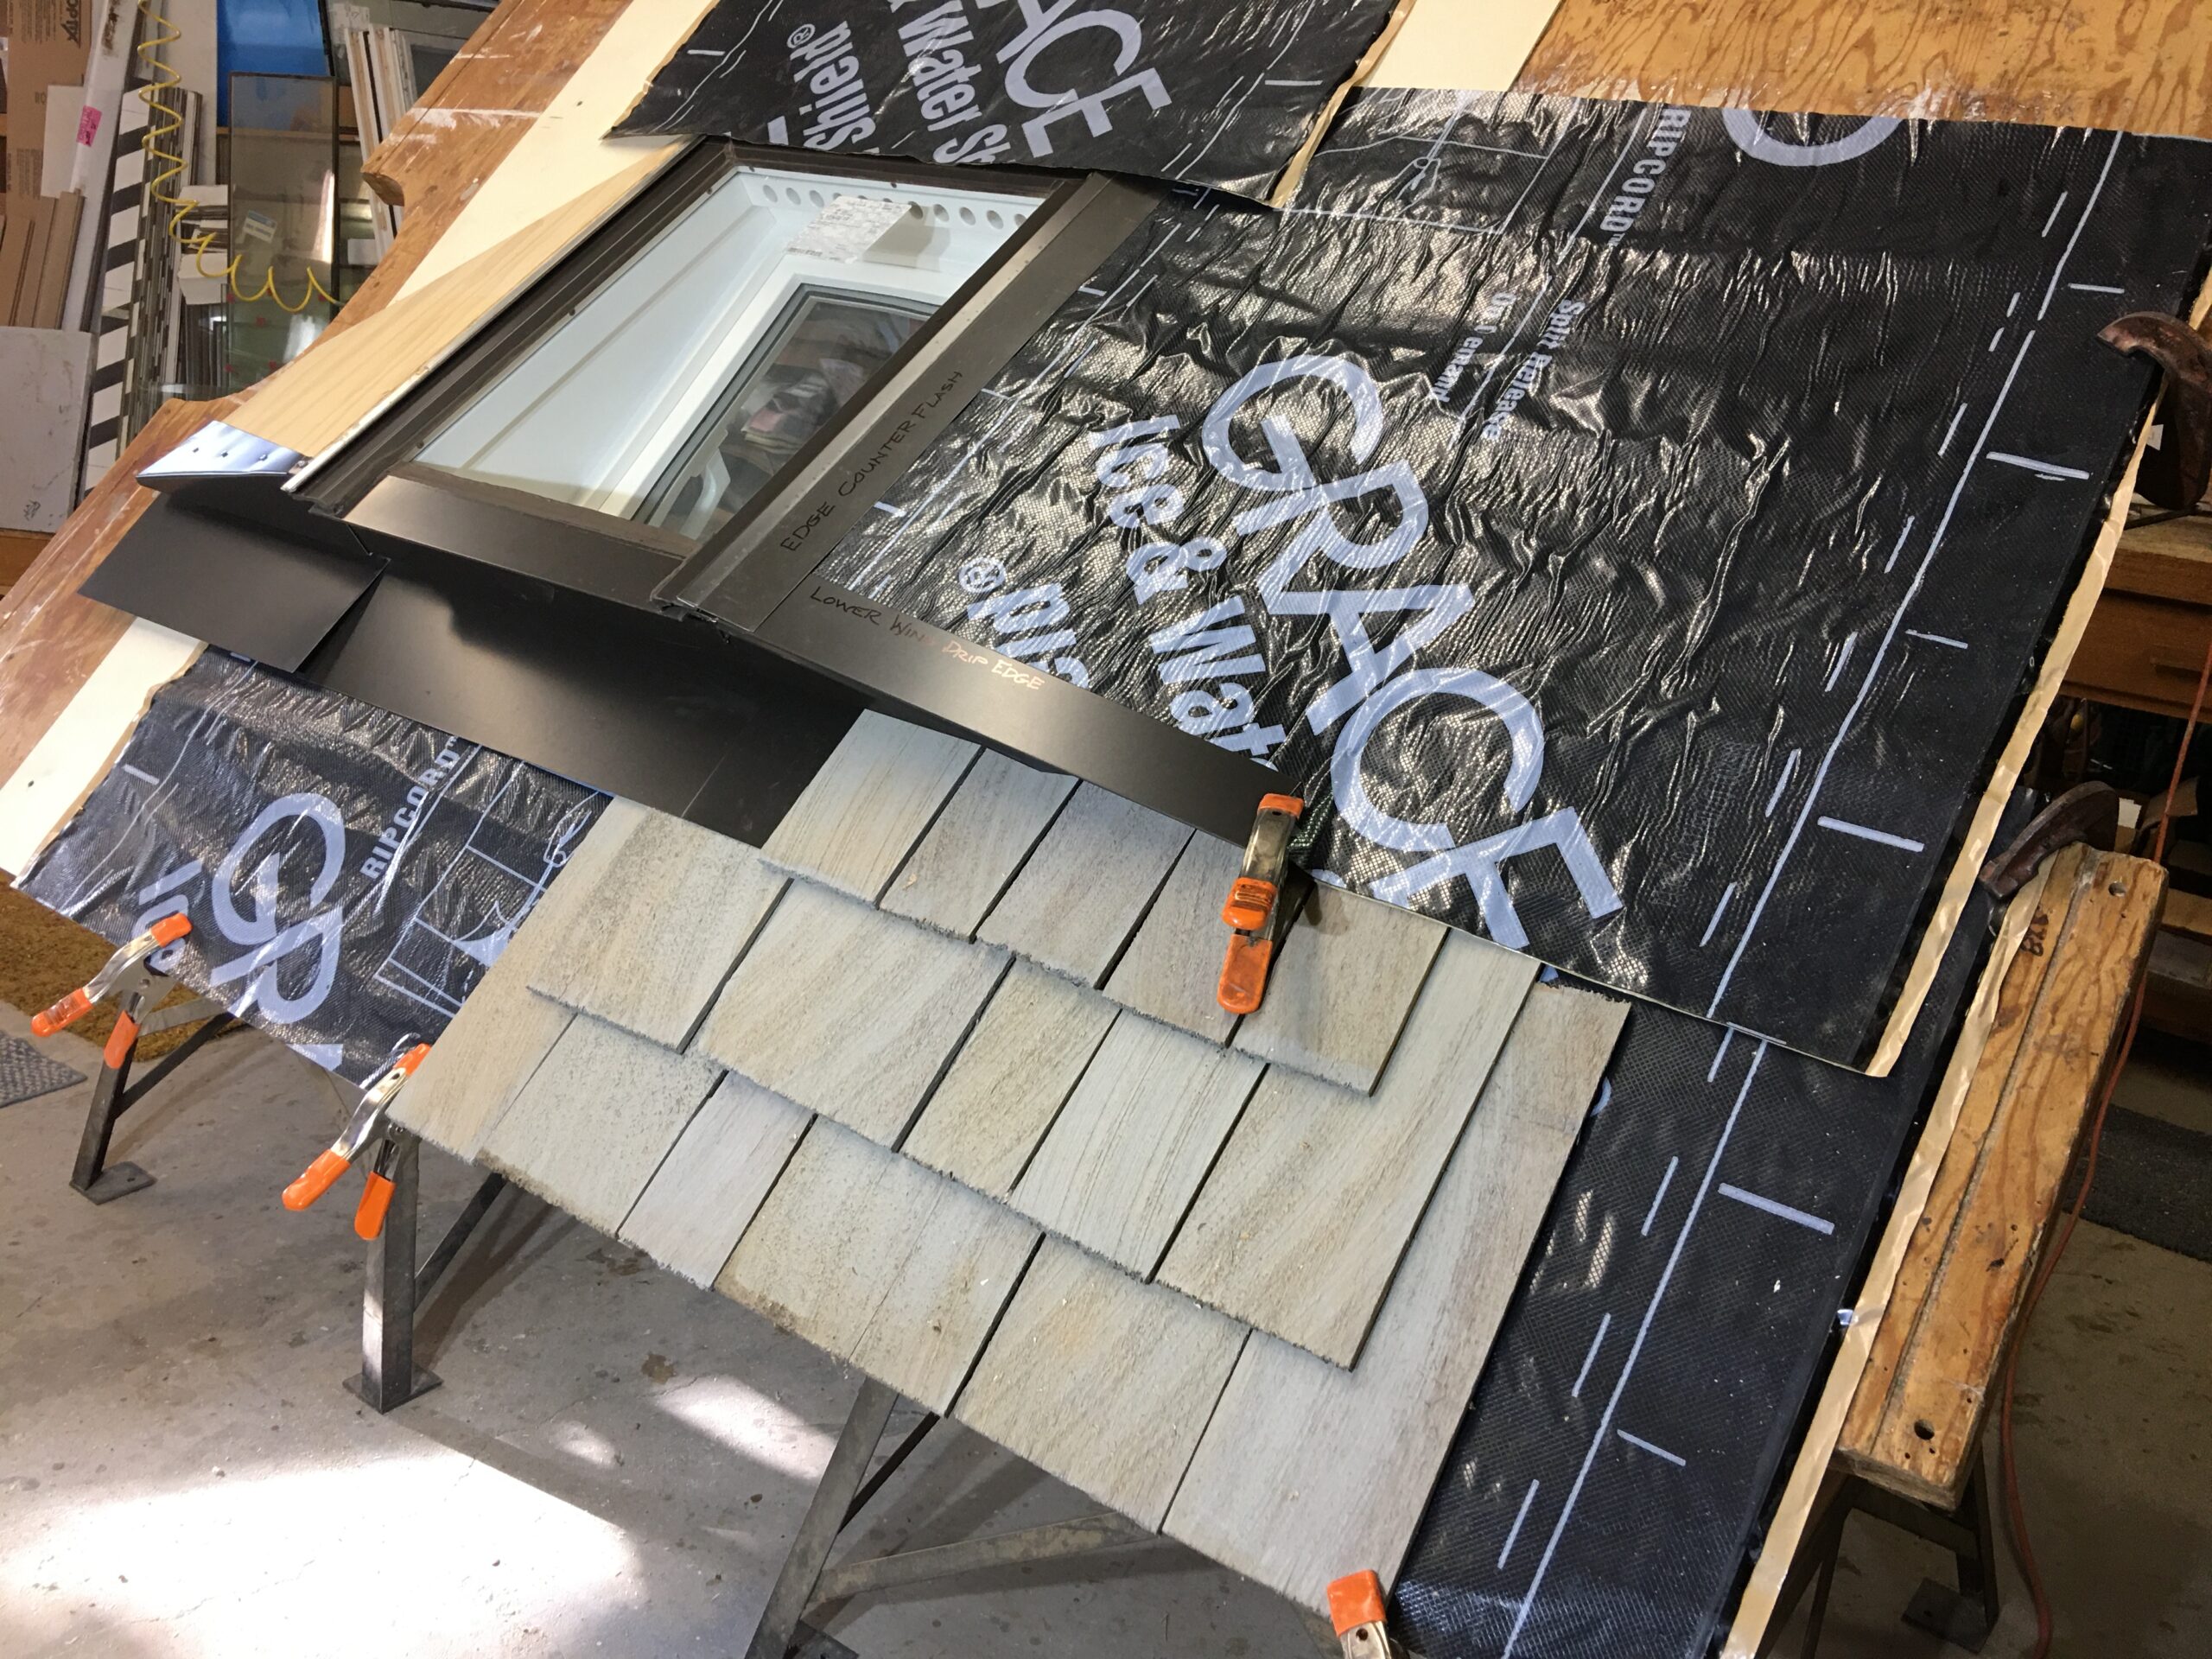
Shingling with conventional shingles, or shakes is generally done as shown keeping overlap in mind.
Notice at this angle the double starter course of shingles at the lower edge of wing drip. These should be blended into the oncoming regular coursing. Regardless of weather they are high or low of normal coursing. Also notice the top piece of roofing membrane is lapped well over the top glazing caulk cap.
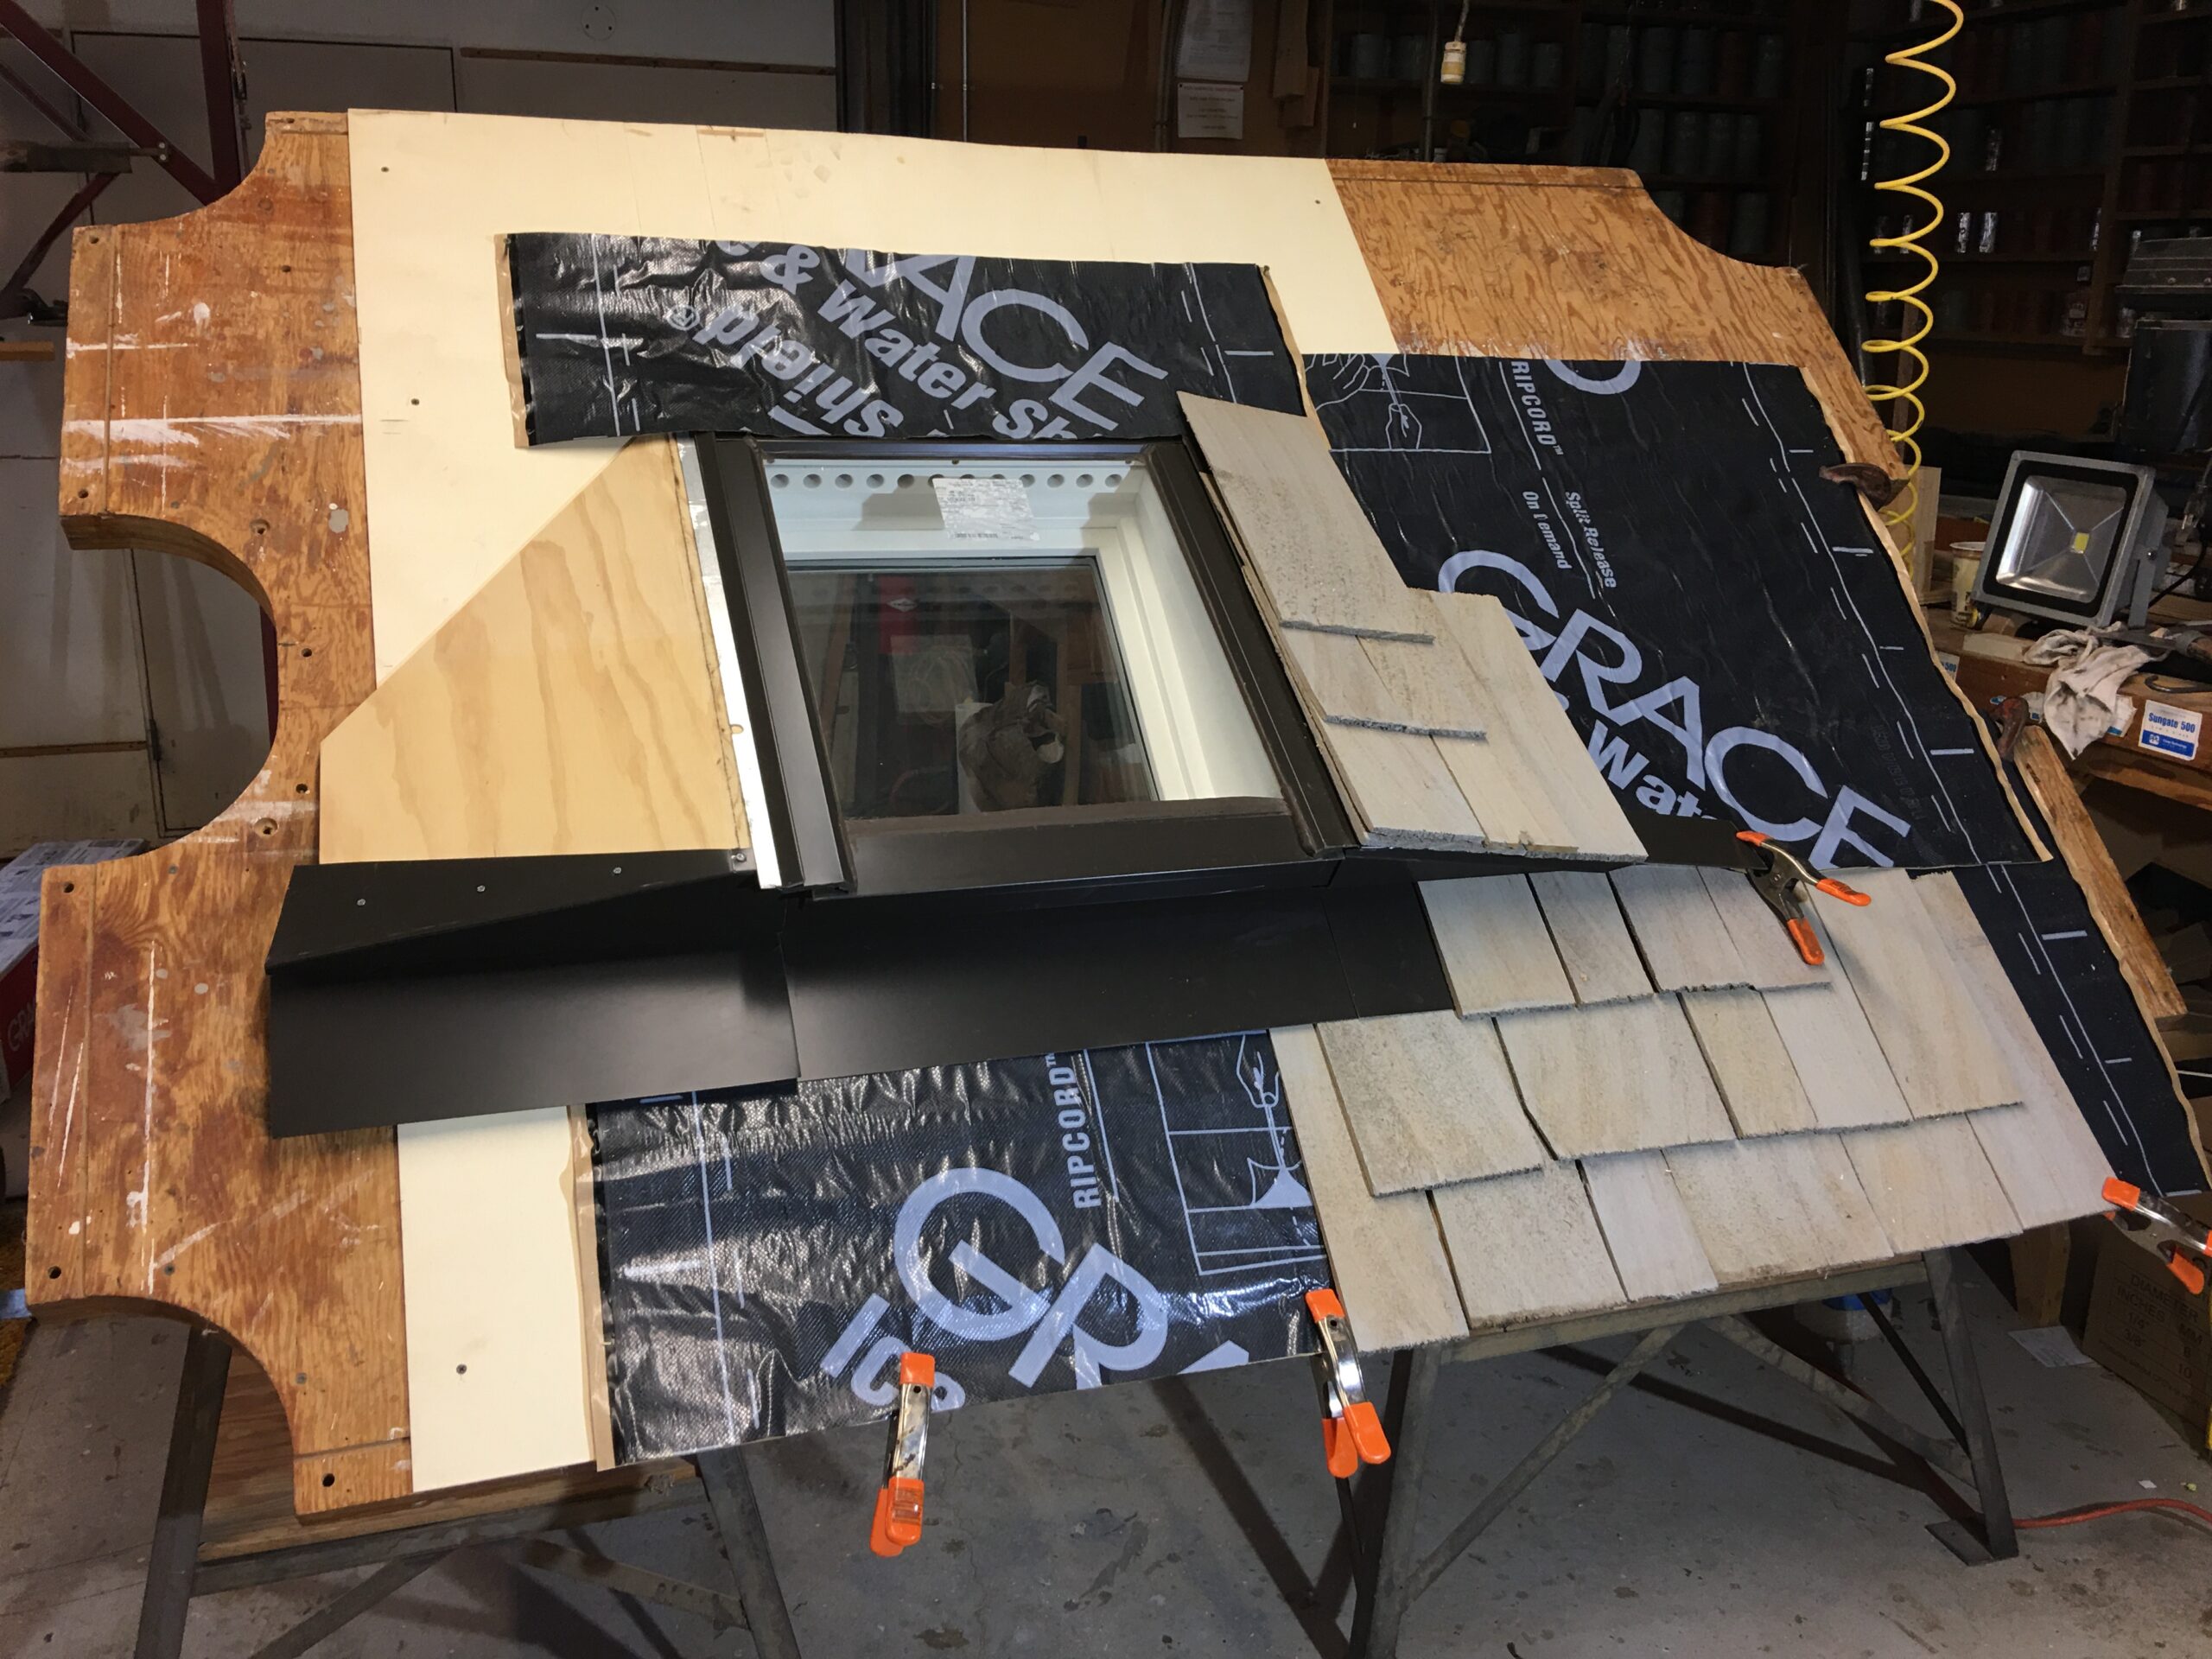
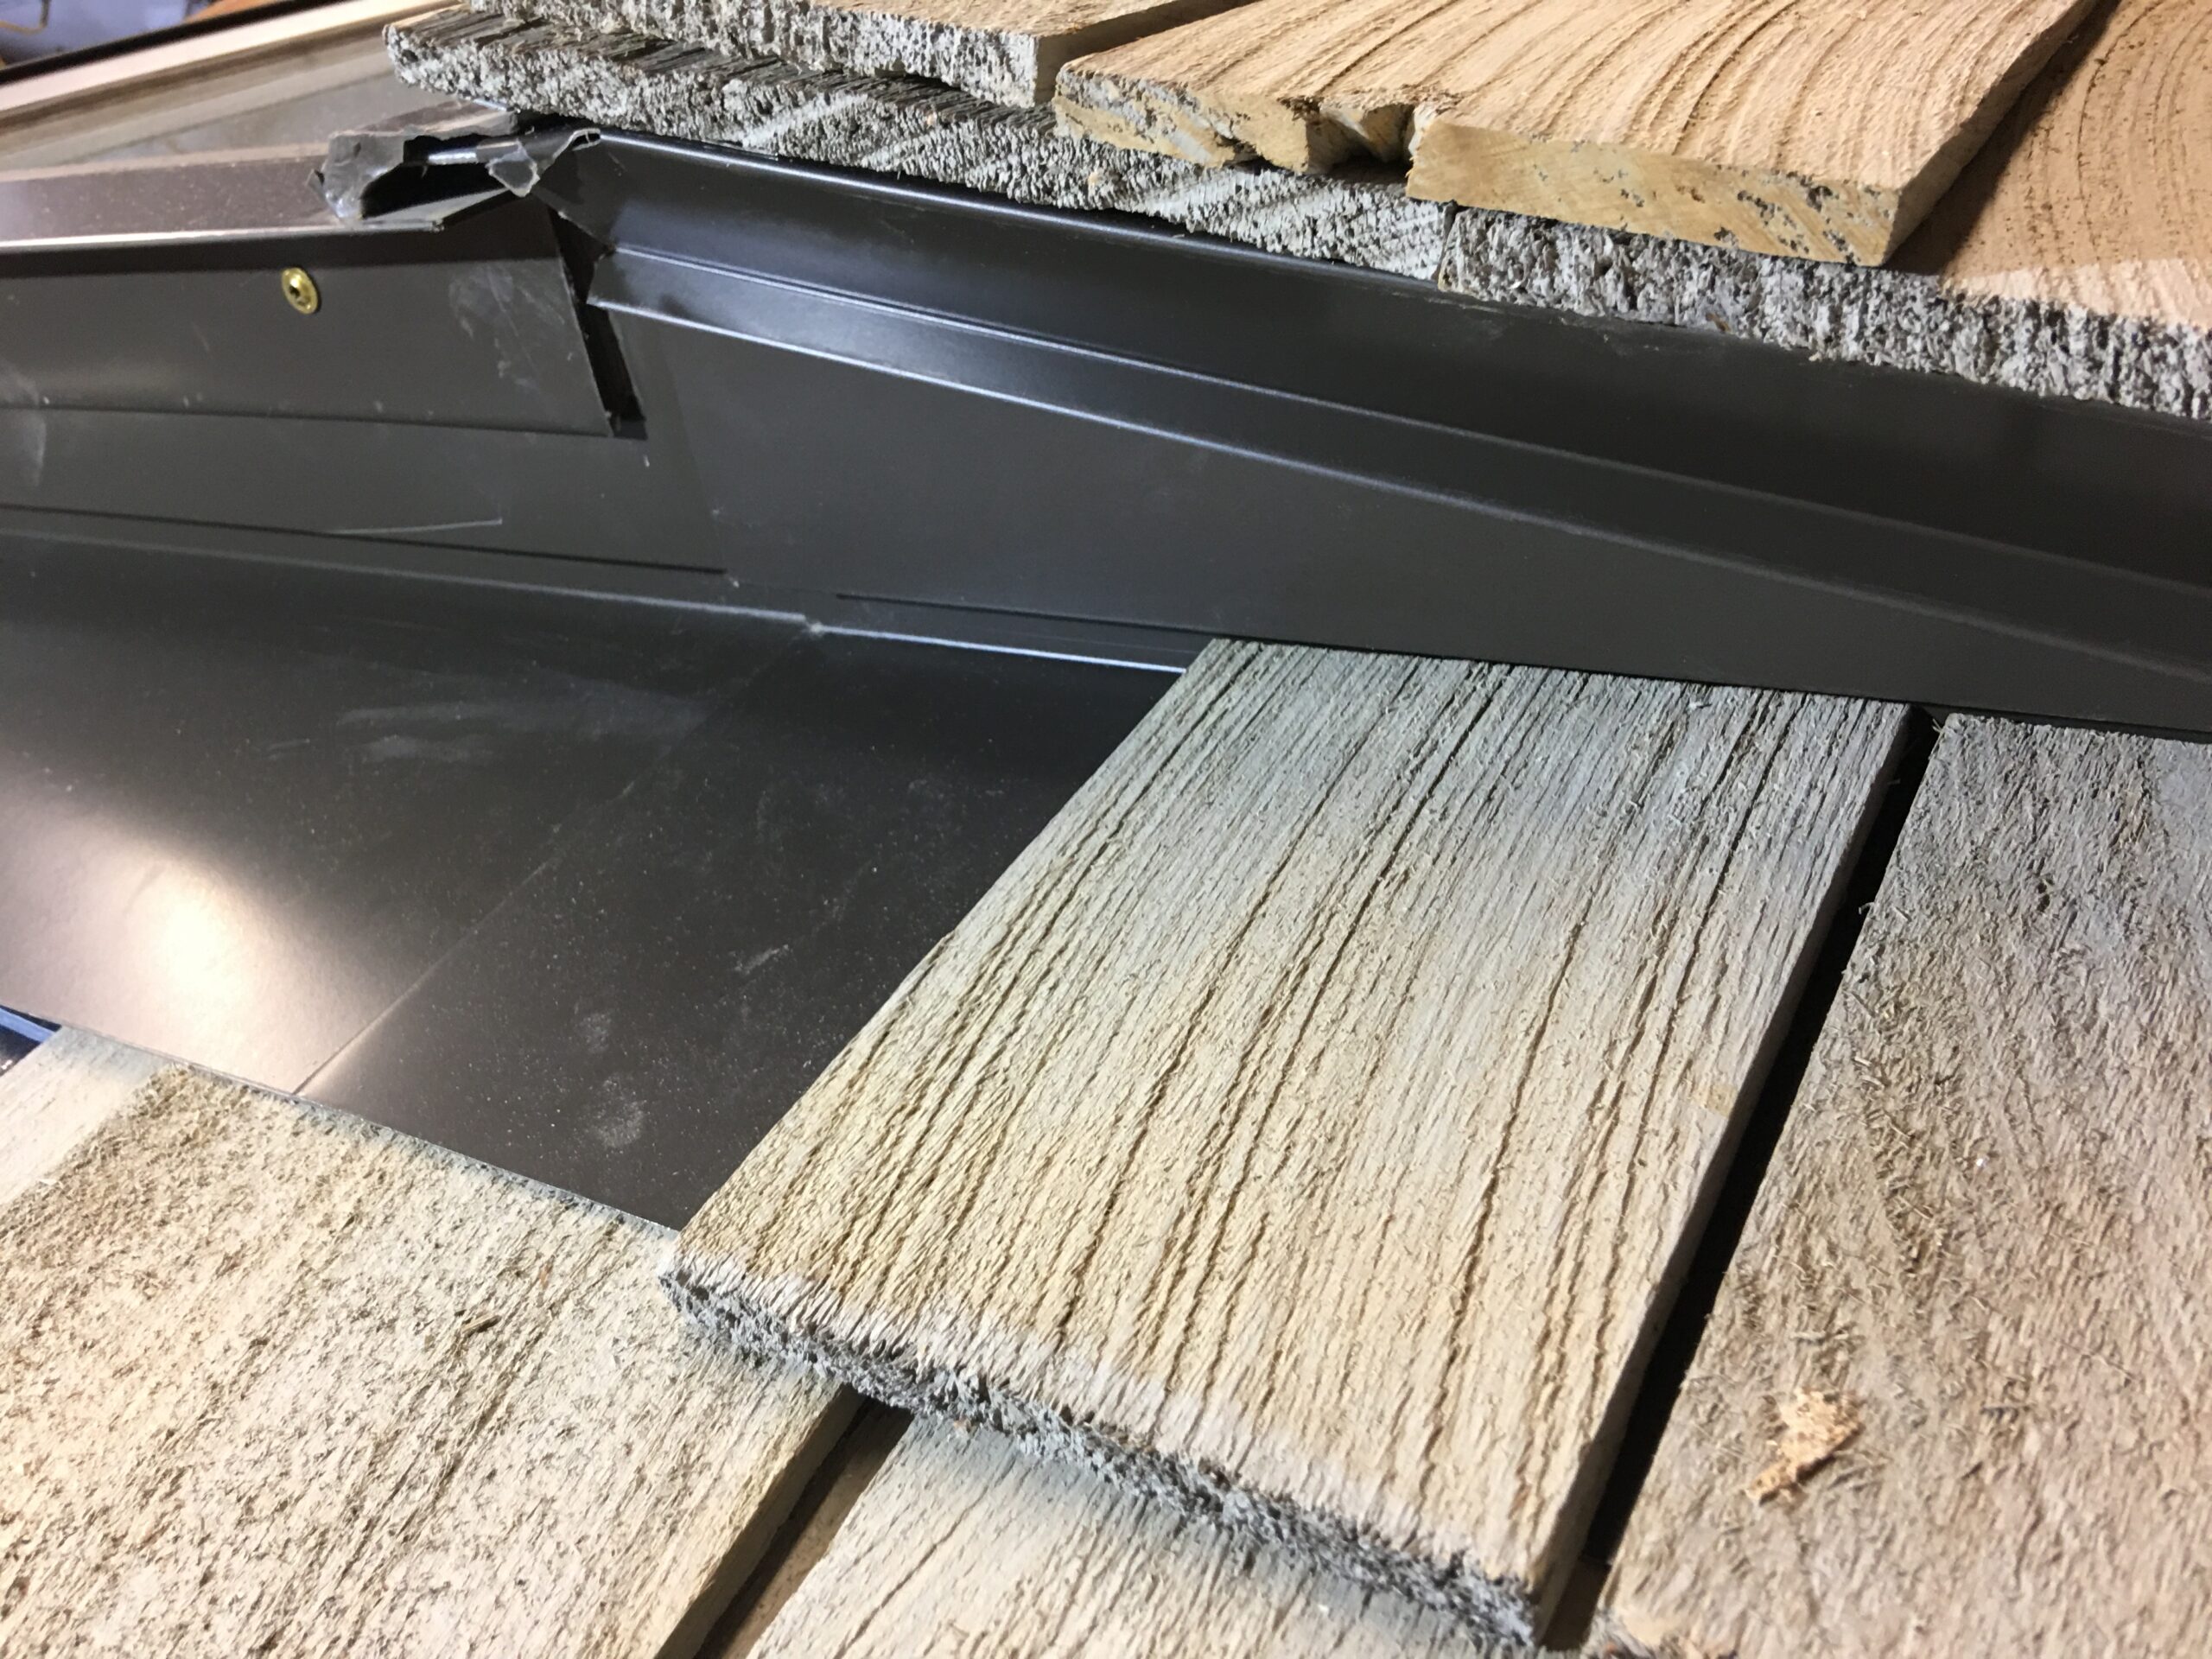
This picture shows what we call the “Shingle Garage” shortened shingles fit up in it while covering the lower flashing apron. Not shown, we usually cover the flange with ice and water shield before nailing shingles over it.
CeeFlow Resources
MATERIAL SPECIFICATIONS
CUSTOMER EXAMPLES
Contact Us
Tap to Call:
231-526-5579
231-838-4847
Harbor Springs, MI 49740

![thumbnail_IMG_2029[1]](https://ceeflow.com/wp-content/uploads/2021/02/thumbnail_IMG_20291-rotated.jpg)
